|
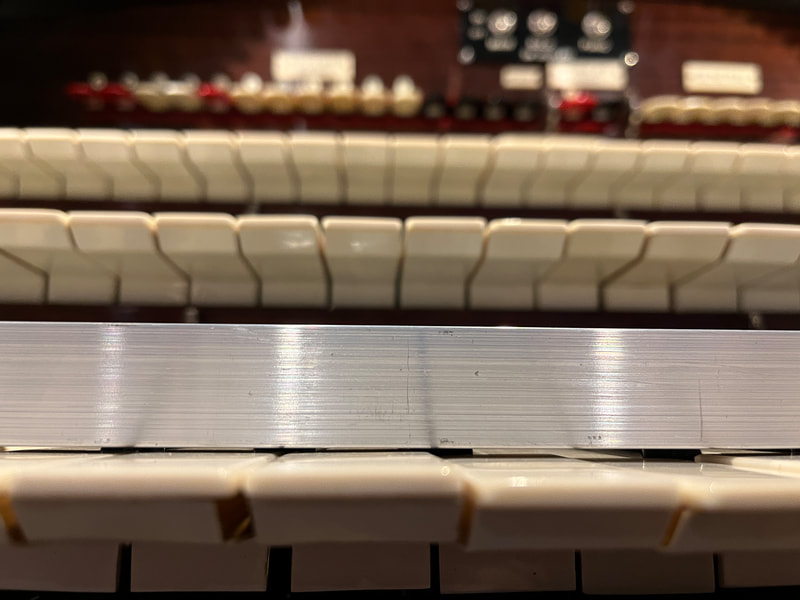
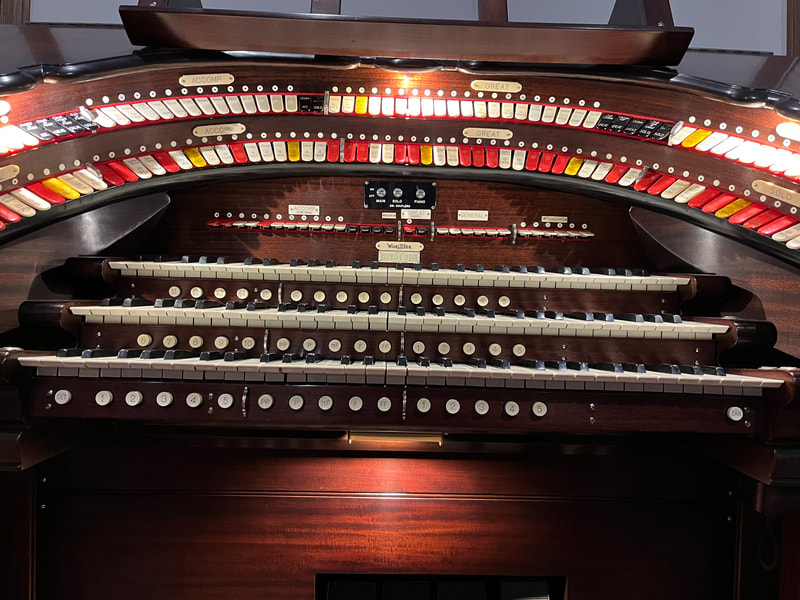
This month, work was done to further regulate the accompaniment manual on the console. Although most keys were about right, there were little differences between them that made things look uneven across the whole manual. To level things out, a piece of aluminum “L” channel was purchased and cut down to fit on the manual. With a straight edge present, it was easy to make very small adjustments up or down to level things out. With that project behind me, the console should be ready for our December program!
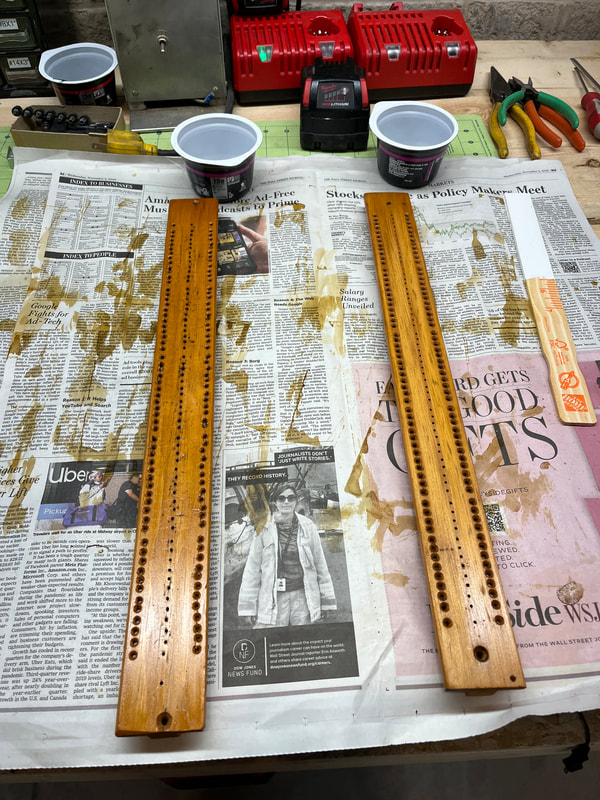
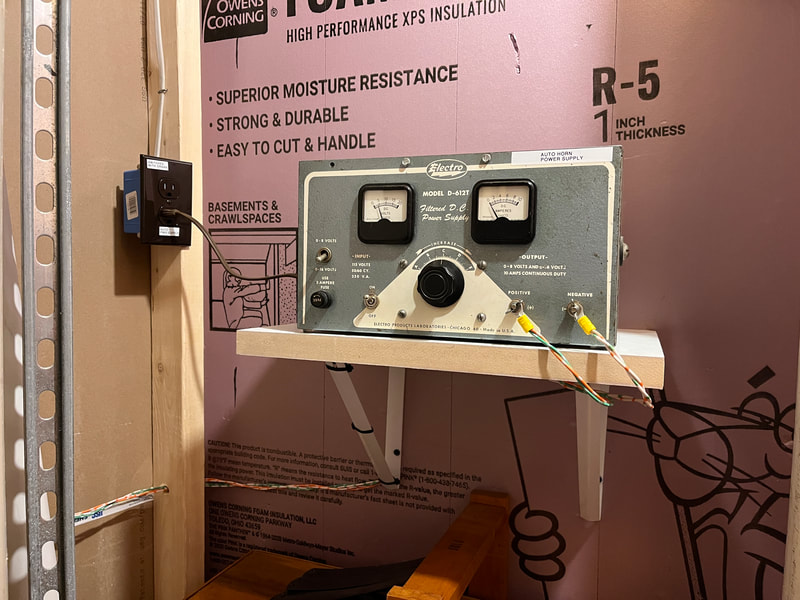
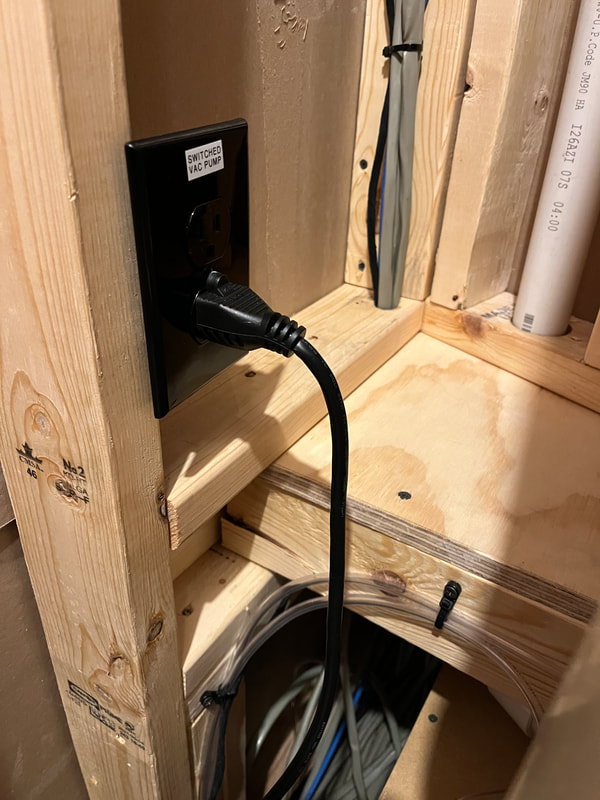
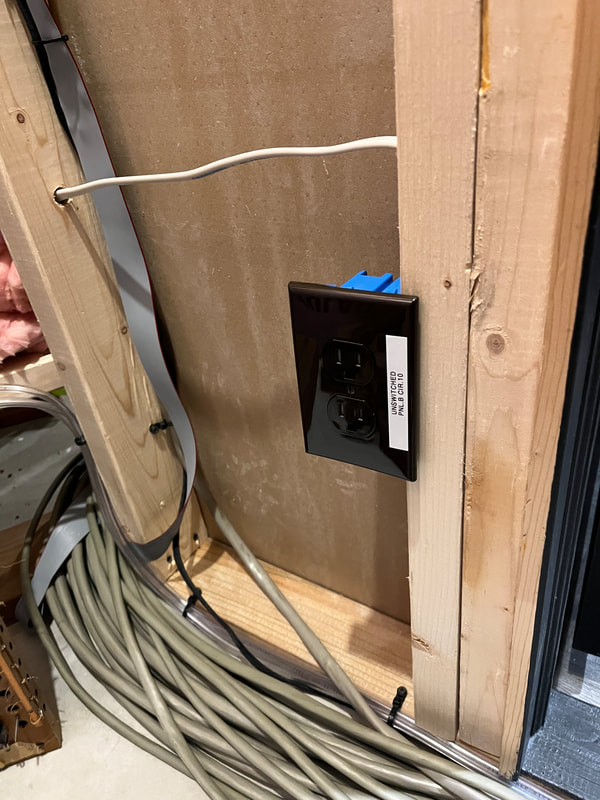
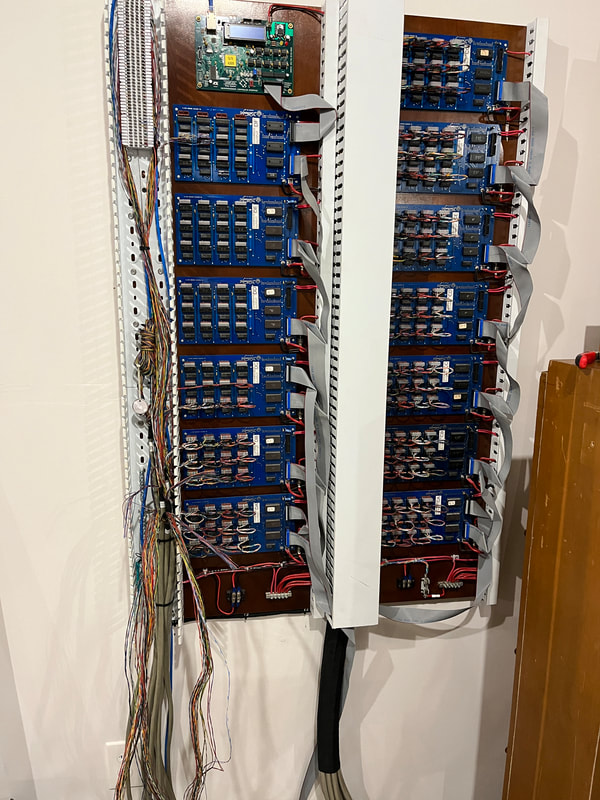
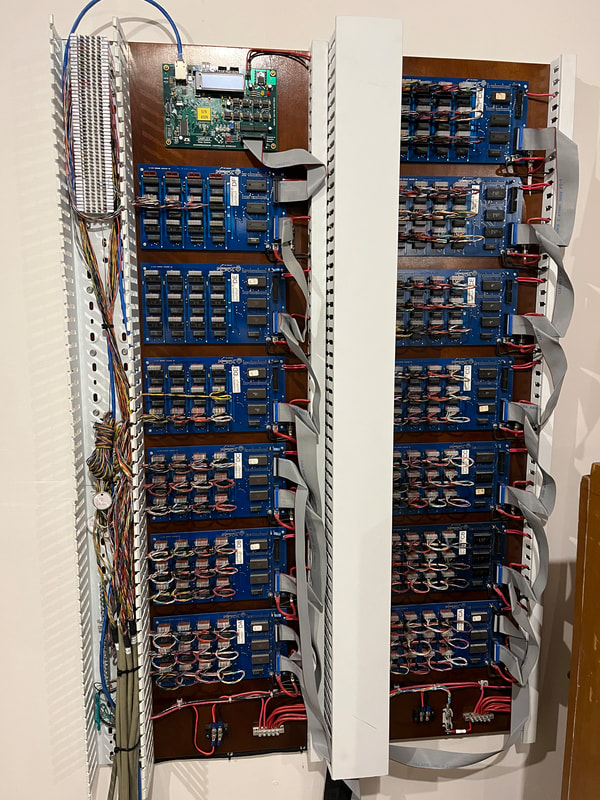
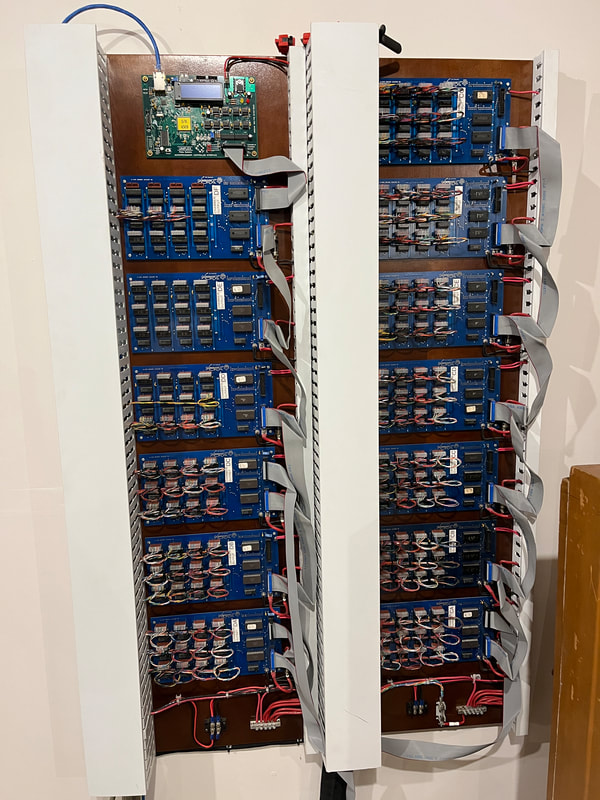
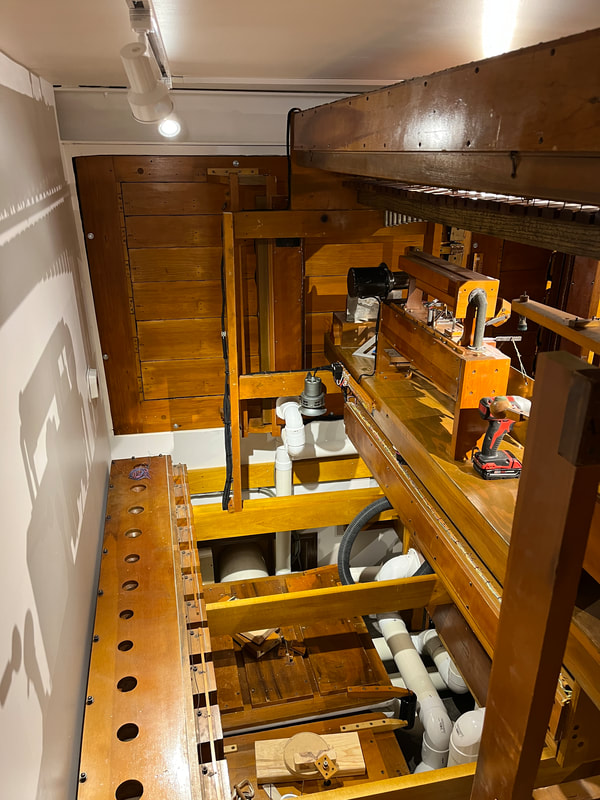
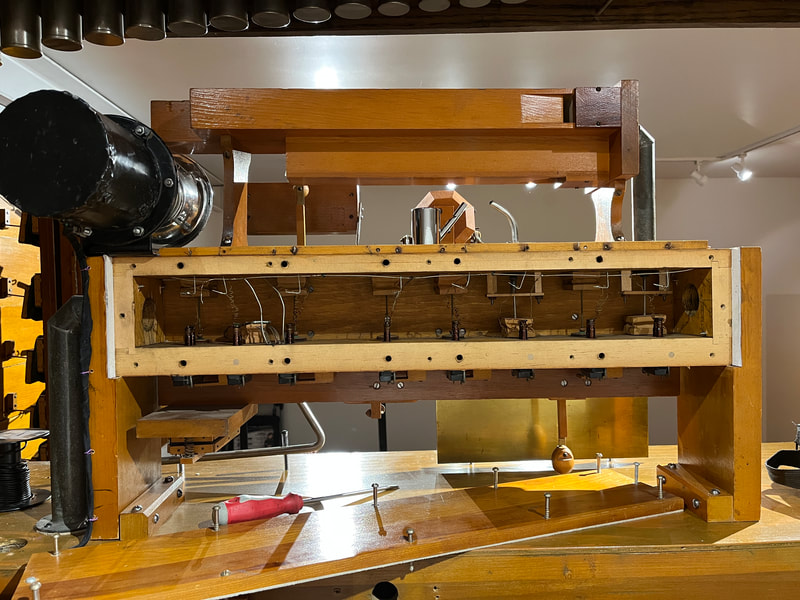
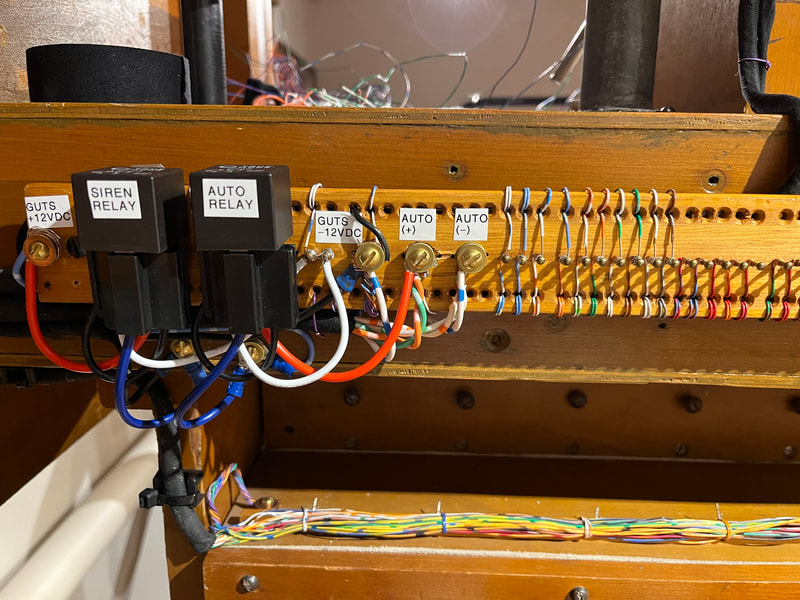
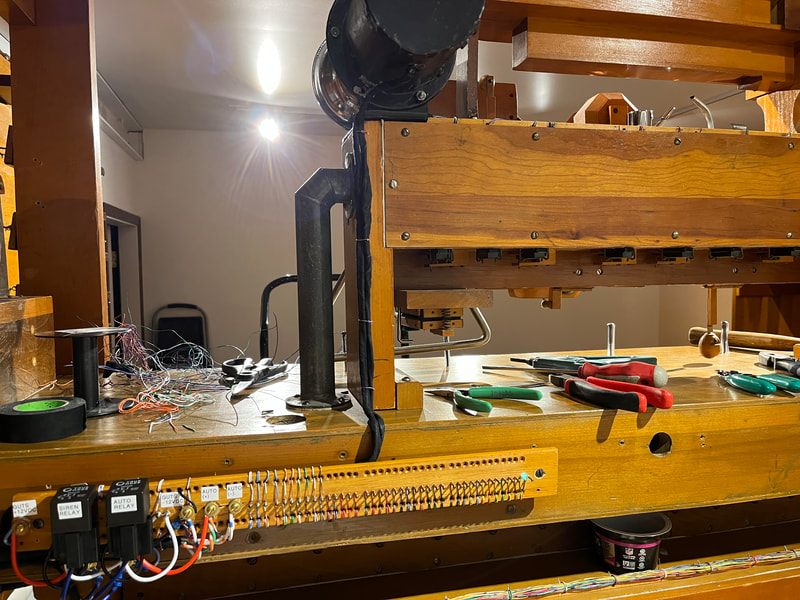
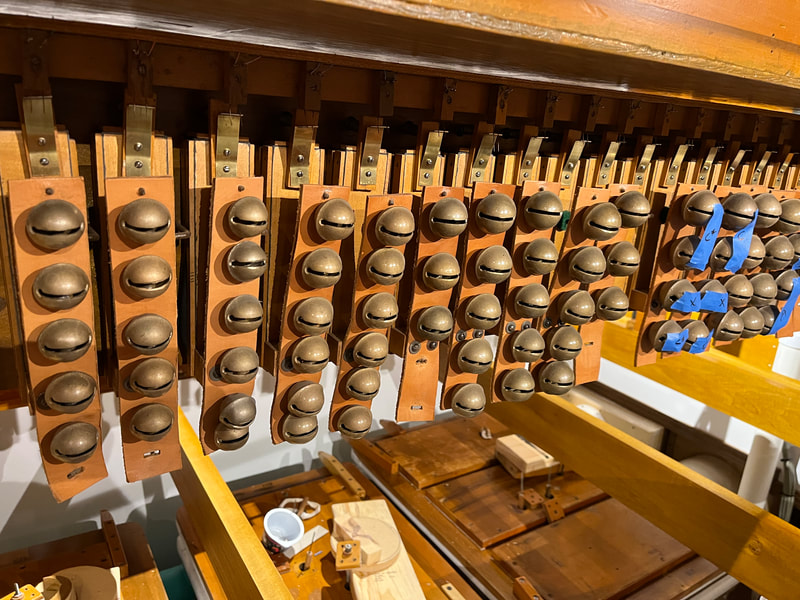
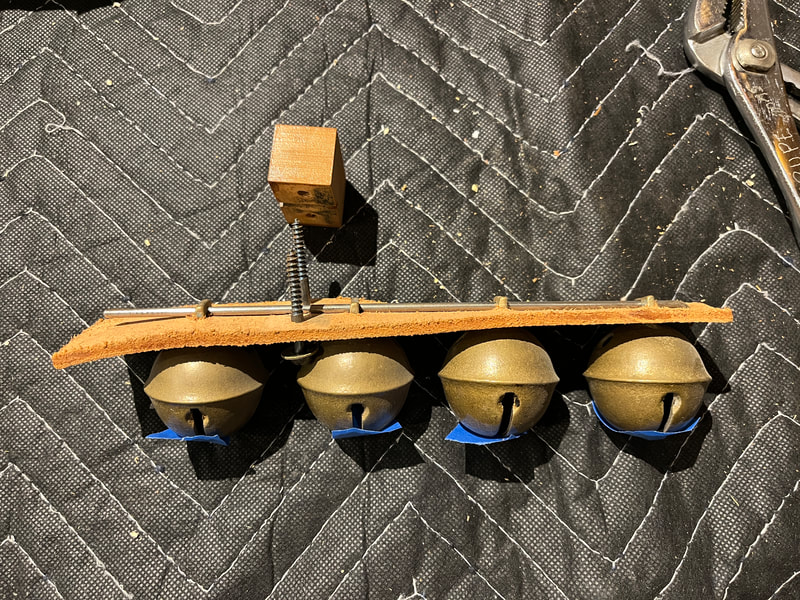
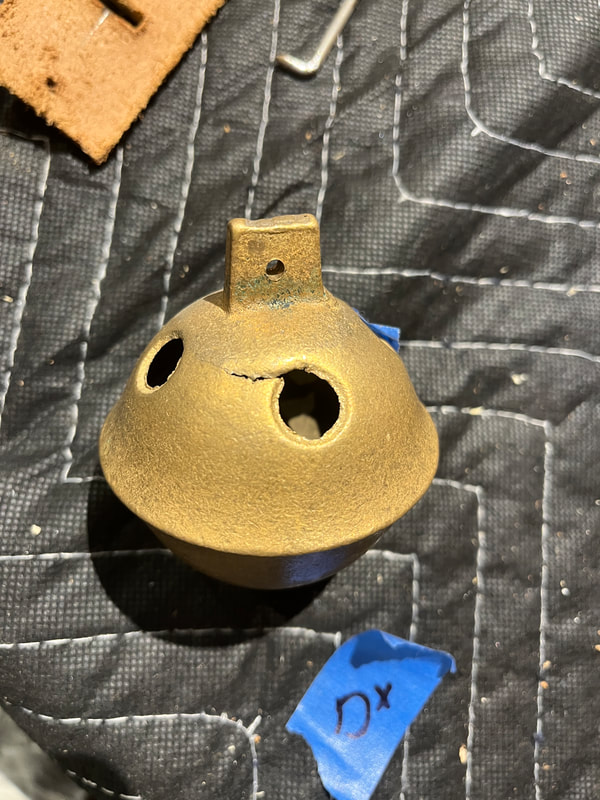
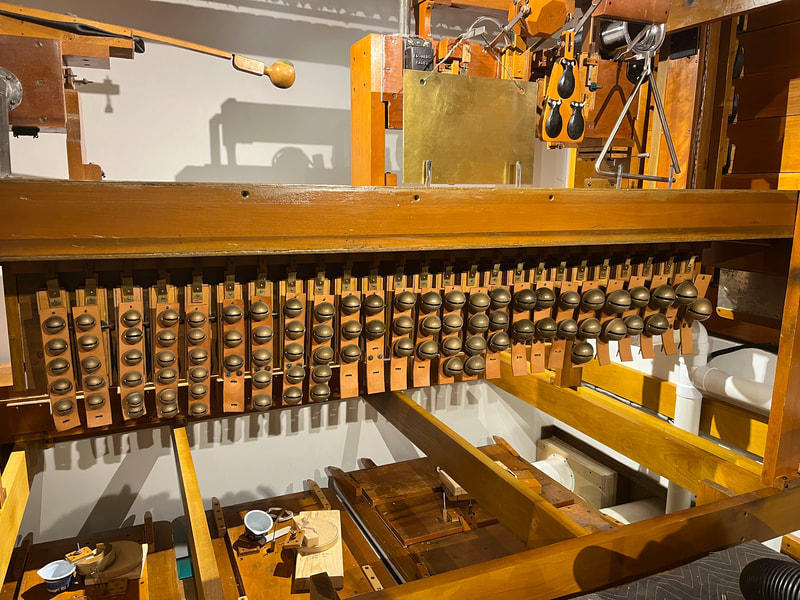
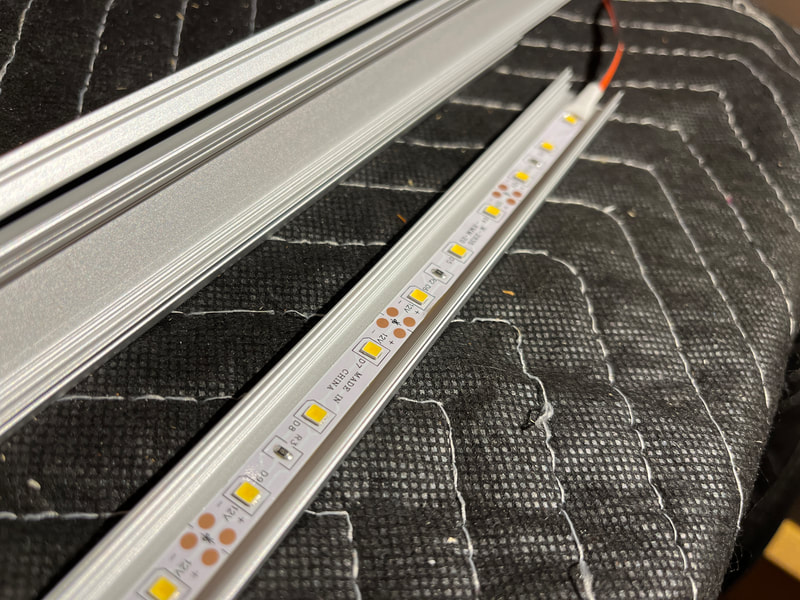
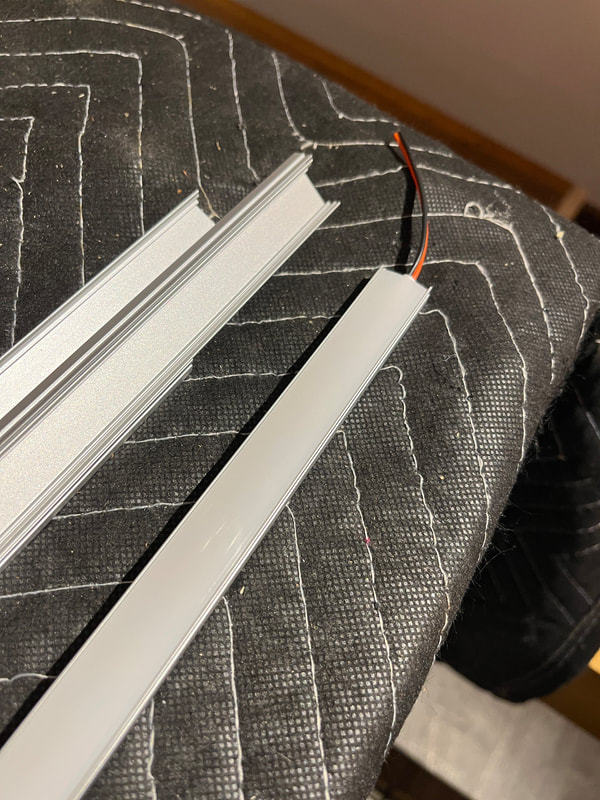
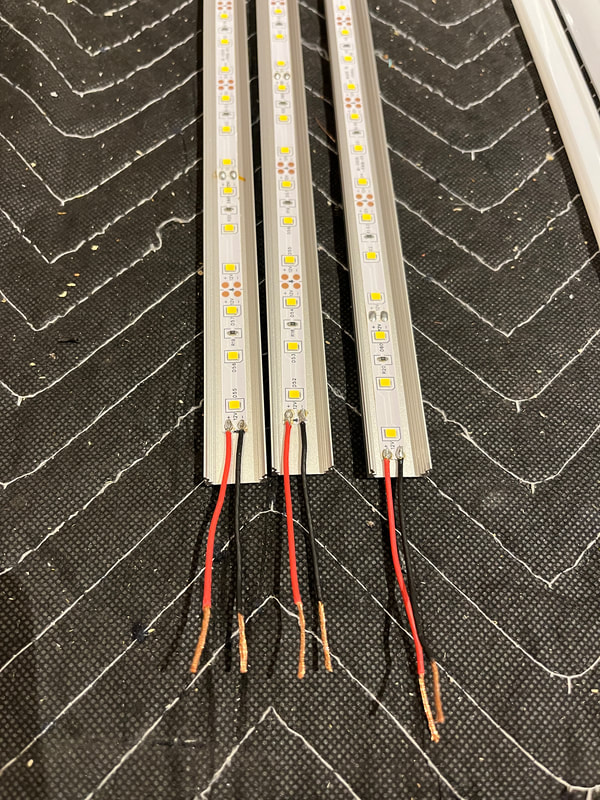
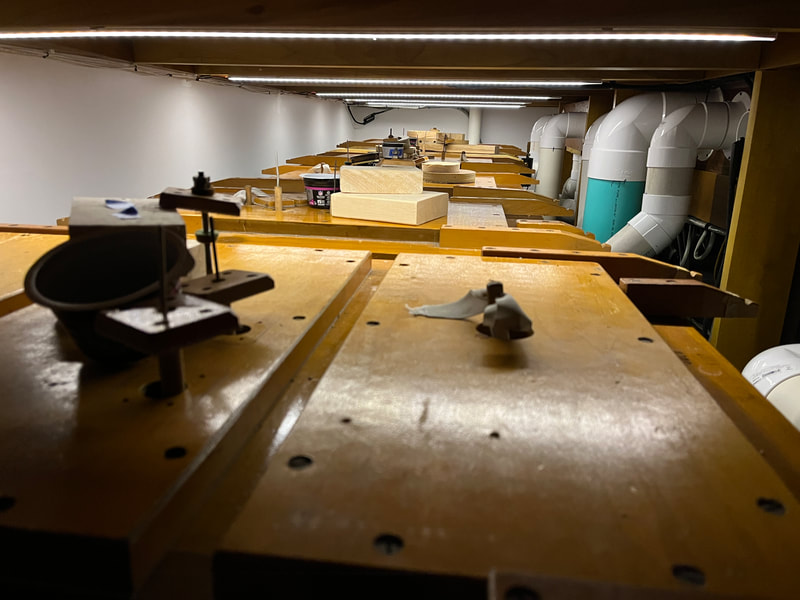
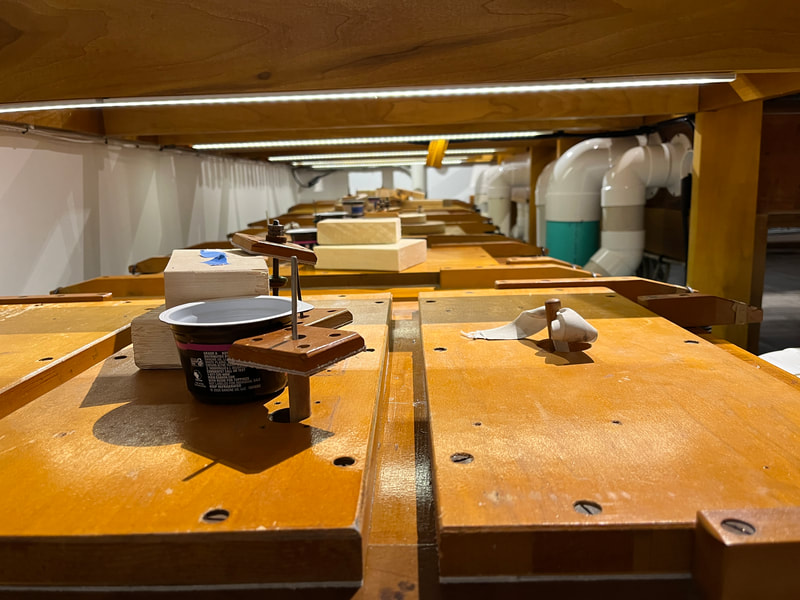
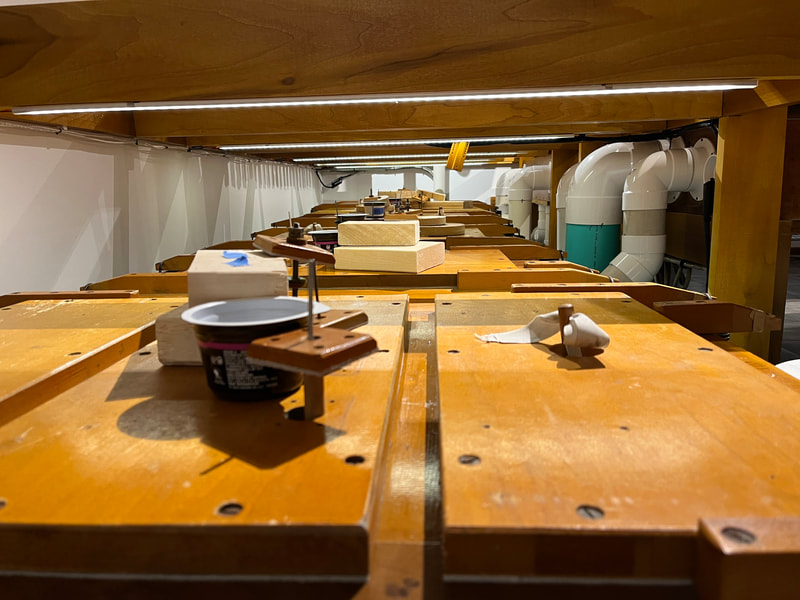
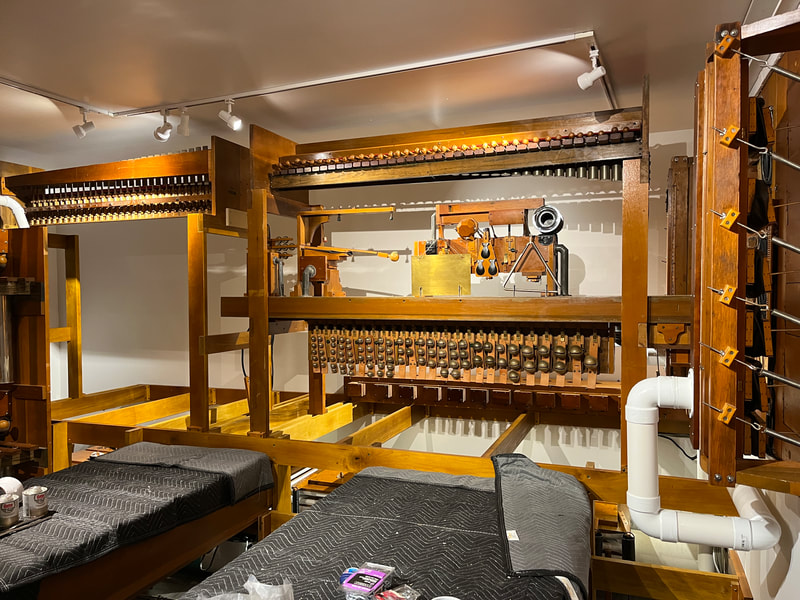
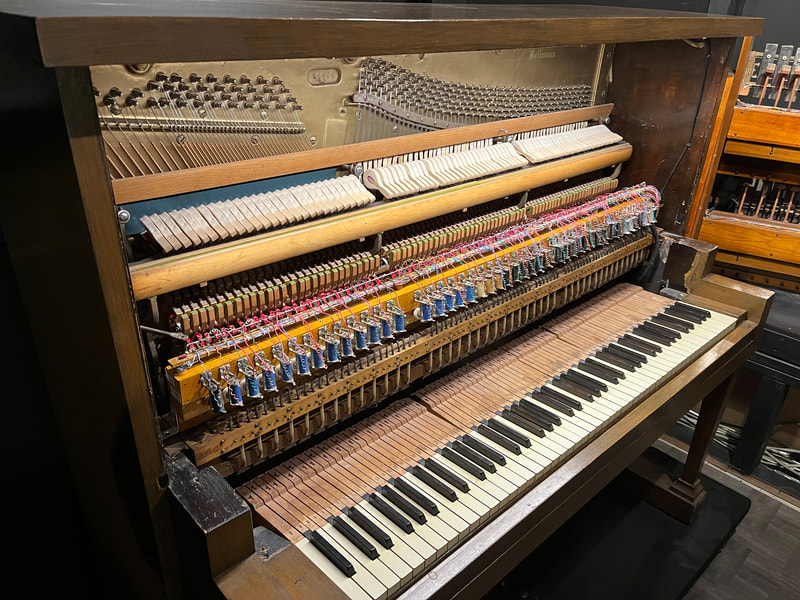
Downstairs in the chamber, the glockenspiel, xylophone, toy counter and sleigh bells were wired. Although not installed yet, the rear toy counter spreader was made, wired and installed where the counter will be mounted. Both toy counters go to a 66 block (the only one in the whole installation!) for easy punch down patching of things. Two traps on the front toy counter consume a lot of current, and thus need another relay. Those things are the auto horn and enclosed siren. The organ actually has two sirens – one in the chamber and one in the tone chute. Together, it sounds like a full air raid is upon us… our son likes playing with those buttons. He will stand at the drawer, hold them and smile. Perhaps he will be an organist. Perhaps he will take up percussion. Back to the auto horn – this thing uses so much current and creates so much electrical noise, that I installed a separate power supply in the closet, just for it. The power supply has a voltage dial on it so you can dial things up or down to change the sound of the horn. The power supply is plugged into an outlet that was added on switched power (with the rectifiers). Next was the sleigh bell project. About half of the bells were on the wrong straps, so ringing individual notes sounded more like arguments than a single pitch. There was no easy way to fix this problem outside of taking each strap off, removing all the bells and using a tuner to find the pitch of each bell. Once figured out, the proper bells were re-attached to the straps and mounted back on the action. Although there are some bells missing due to being cracked or needing major tuning, there are plenty of bells to make a lot of noise with. Continuing to work our way down from the console to the floor… under deck lighting was installed so that the reservoirs would be lit up in case of future maintenance needs under the decking. LED tape was installed in aluminum housings with plastic diffusers. A toggle switch was installed near the back of the chamber, where you could enter the enclosed area. Finally, the entire chamber was given a good cleaning out and vacuuming. Although at the time of writing this article (11/15), the toy counter and percussions are not yet winded, that is the plan ahead of our December 9th program! Just outside the chamber in the tone chute, the magnet rail was installed on top of the stack for the upright player piano. Together with two 25-pair cables, an extension cord for the vacuum pump and vacuum line for a control panel gauge, a bundle of cable was made to feed that piano. Although the piano still needs some work to play from the organ, this was a good step in the right direction. Along with installing the magnet rail, two conductors were added on a terminal strip to drive the LED light that illuminates the inside “guts” of the piano, which is visible from above through the grills in the music room. This light turns on when the rectifiers are on. Finally, I’d like to thank Andy Meyer for mitering a post horn pipe to fit. Andy continues to do phenomenal work on what is more of an art than a science. More on that in a later update.
0 Comments
|
The BlogCheck out this page for project updates! Archives
July 2024
Categories |
 RSS Feed
