|
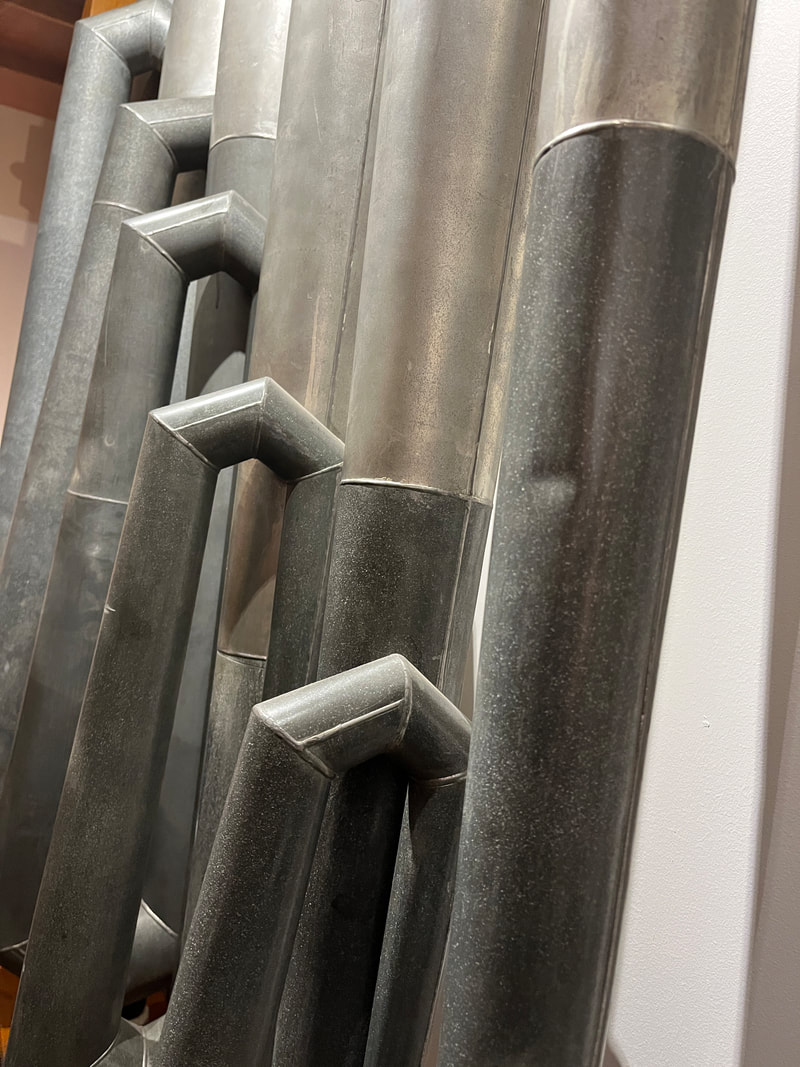
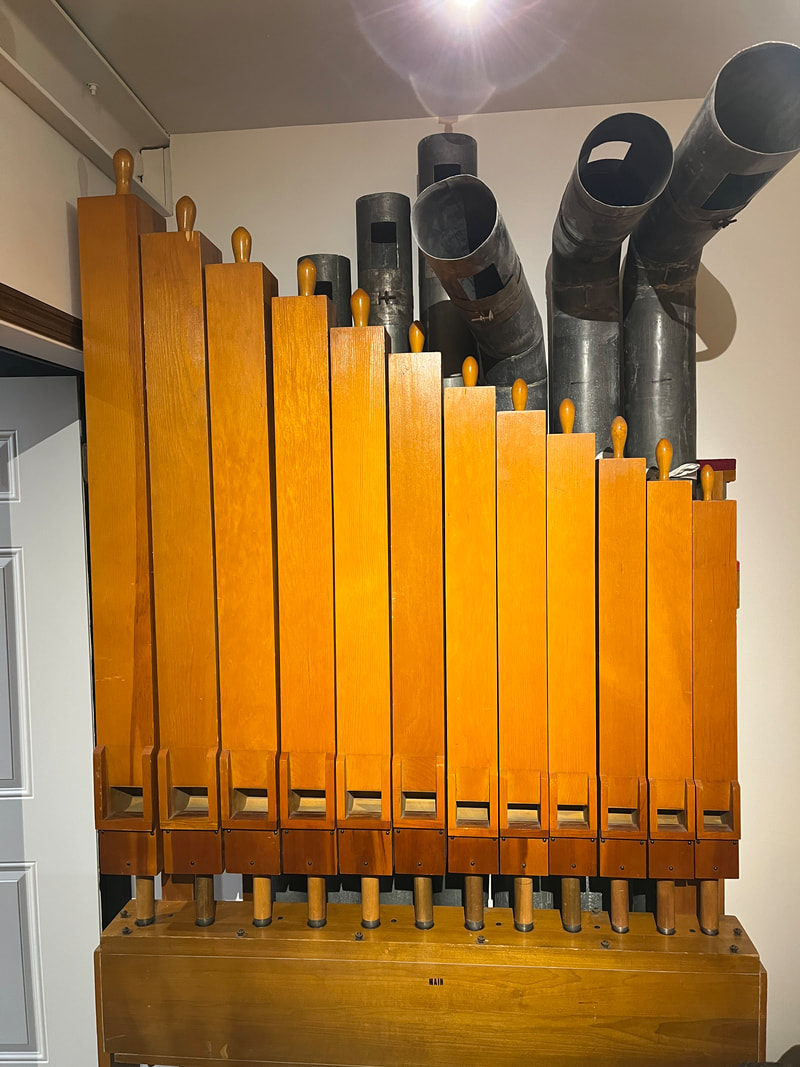
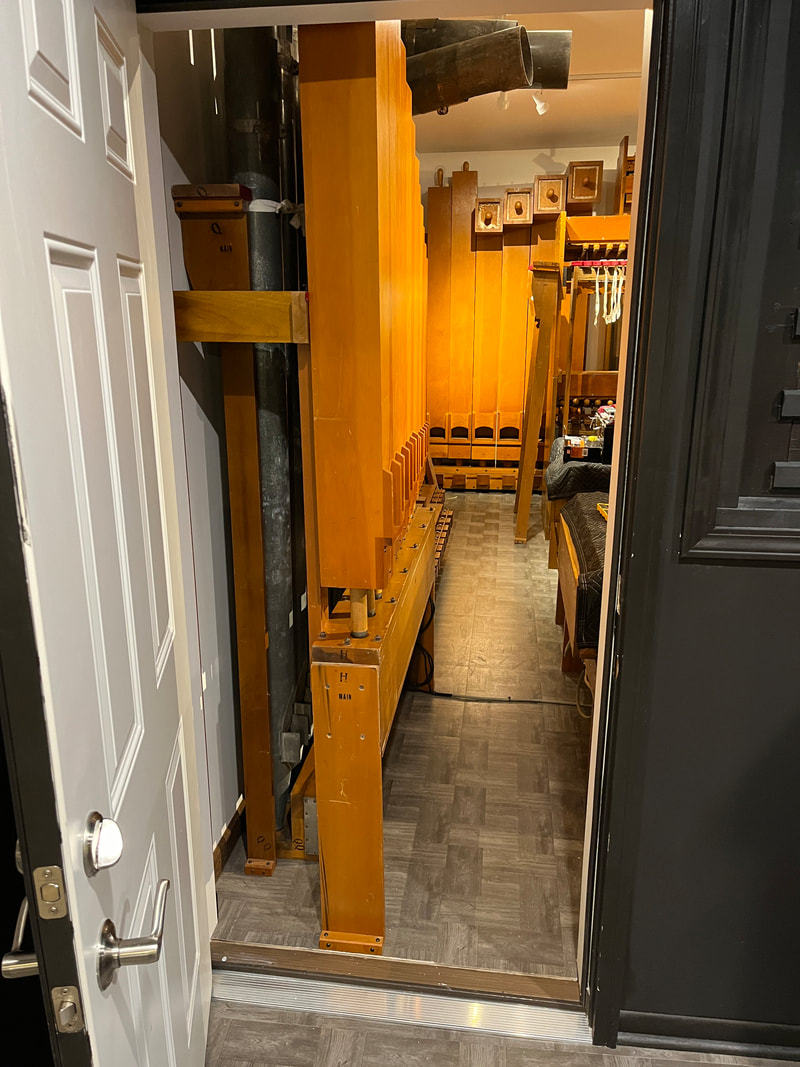
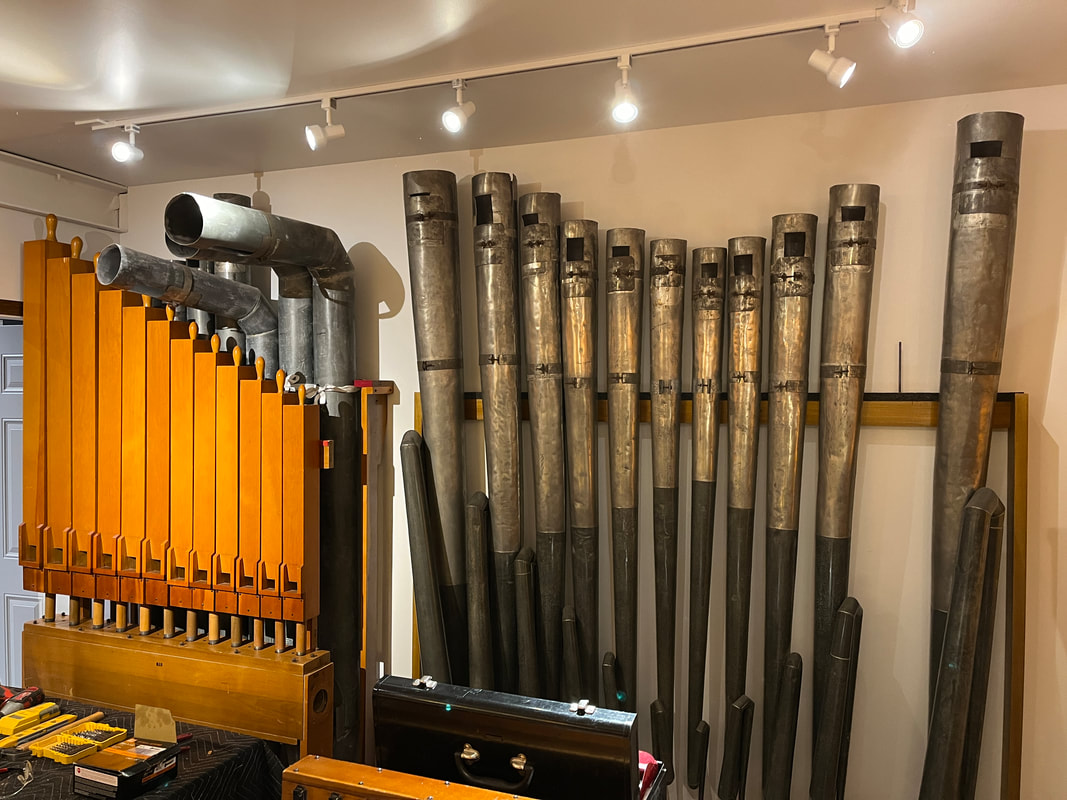
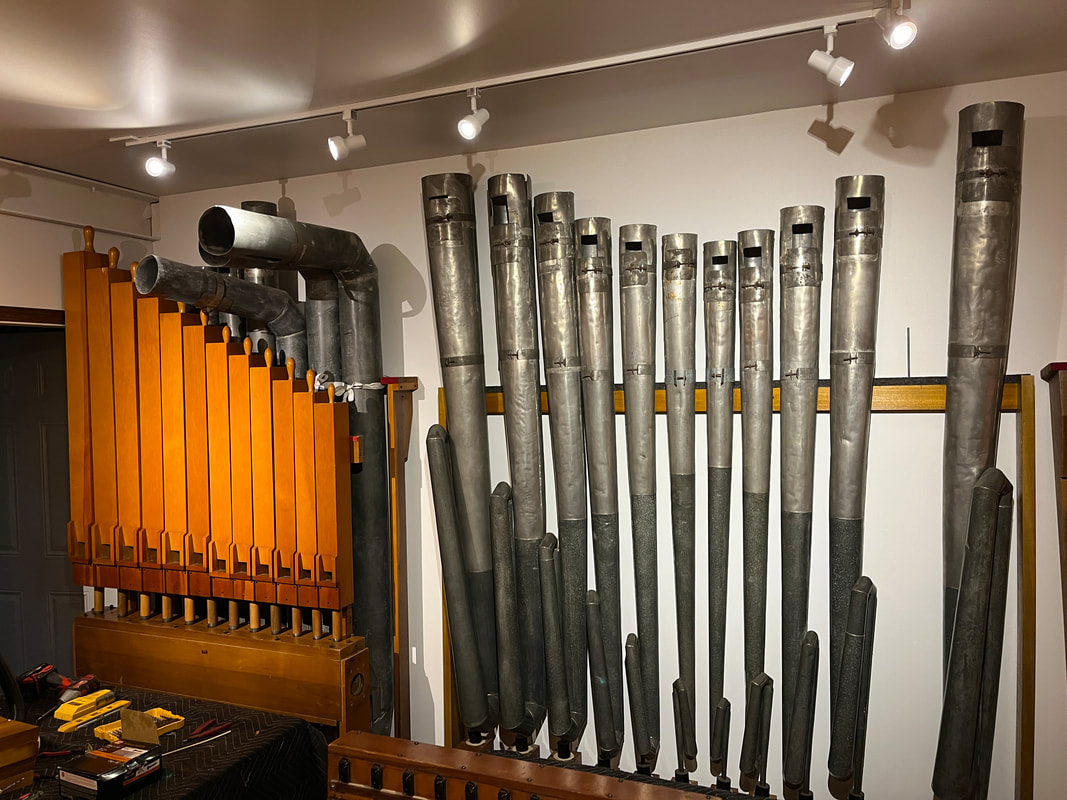
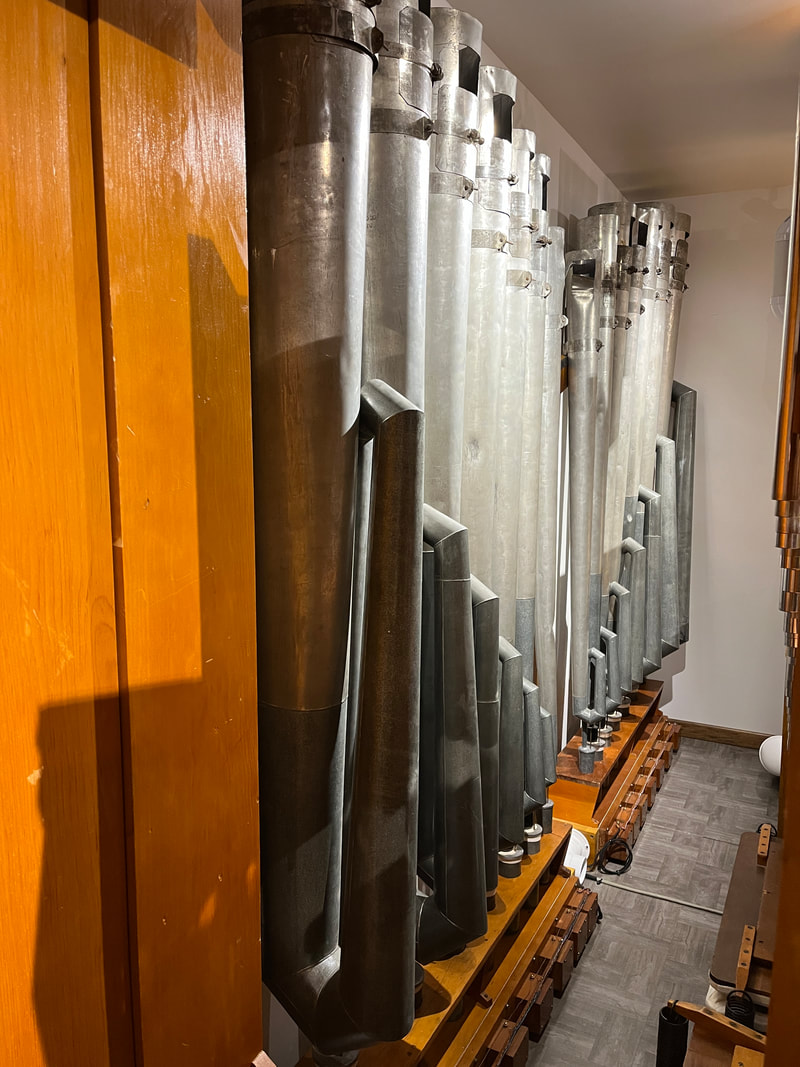
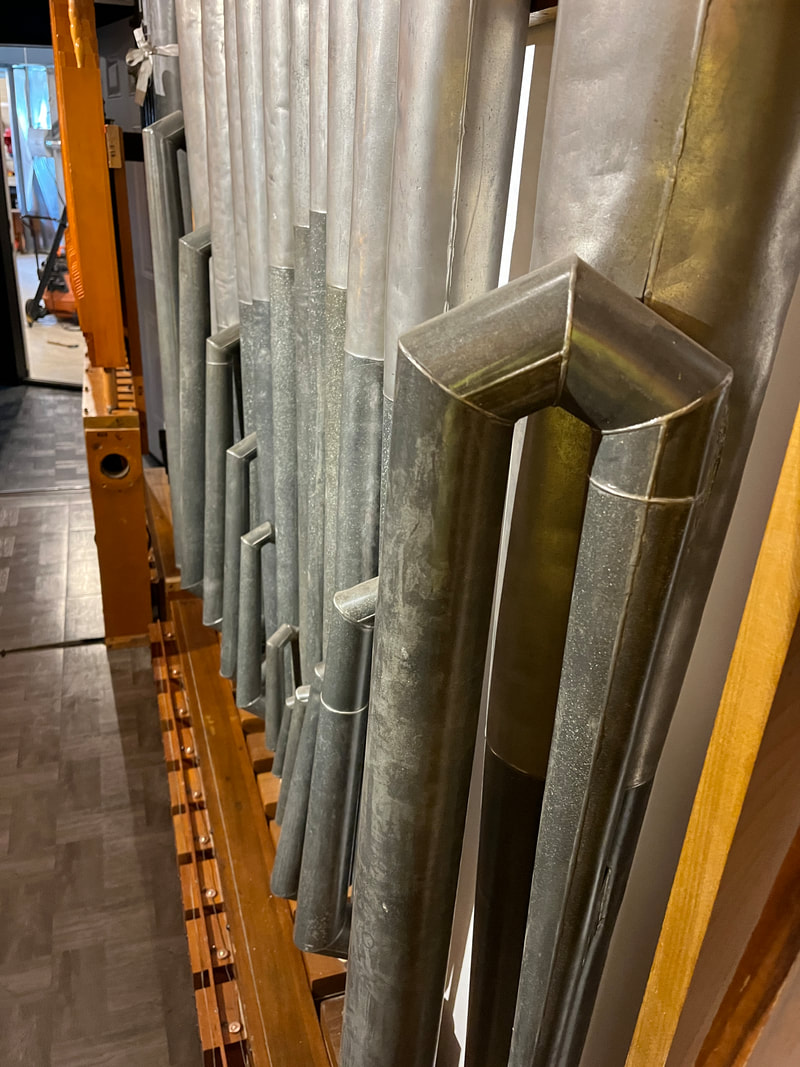
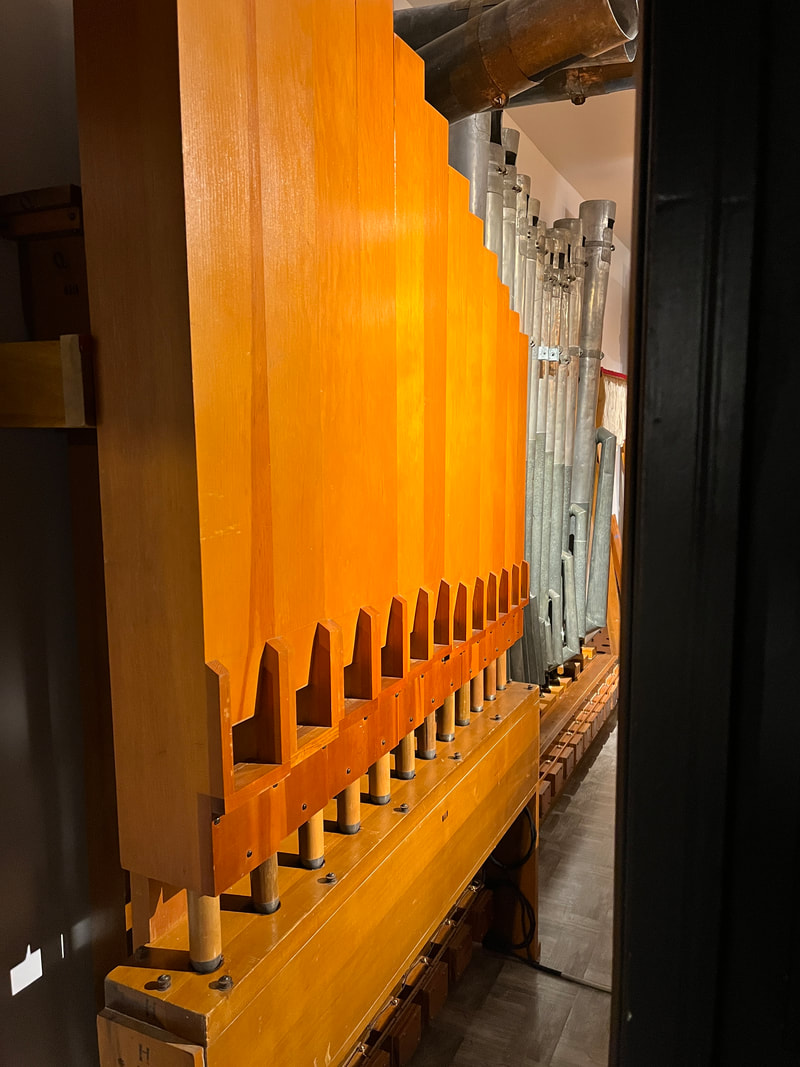
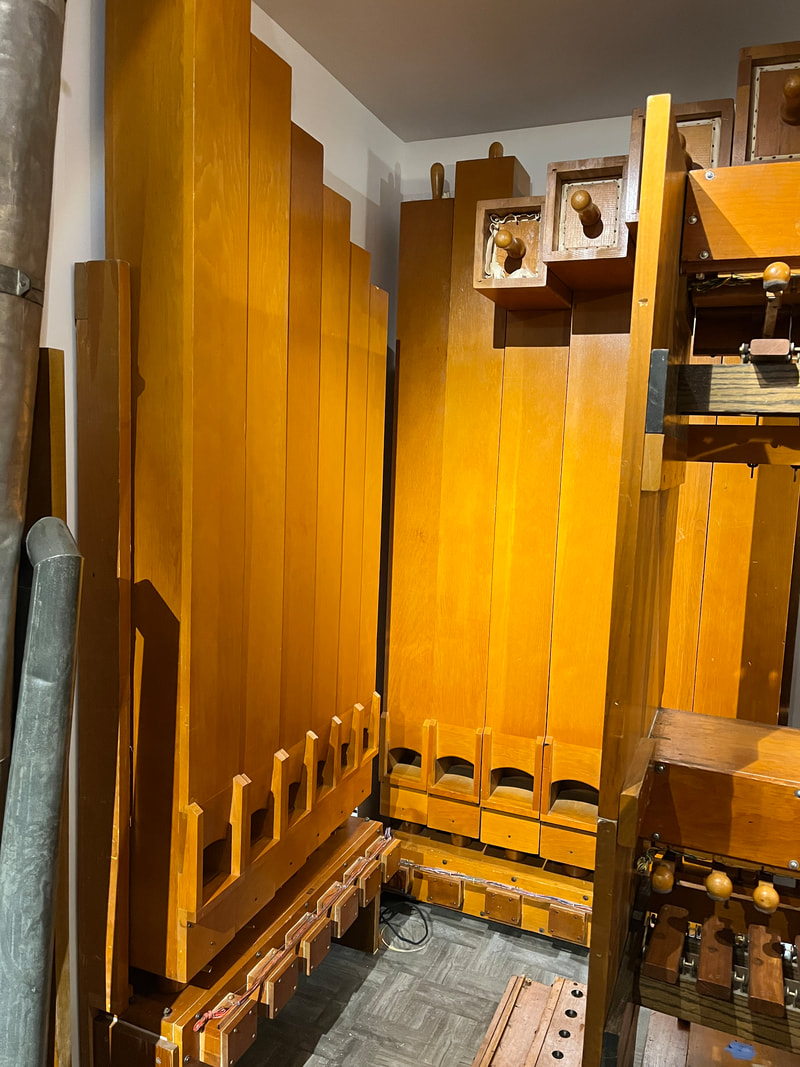
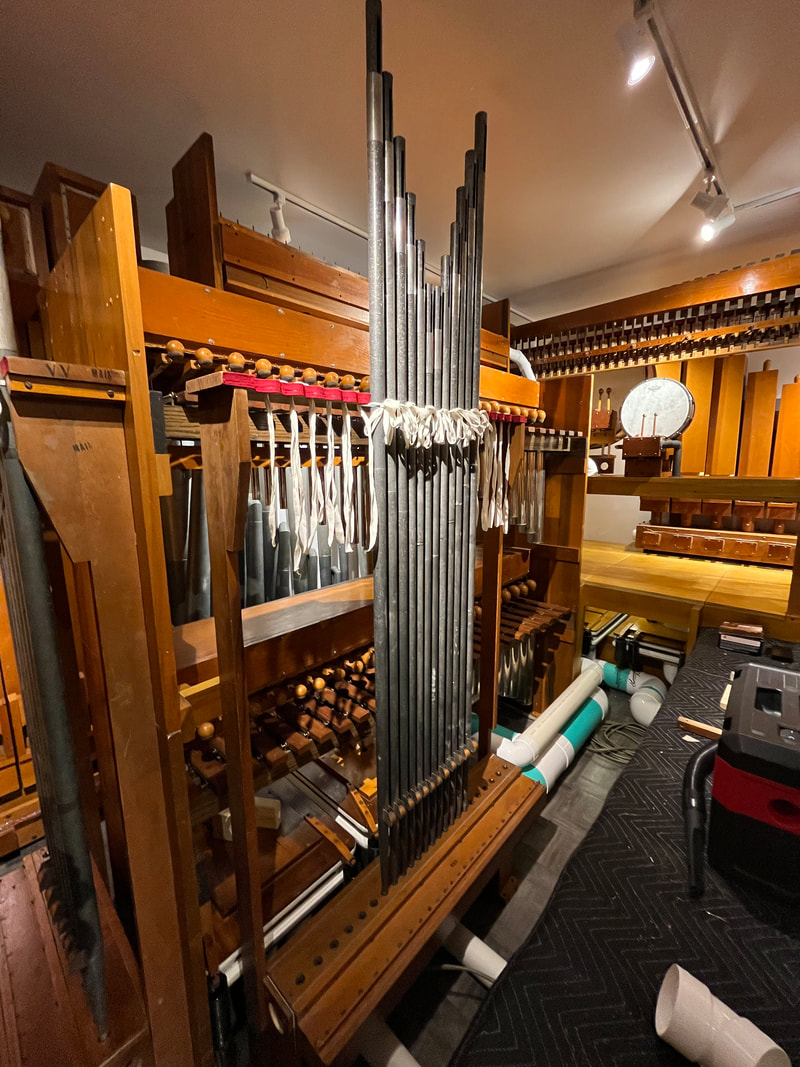
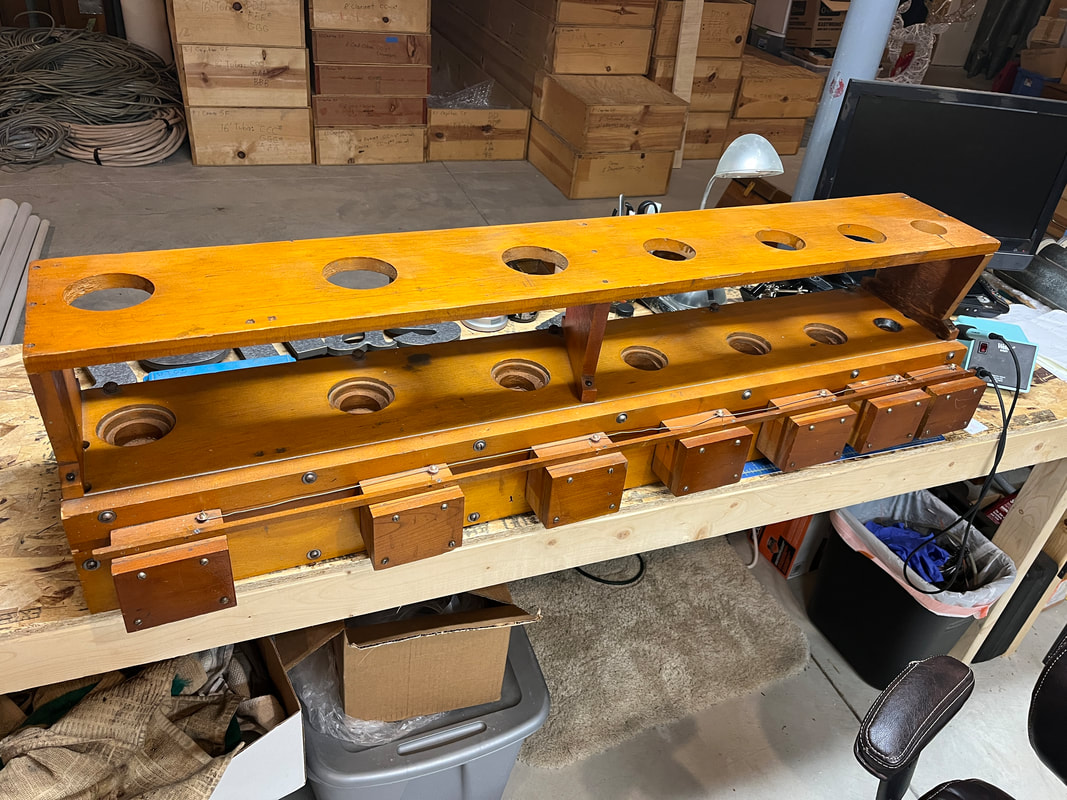
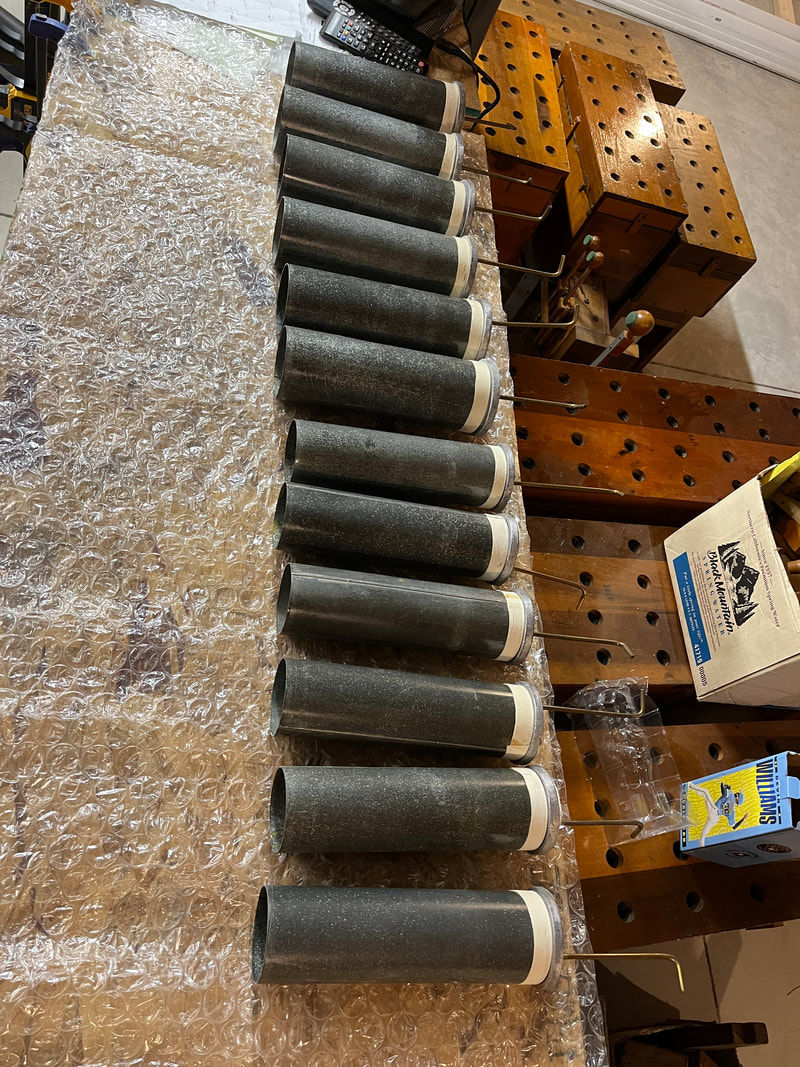
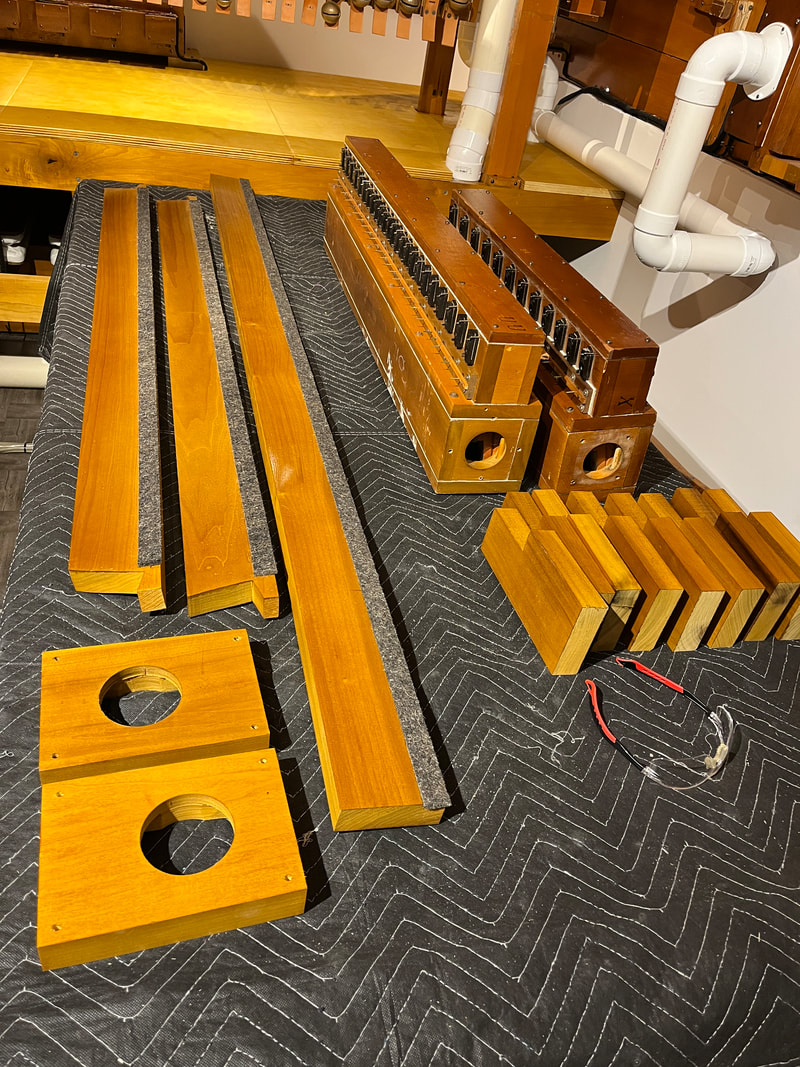
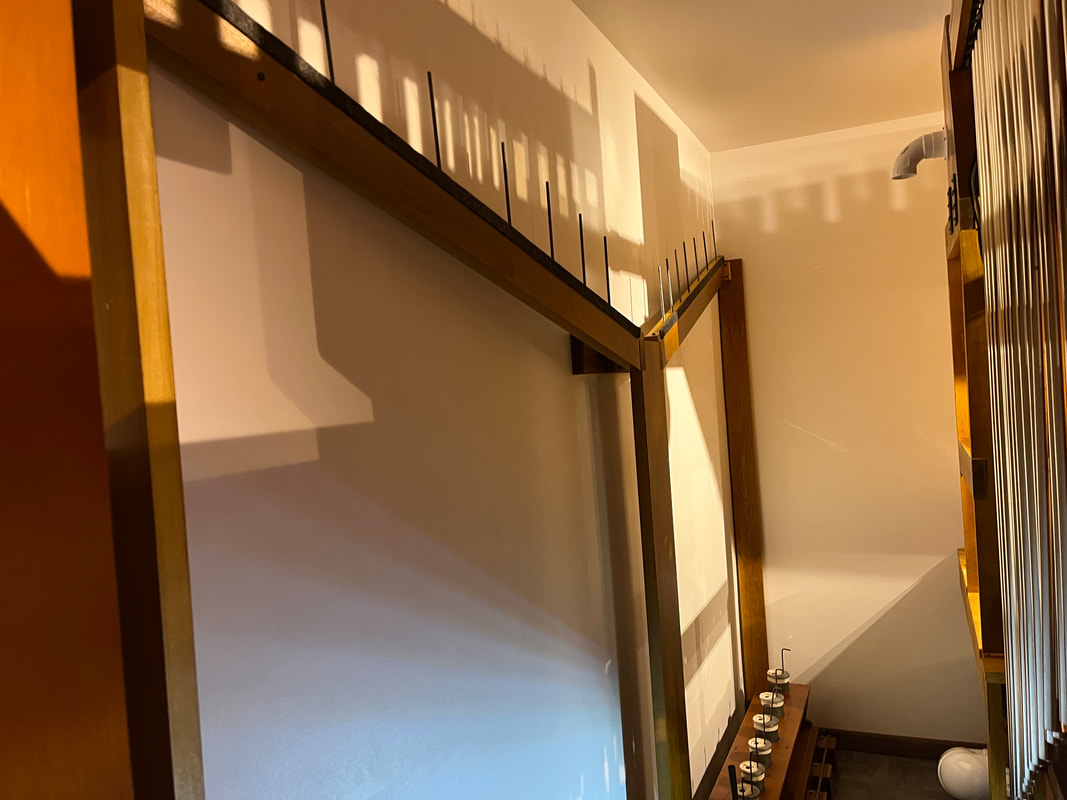
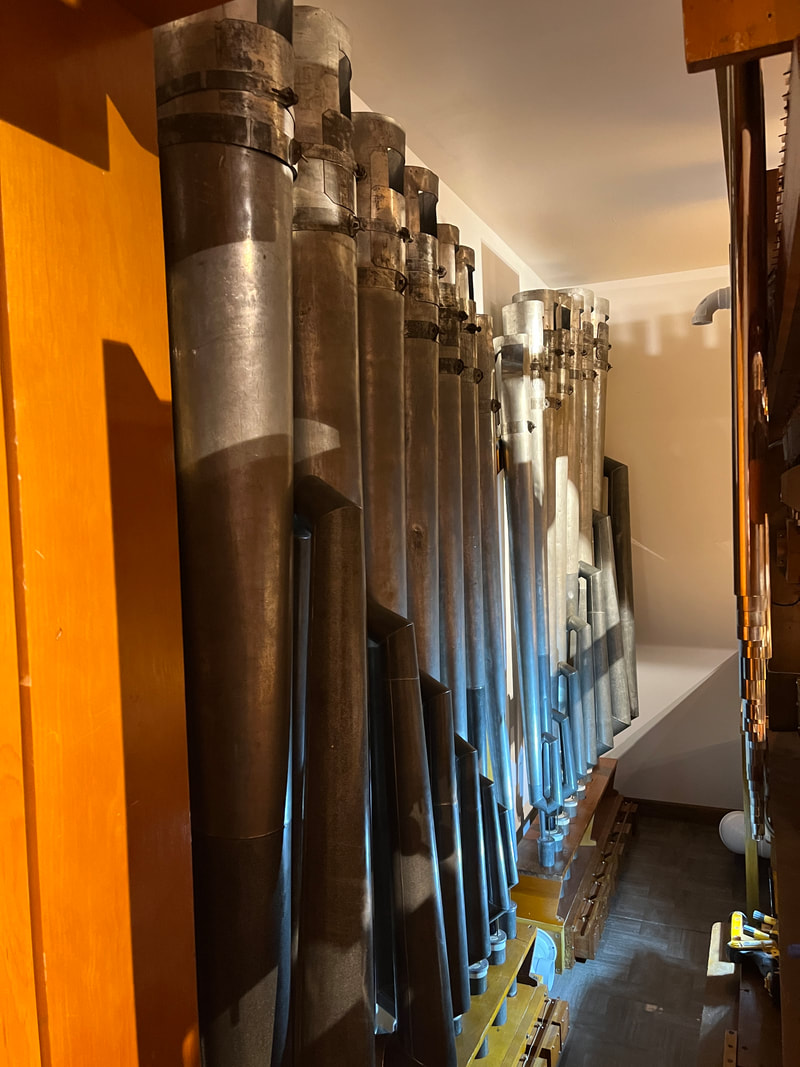
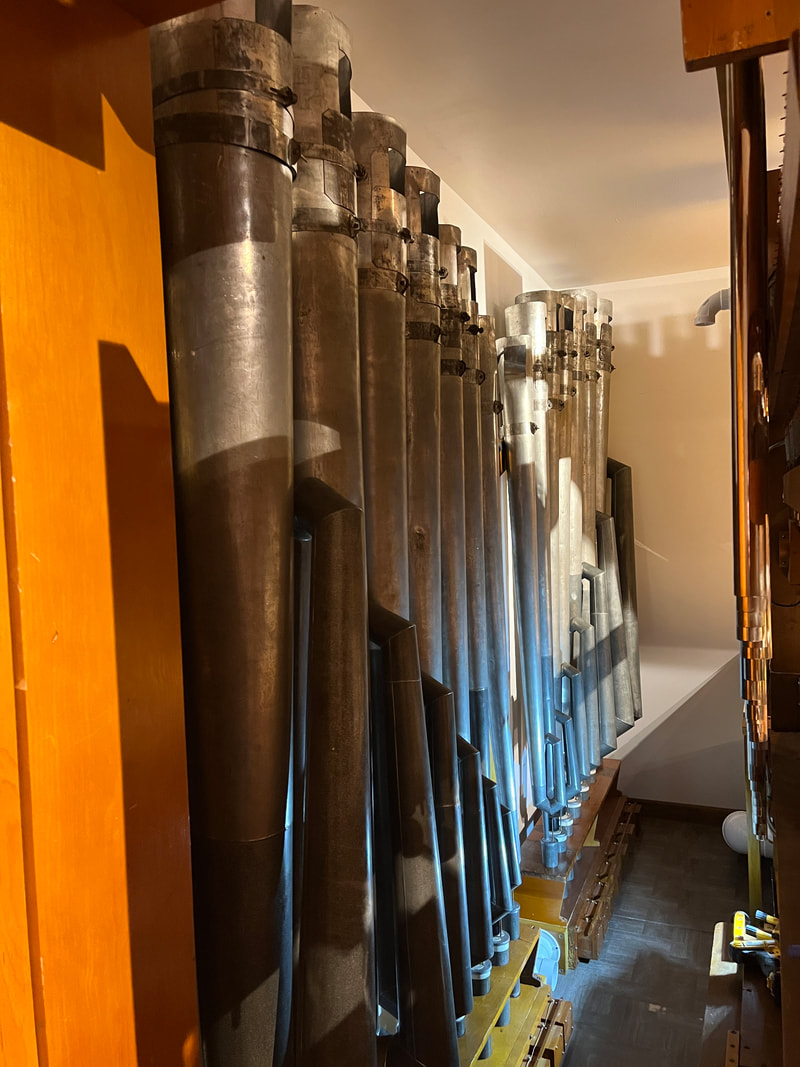
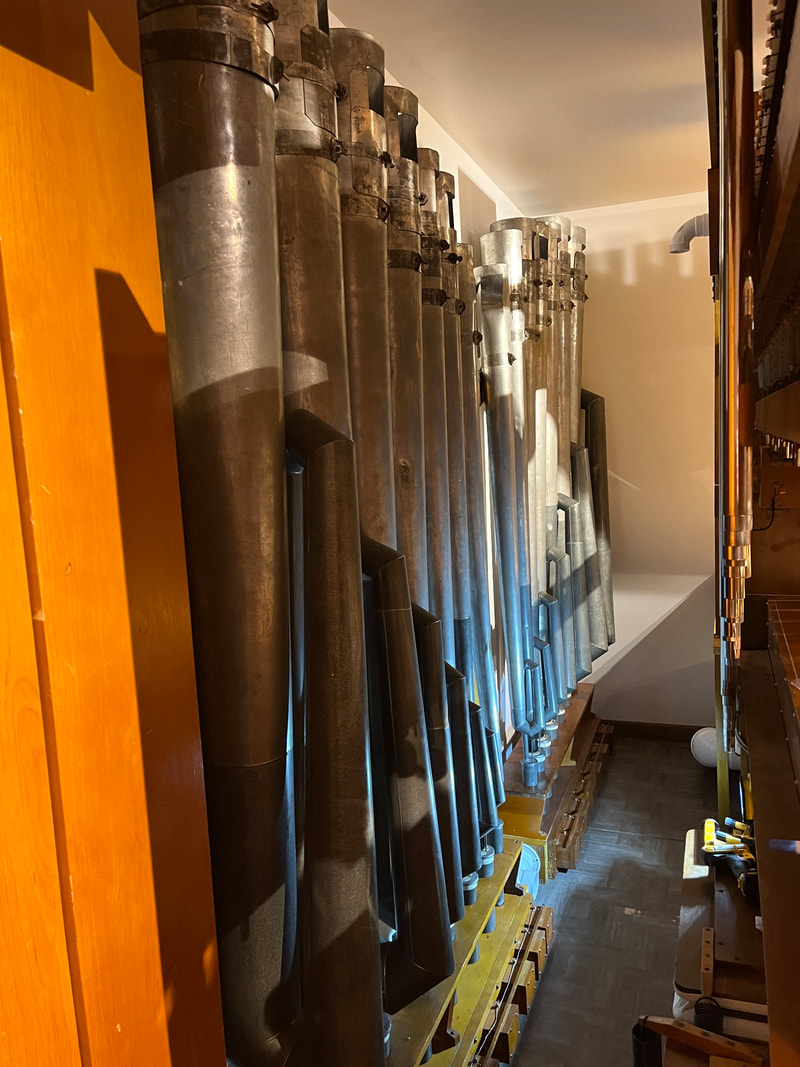
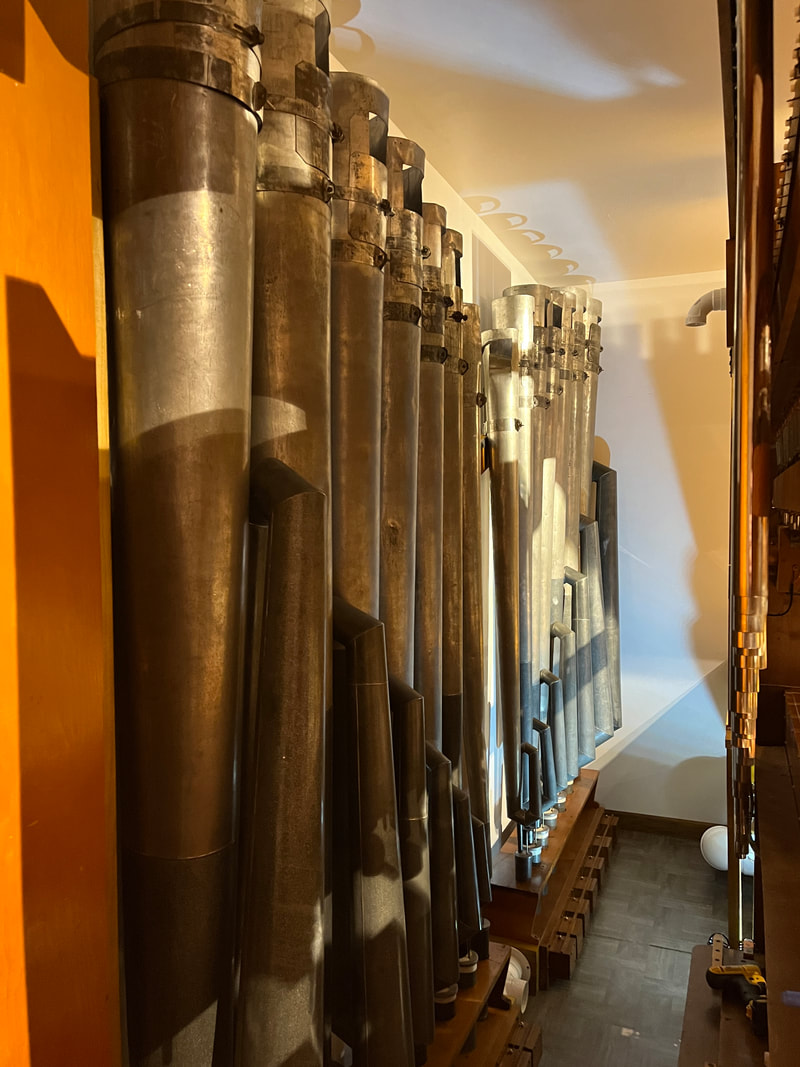
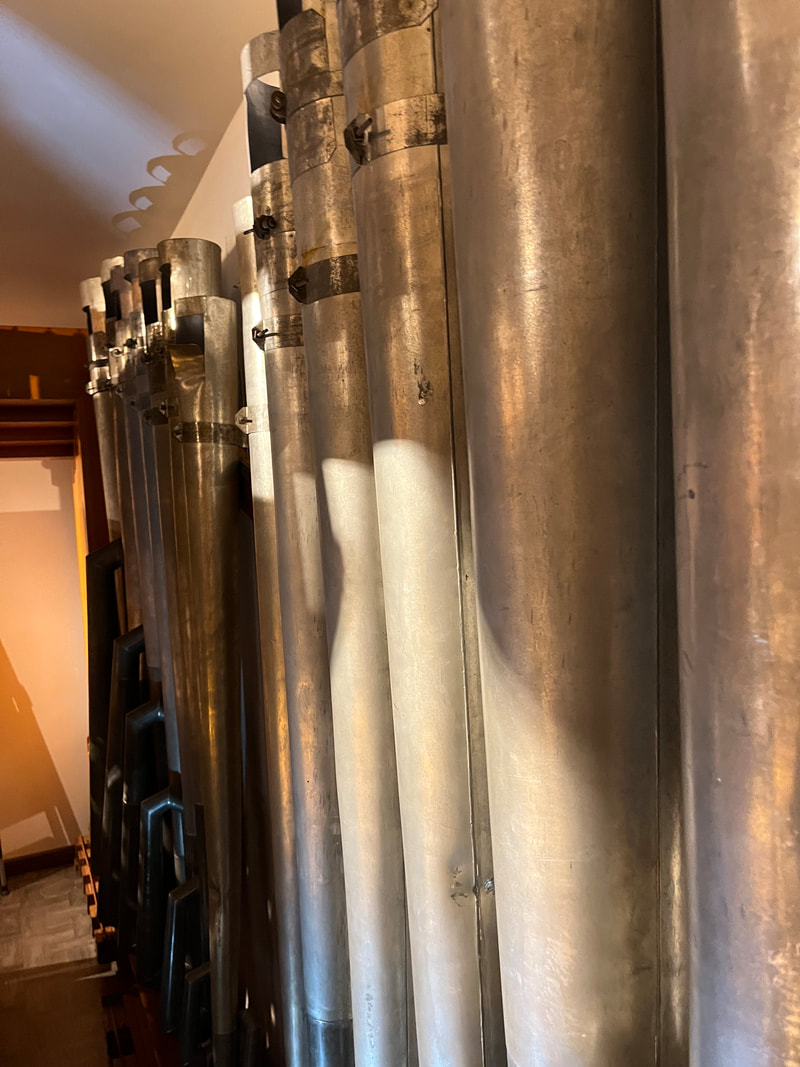
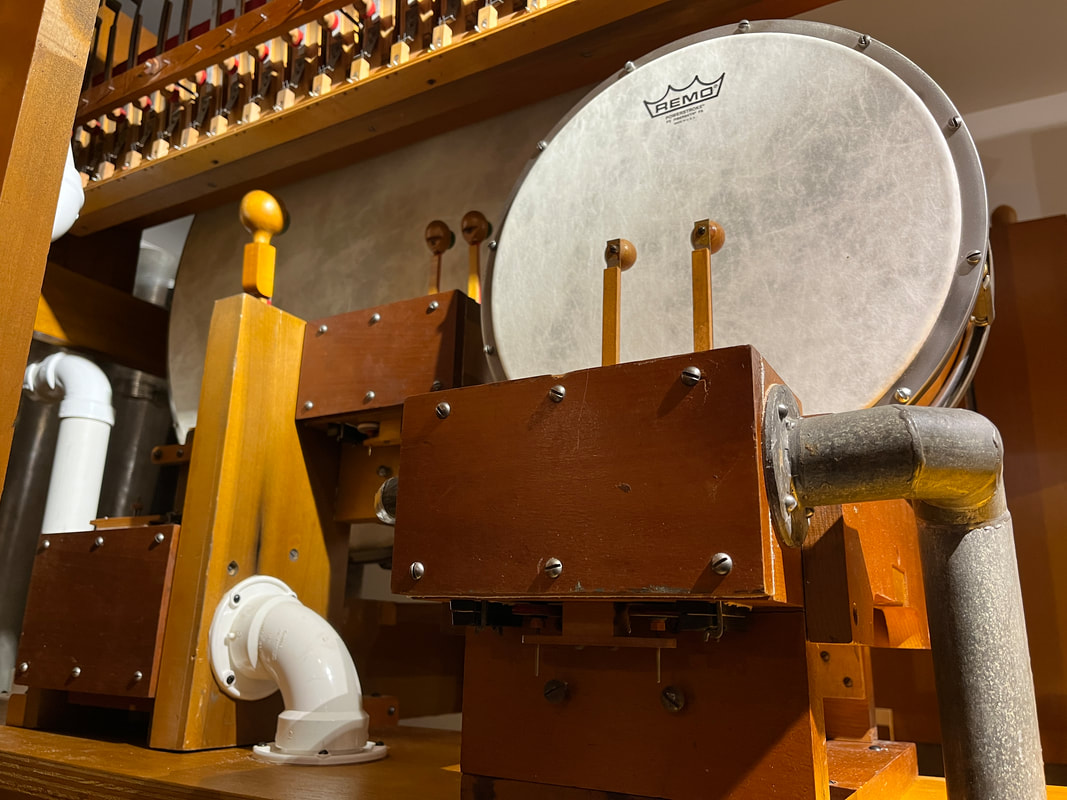
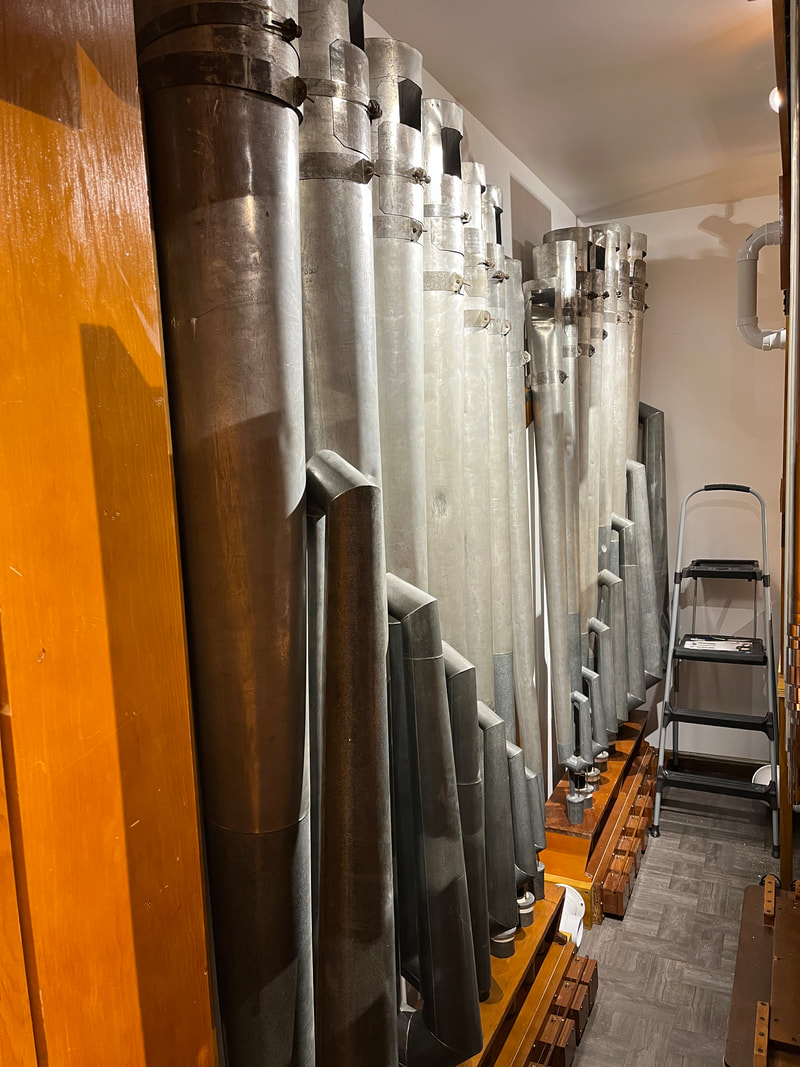
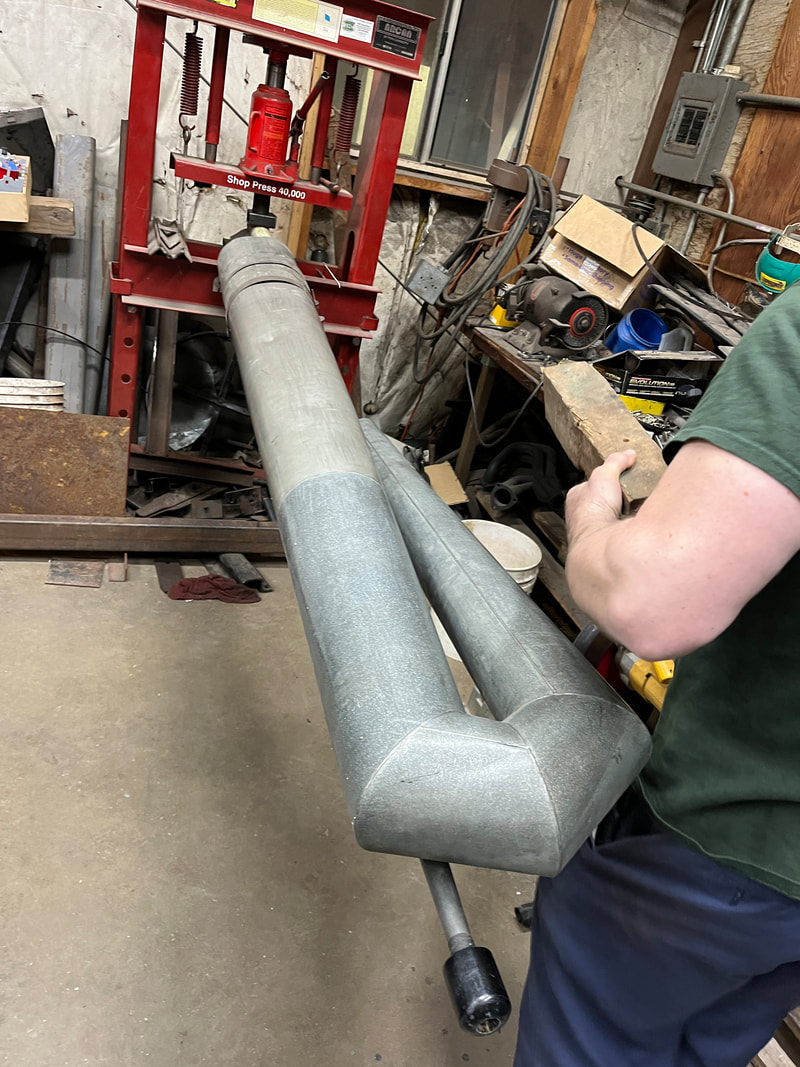
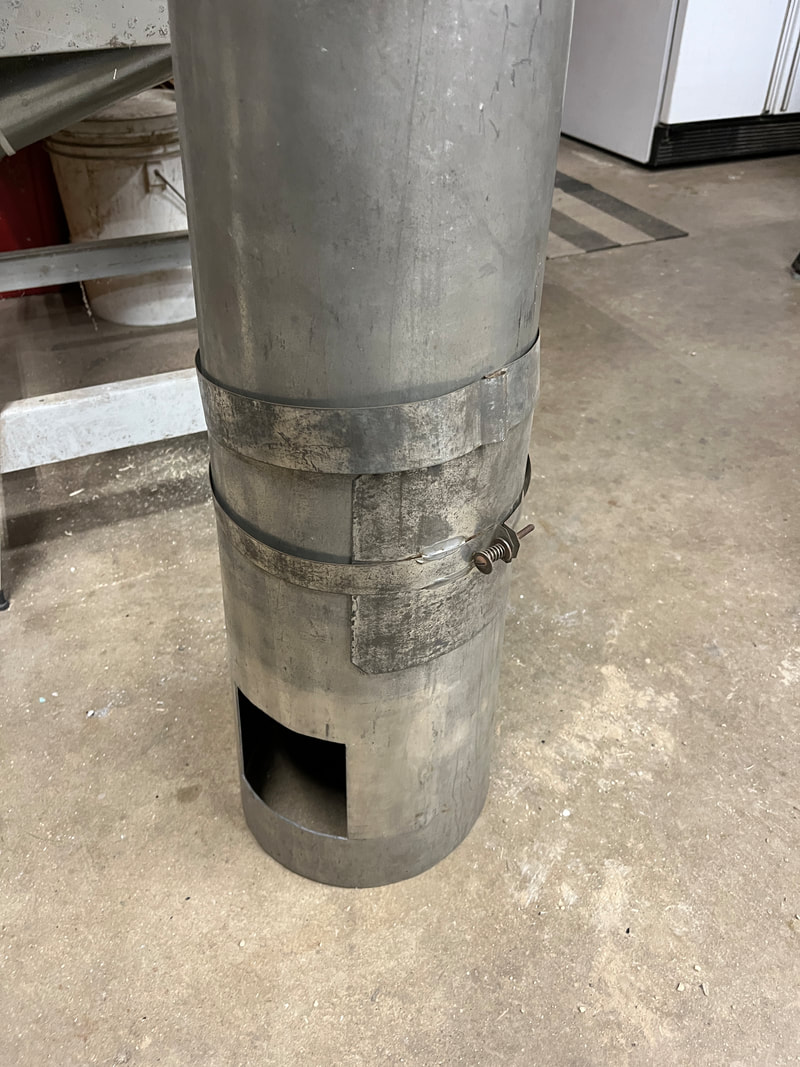
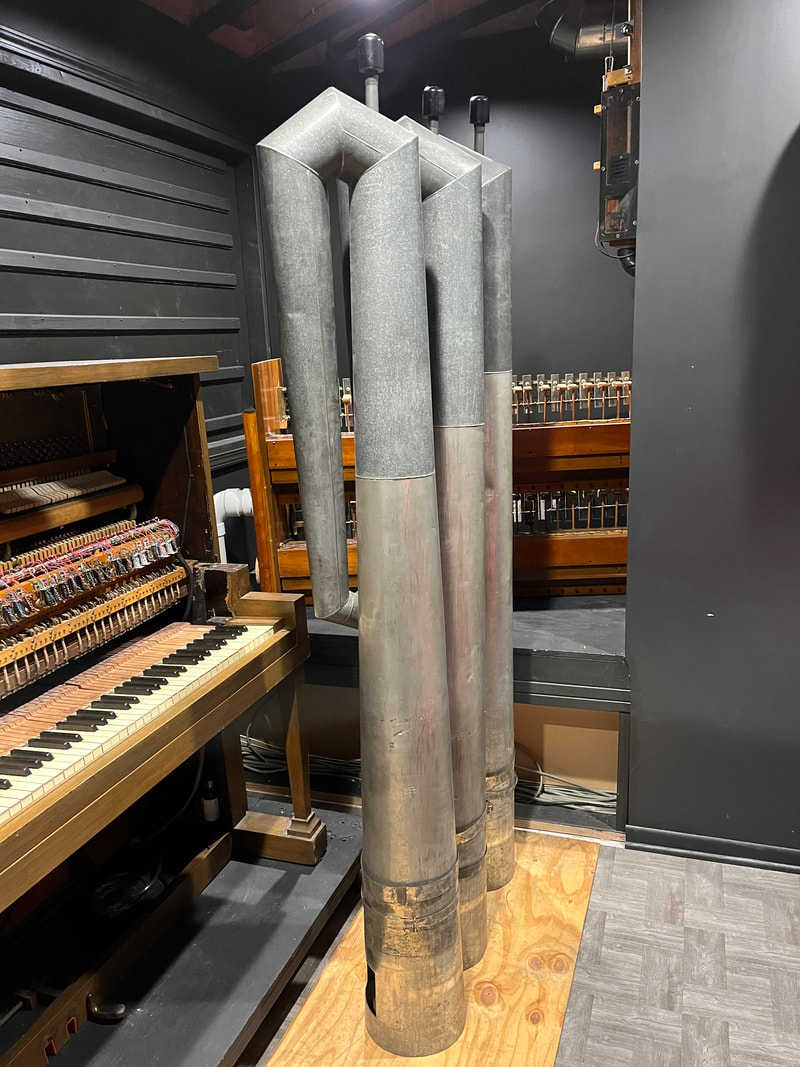
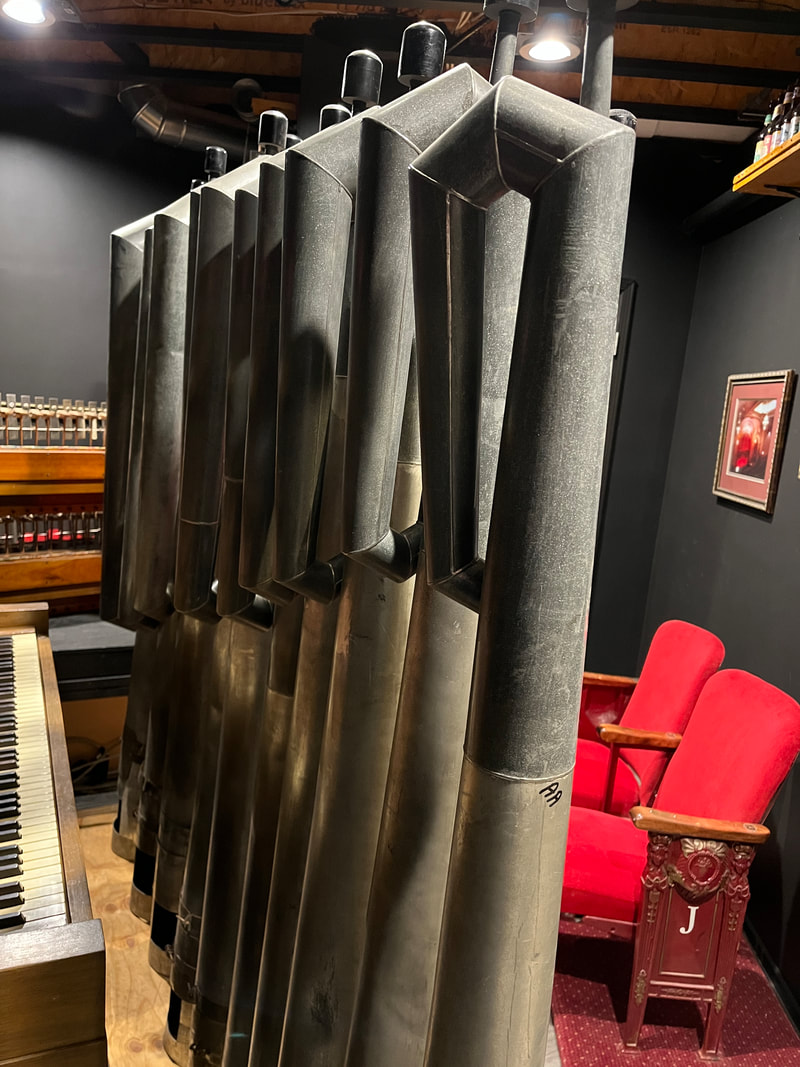
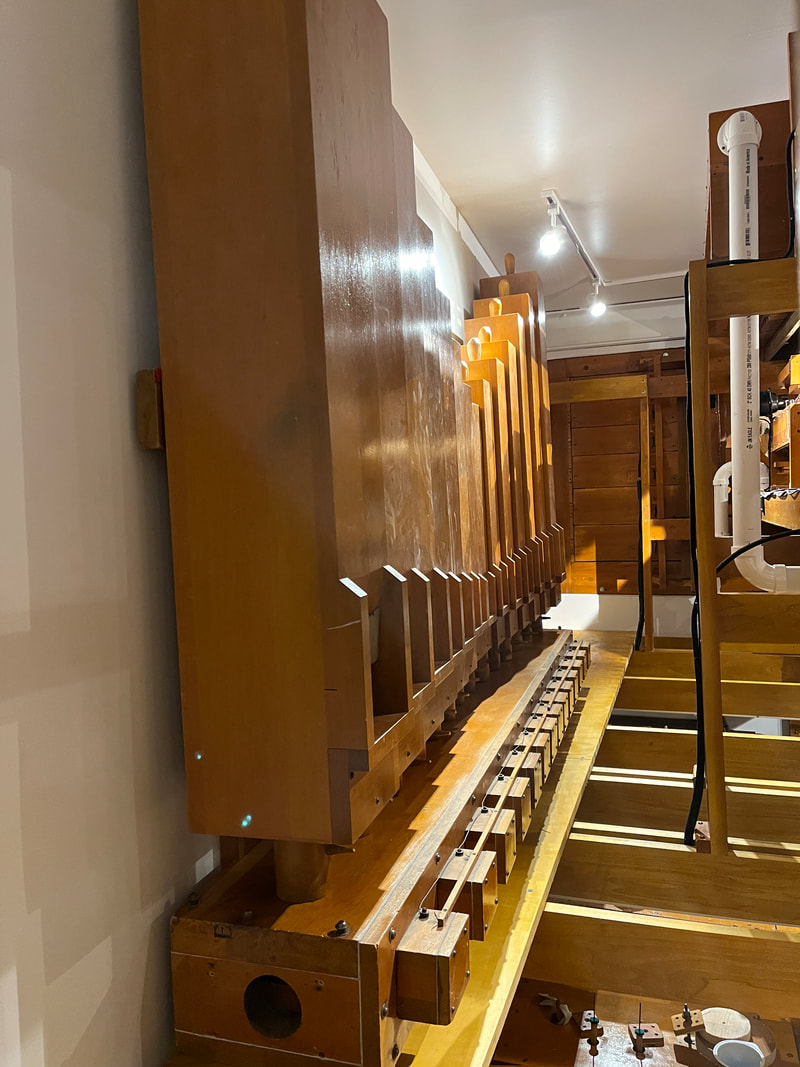
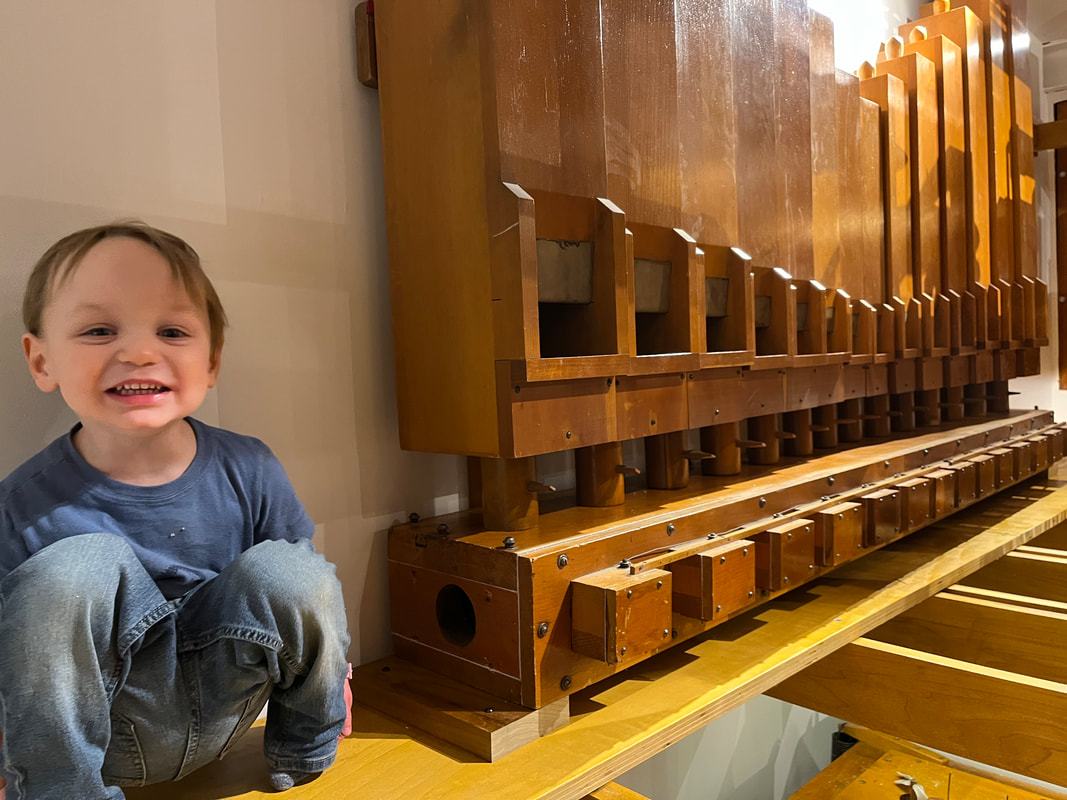
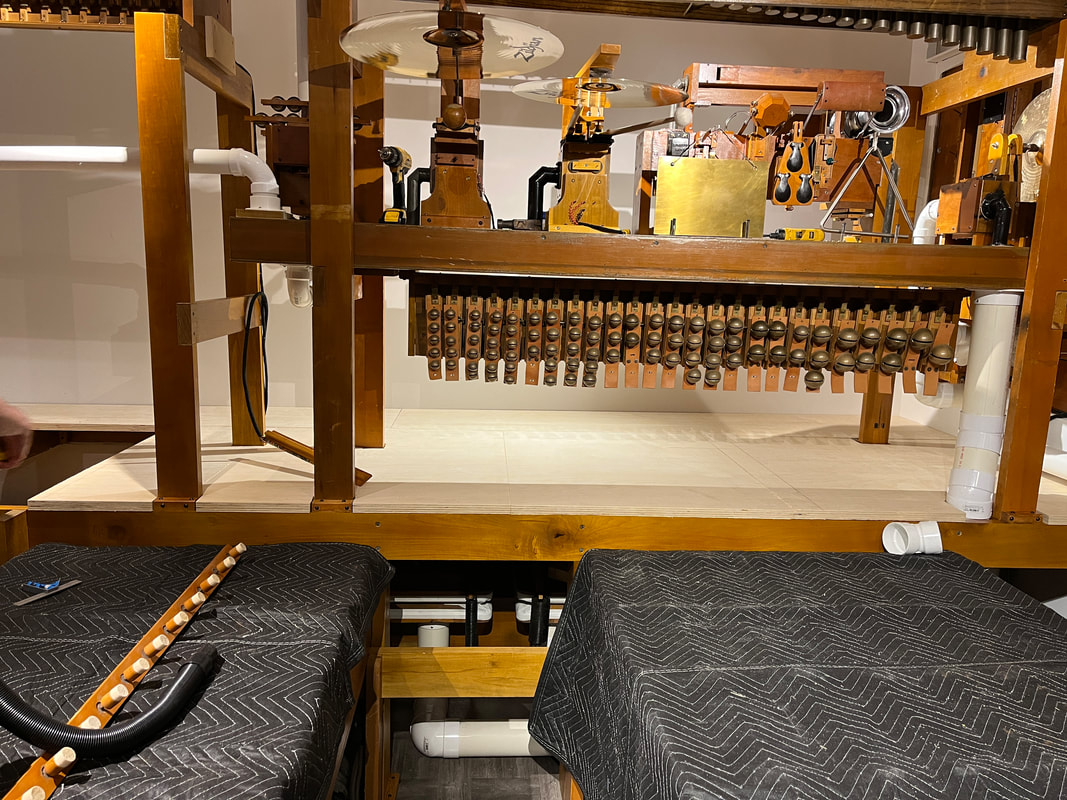
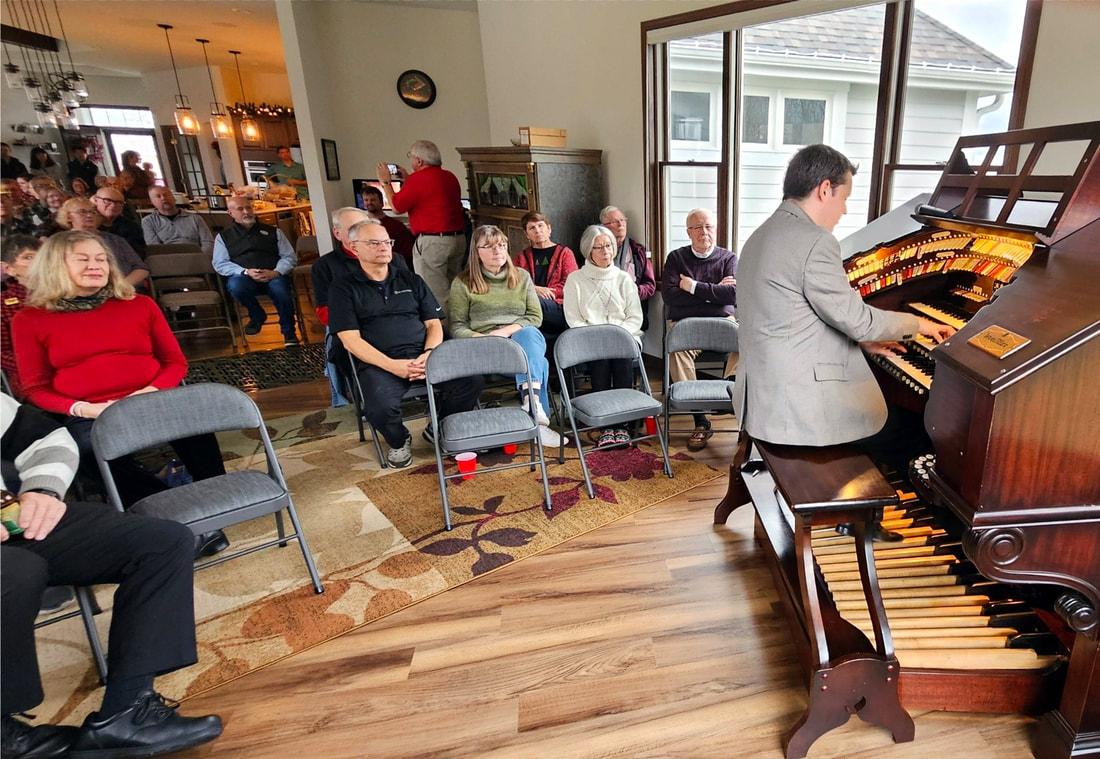
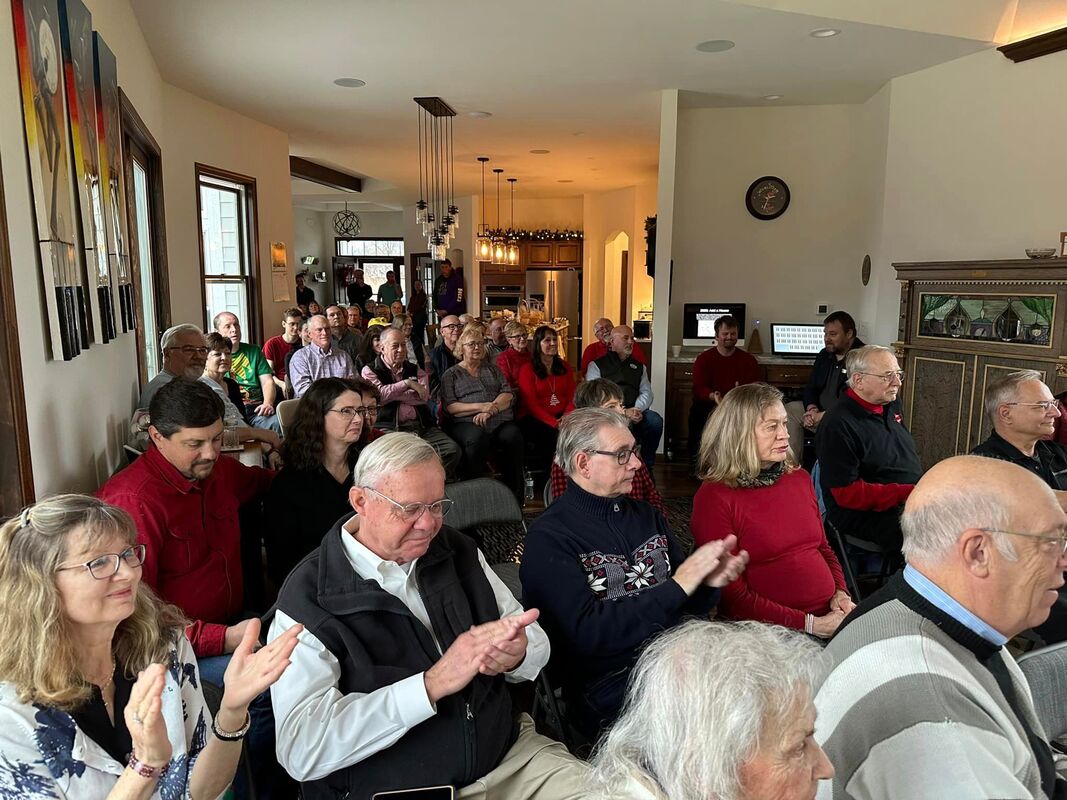
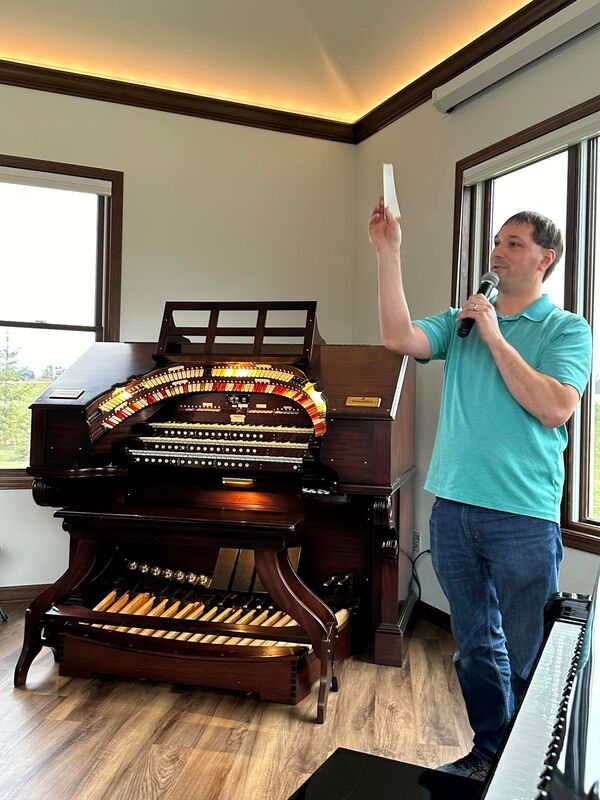
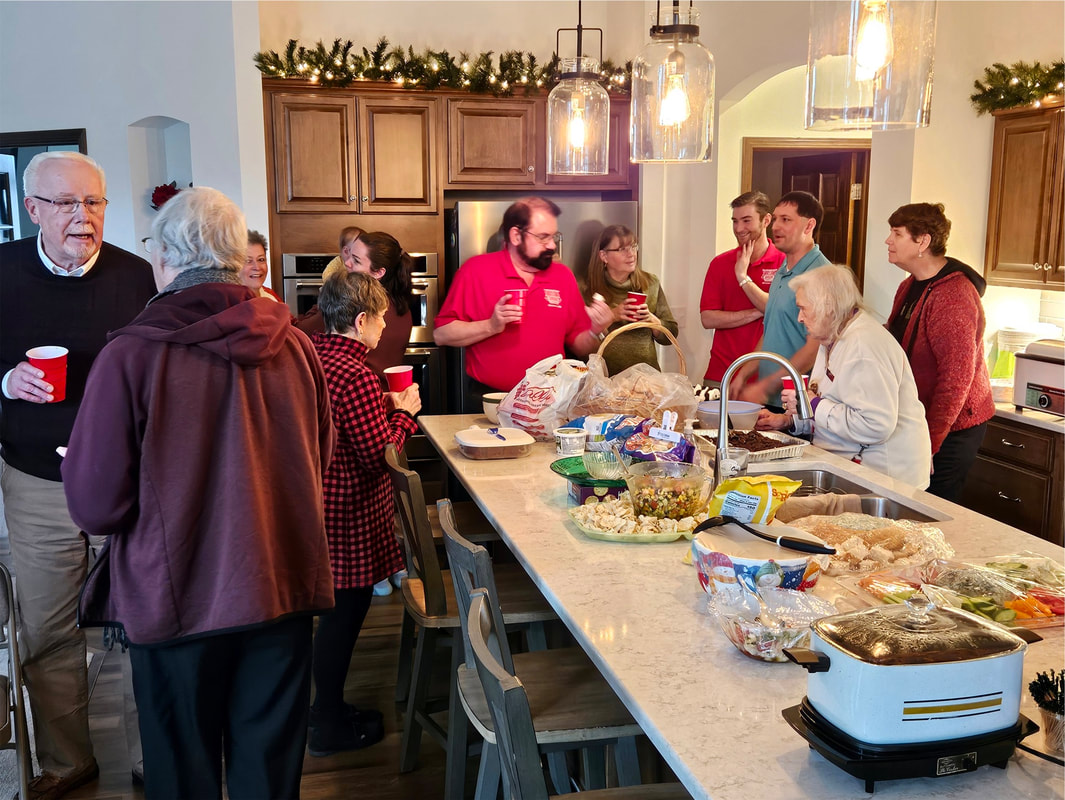
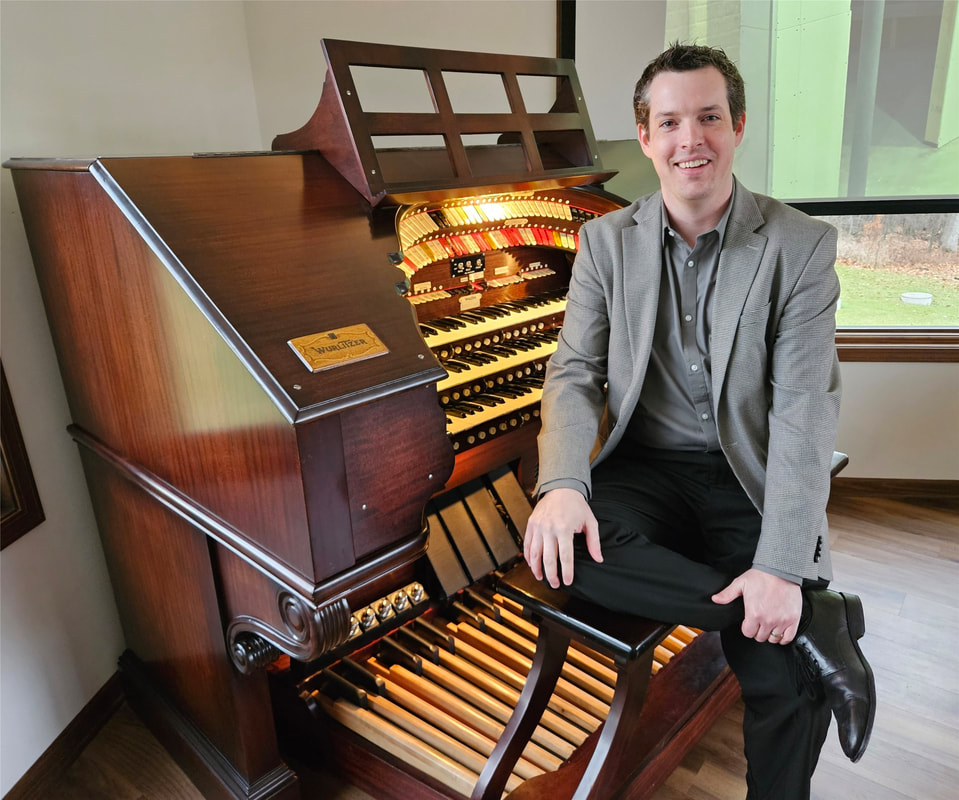
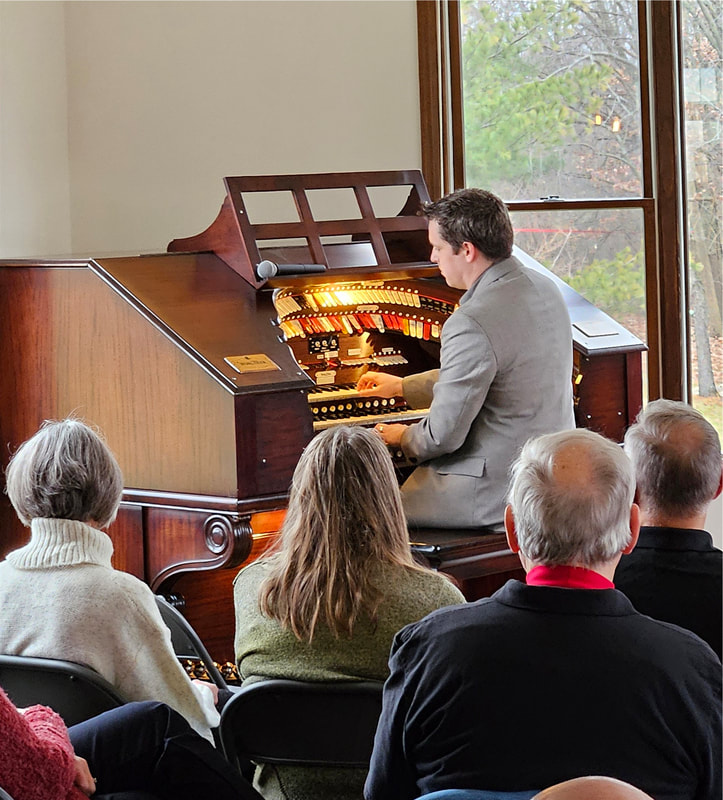
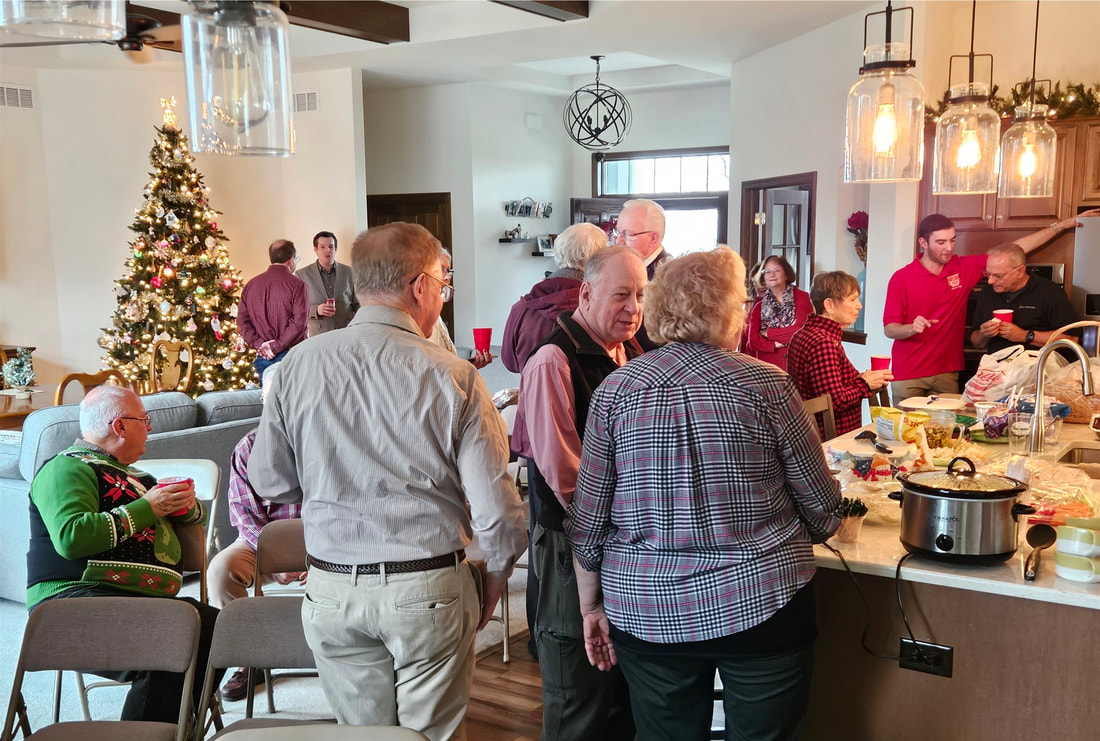
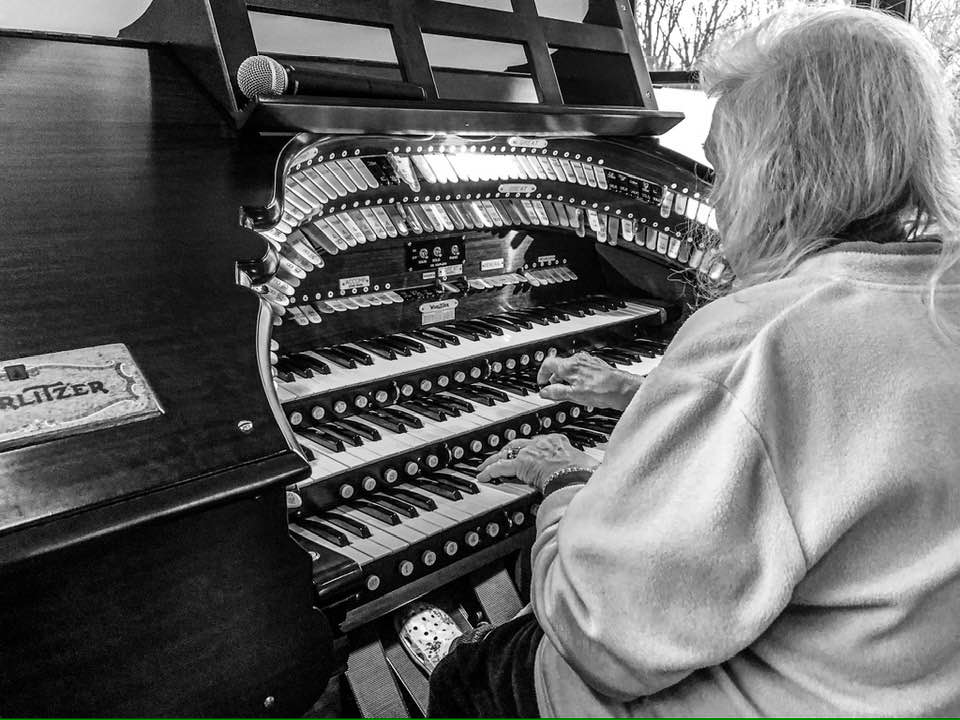
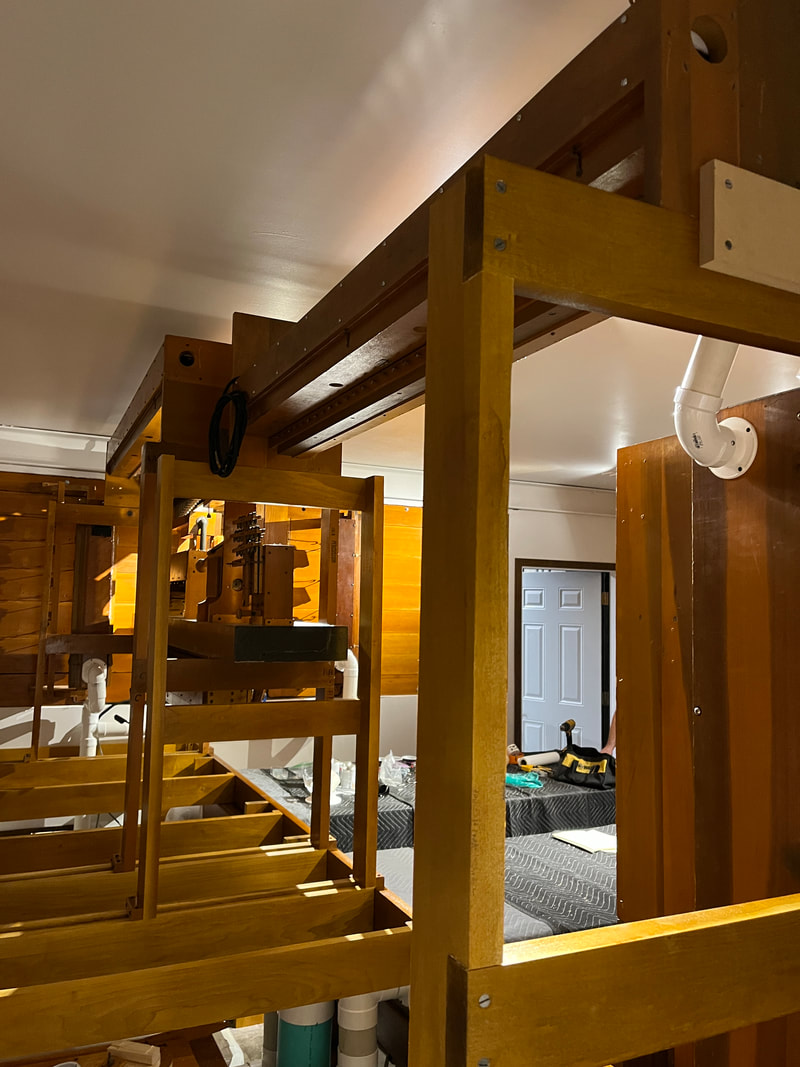
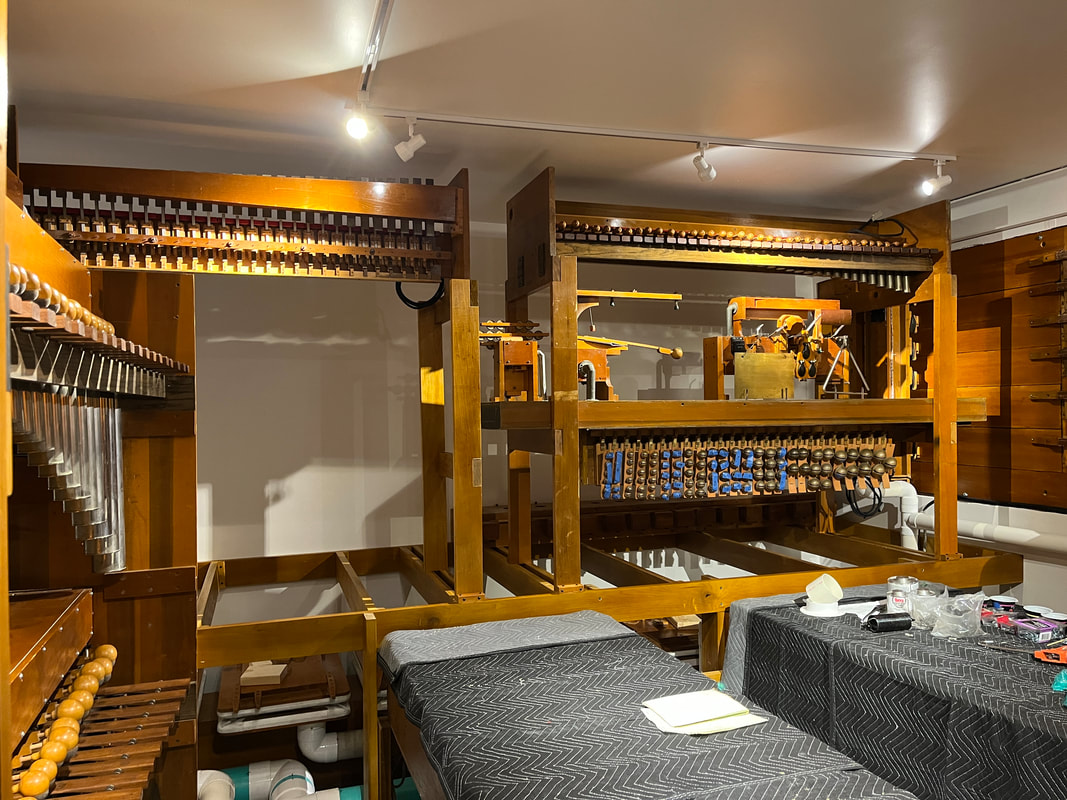
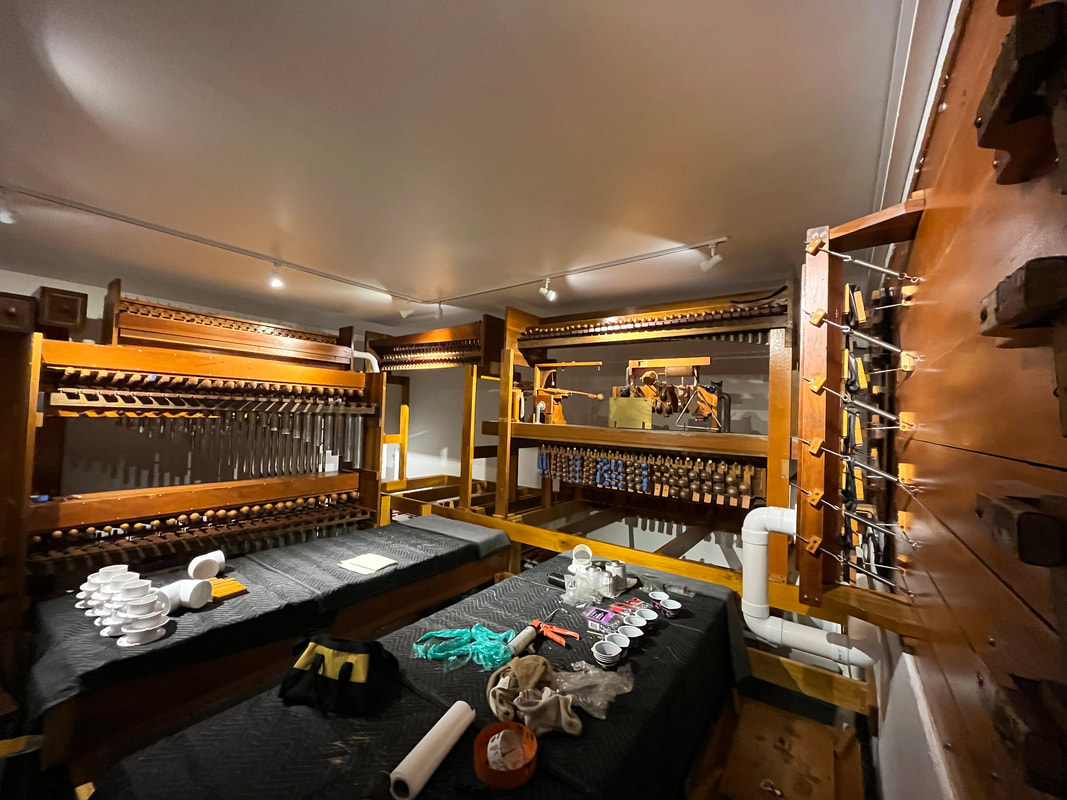
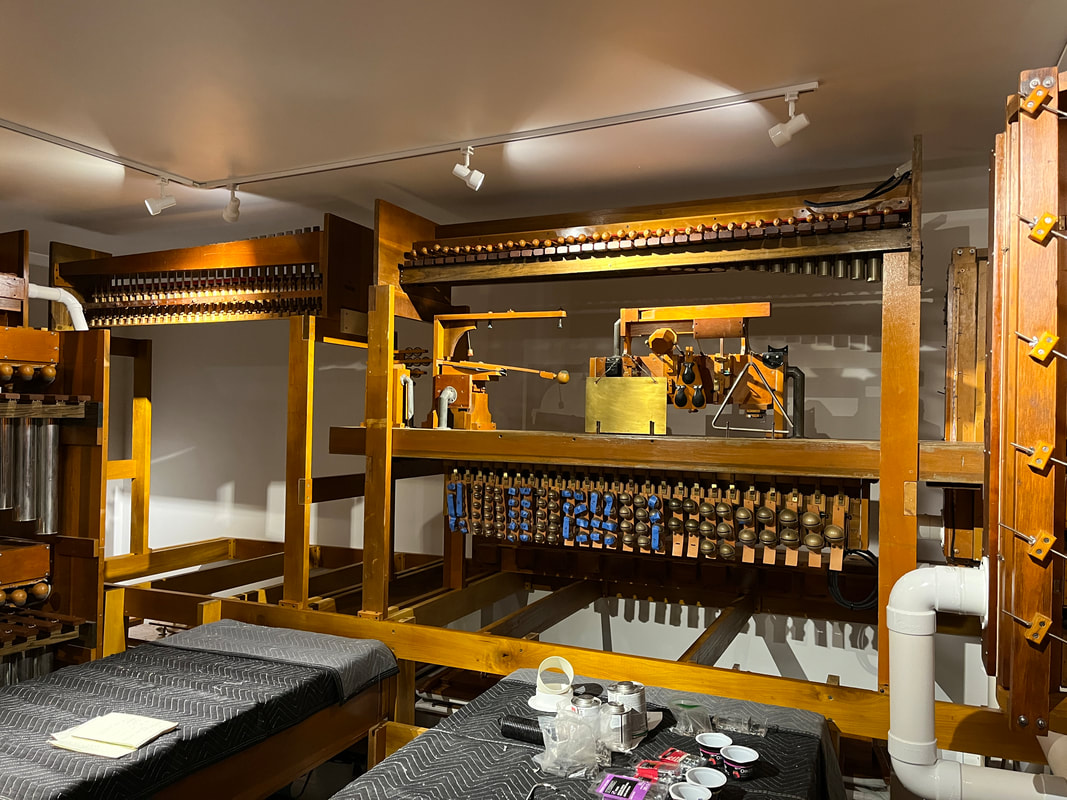
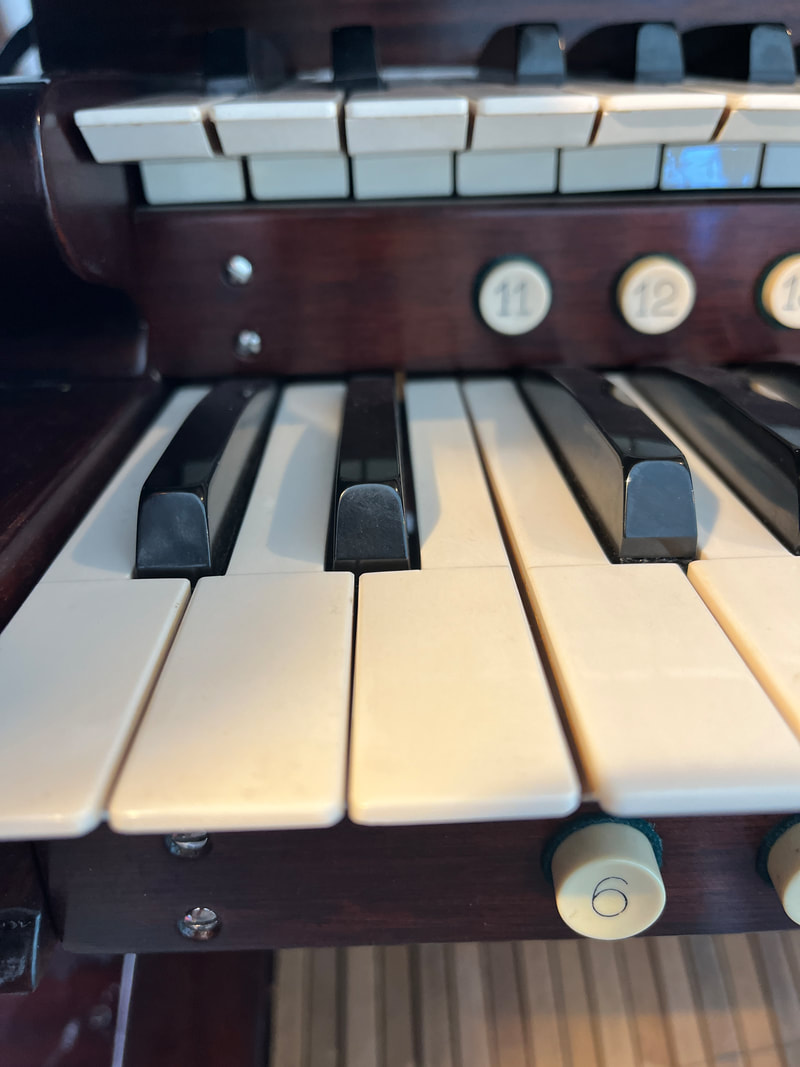
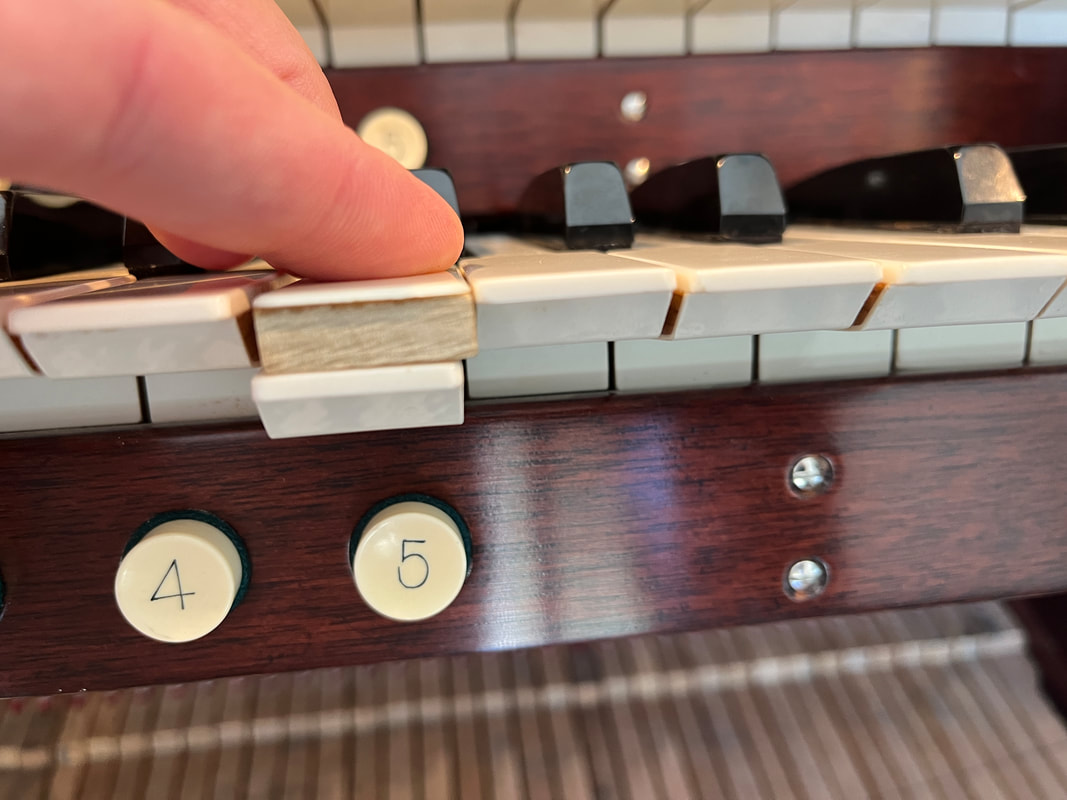
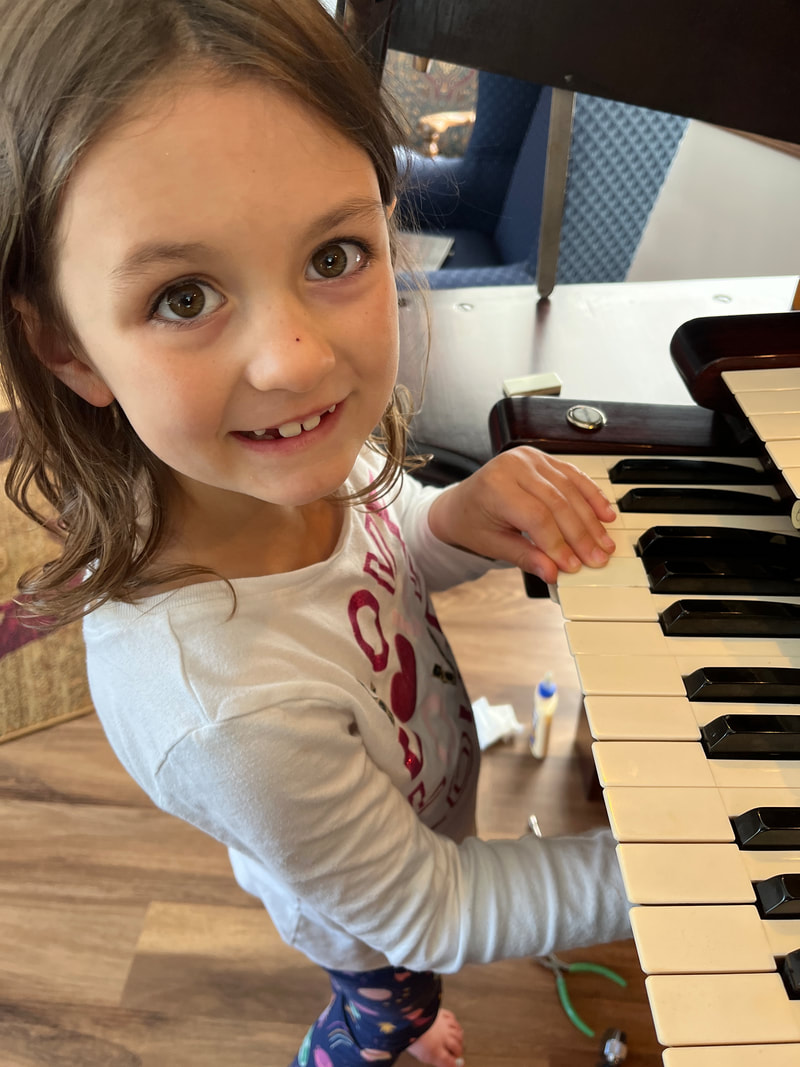
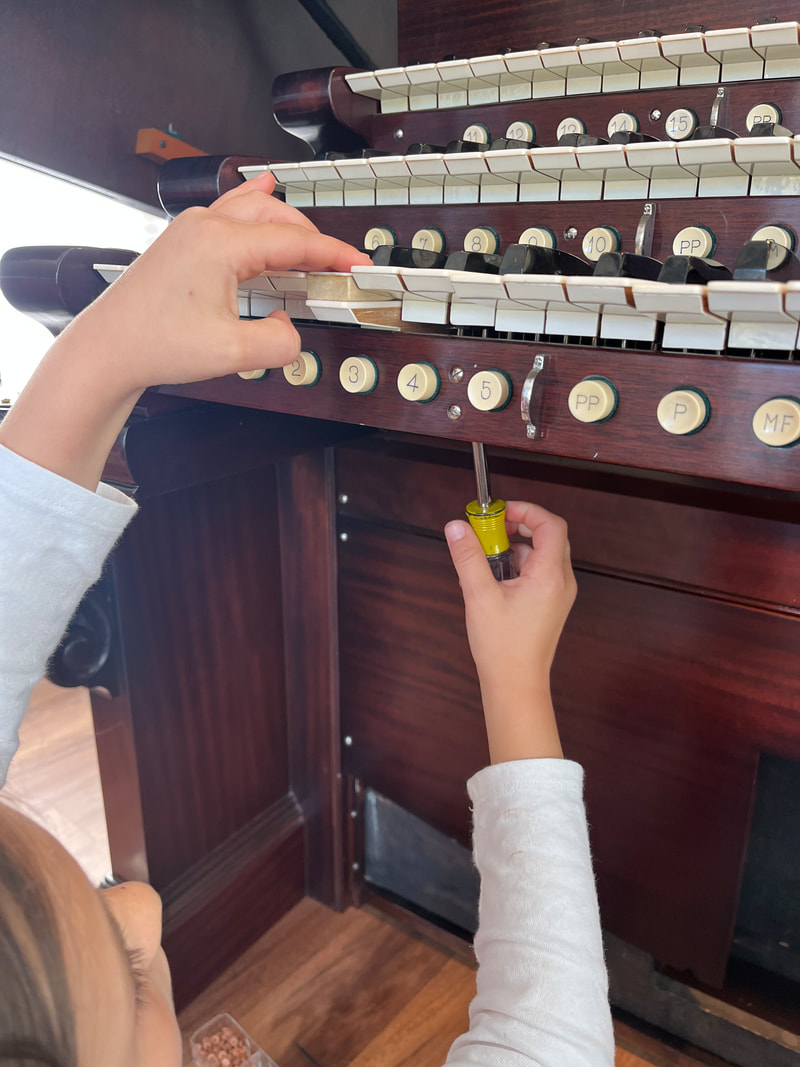
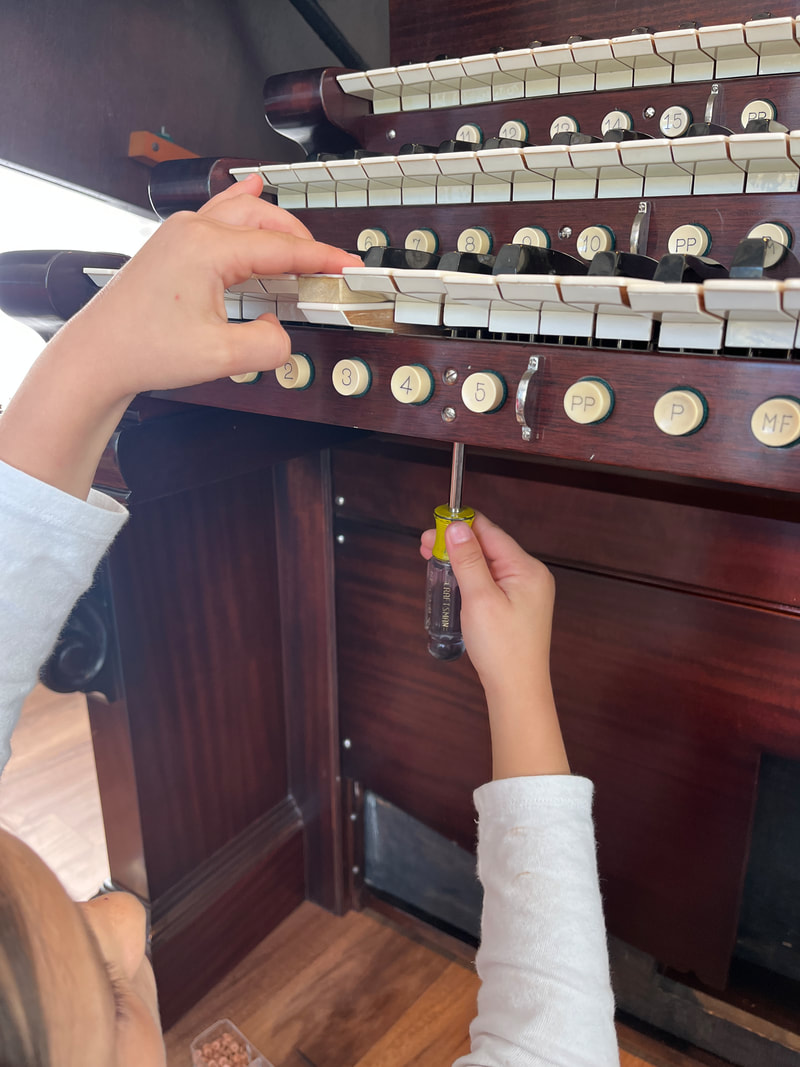
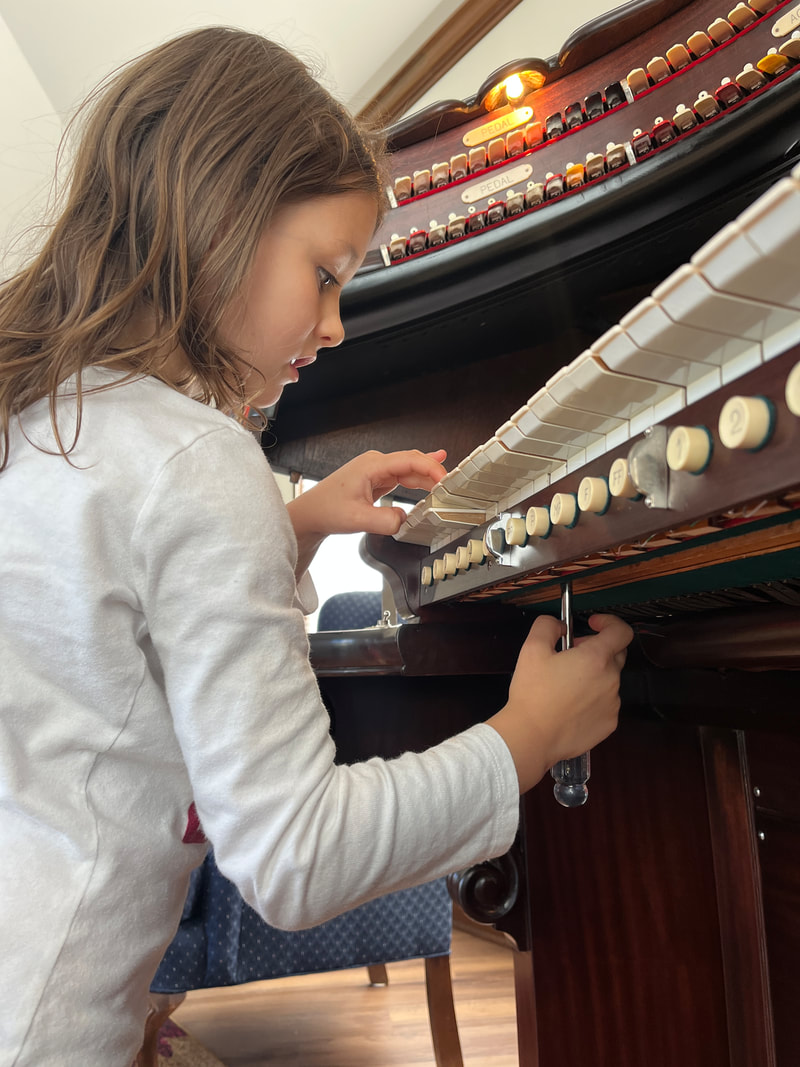
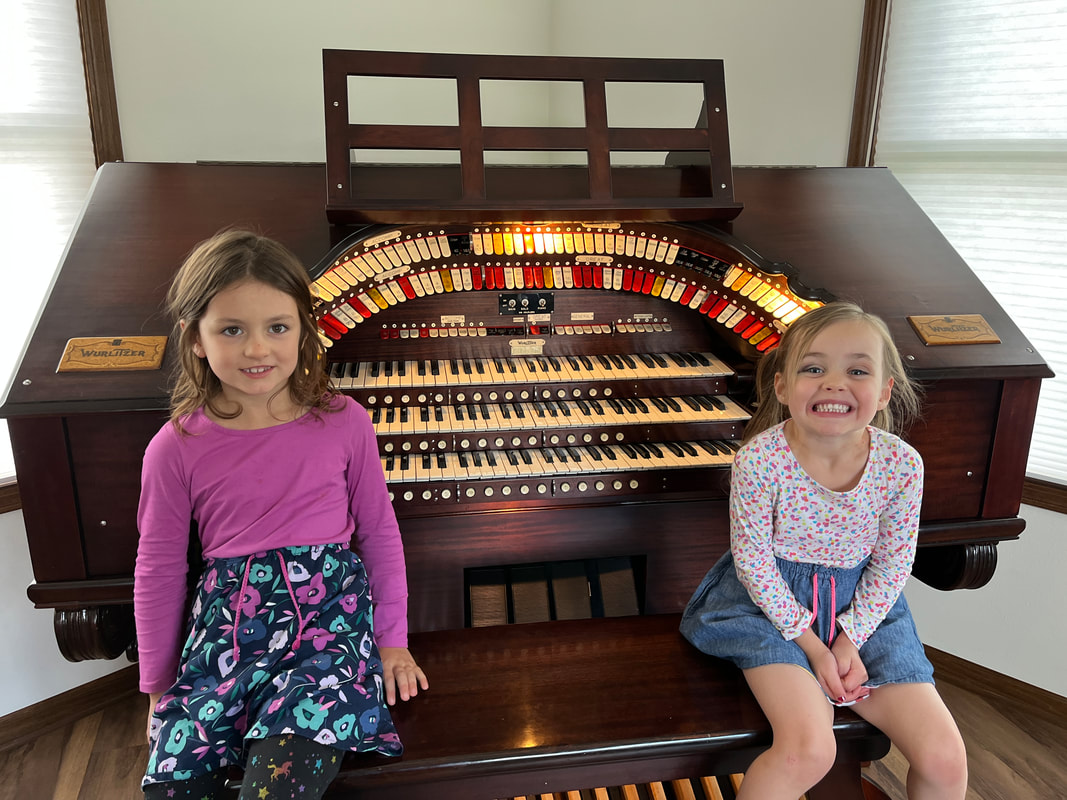
It’s Alive!!! After the better part of 14 years, this hobby project has finally taken life. In many ways it is comparable to the birth of a child, although we only had to wait nine months for those to arrive! On July 4th, 2024, the organ came to life and shook the entire house for the first time. Quite literally, the immense power from the pipes and tremulants below shake the floor, windows, mounted tvs and closed doors. I will need to apply felt to the door frames to prevent rattling. July 4th seems to be fitting too as this was my American dream. Really, I consider this instrument a gift and one that is intended to be shared. Not much about how we obtained it or how our house was constructed around it makes much logical sense, so we took that to be a sign from above and together, along with some friends, founded the Preserve Music Foundation, a 501(c)(3) non-profit organization dedicated to enriching lives through the assistance, support, and encouragement of music educators, performers, and students in Wisconsin. We specifically want to focus on two things to start: (1) a scholarship program for graduating high school students interested in pursuing music performance or education, and (2) an instrument program that grants instruments to those individuals or schools that cannot afford them. Among other fundraising activities, we intend to use the organ for concerts and have a free will offering to support the foundation (no pressure!). More about the foundation can be found here: https://www.preserve-music.org/ Back to the details. The post horn trem was installed and wired into the organ. Next, the remaining offsets were winded. Oh yea, and the bottles too. Once everything was on wind, it was time to prep the manual chests for pipes! This meant installing “top hats”, pins, rack boards and pipe racking. Once that was complete, it was time for the pipes! By the end of the day on July 3rd, the back (solo) chest had pipes. On July 4th, the remaining pipes were placed on the main chest. A four hour tuning session followed the pipe planting activities and it was time to make some sound! Zach Frame started playing something quiet and immediately it was noted how well the swell shutters controlled volume. Just to check volume levels (four kids and Lindsay were sleeping at the time…), I walked over to the kids rooms and quickly noticed that the varying pressure caused by the tremulants were causing the bedroom doors to rattle quite loudly. Needless to say, the organ wasn’t really opened up until the next morning. The bottles were the last thing to get tweaked. Some needed to be shimmed to speak; some needed to be tuned (add or remove mineral oil), and overall, the pressure needed to be increased. I was able to get them up to 9 inches of water column until the direct electric magnets no longer pulled in. Needless to say, the little beer bottles are quite audible now. Of course, there is a punch list of things to resolve / issues to fix, but the organ plays. We have scheduled a dedication concert in September for all those who helped with the project (a running list is now at 33 people). On September 22nd at 2pm, we will open our doors to whomever else would like to experience the instrument. None other than Zach Frame, the one who has helped with this journey for all of these years will play the concert. Mark your calendars!
0 Comments
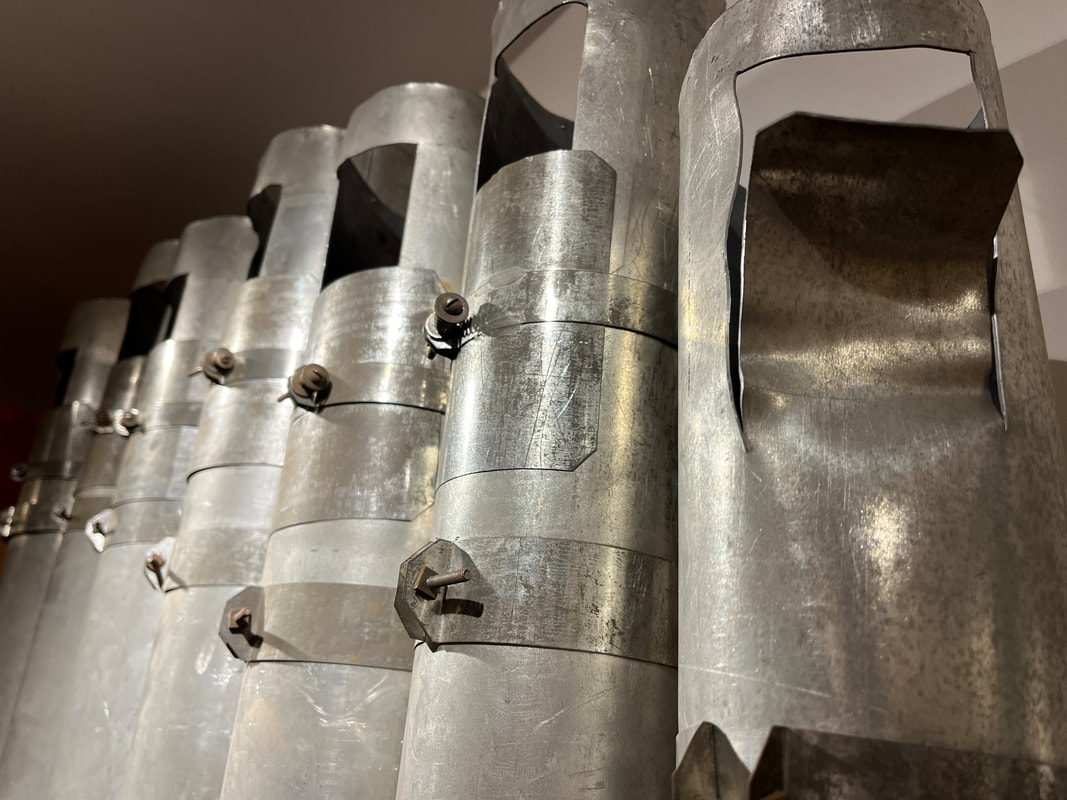
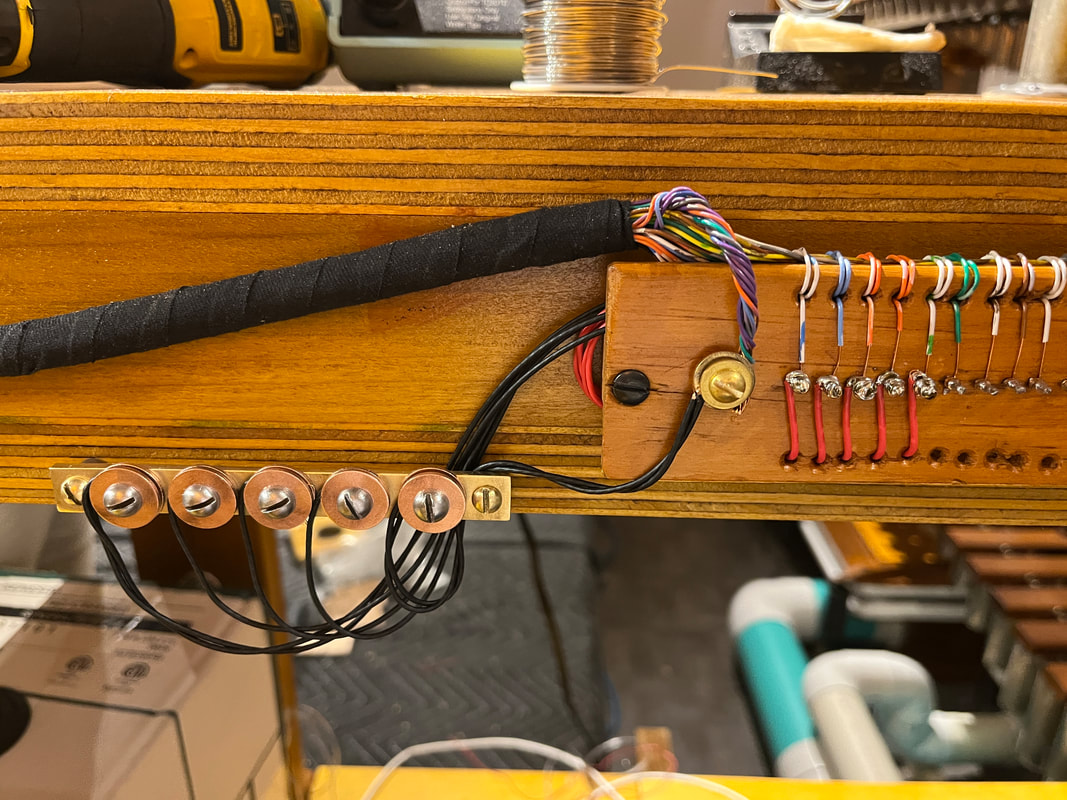
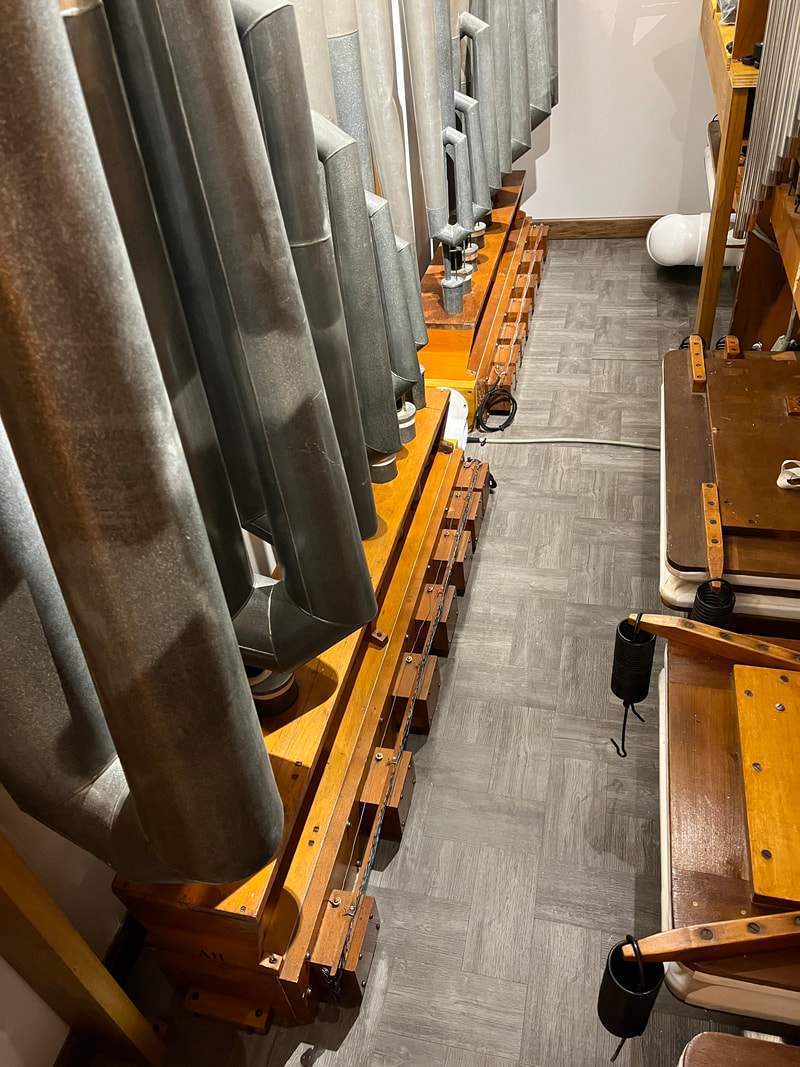
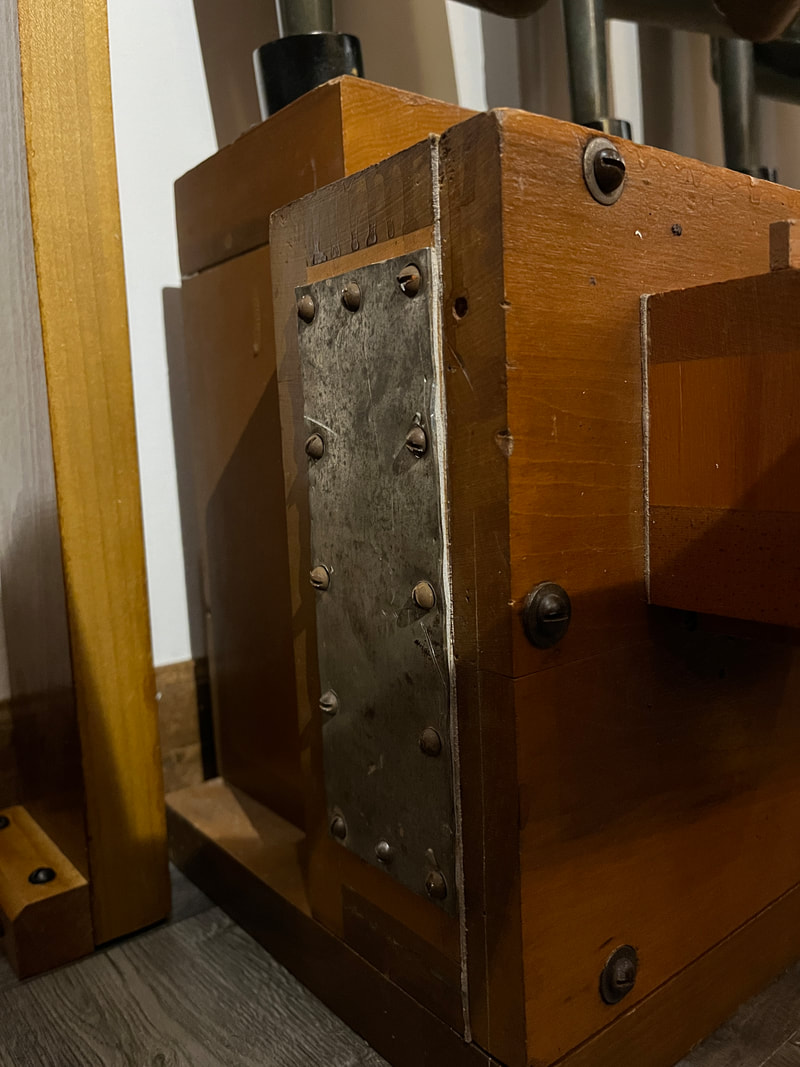
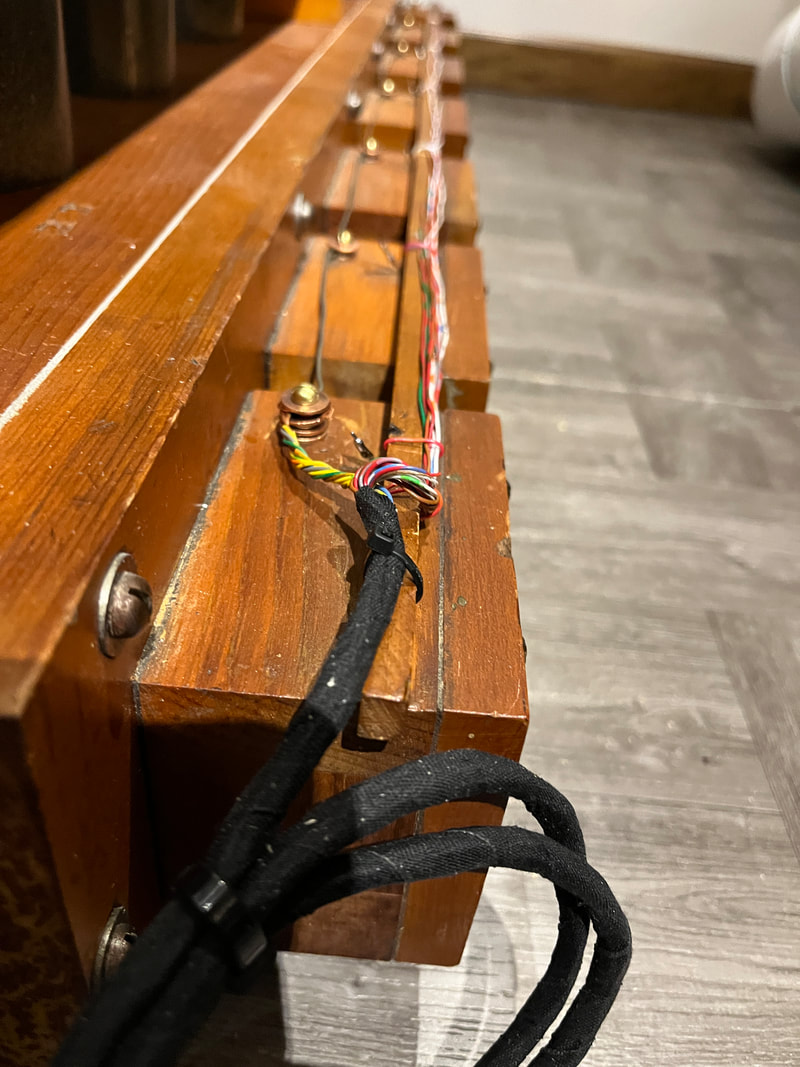
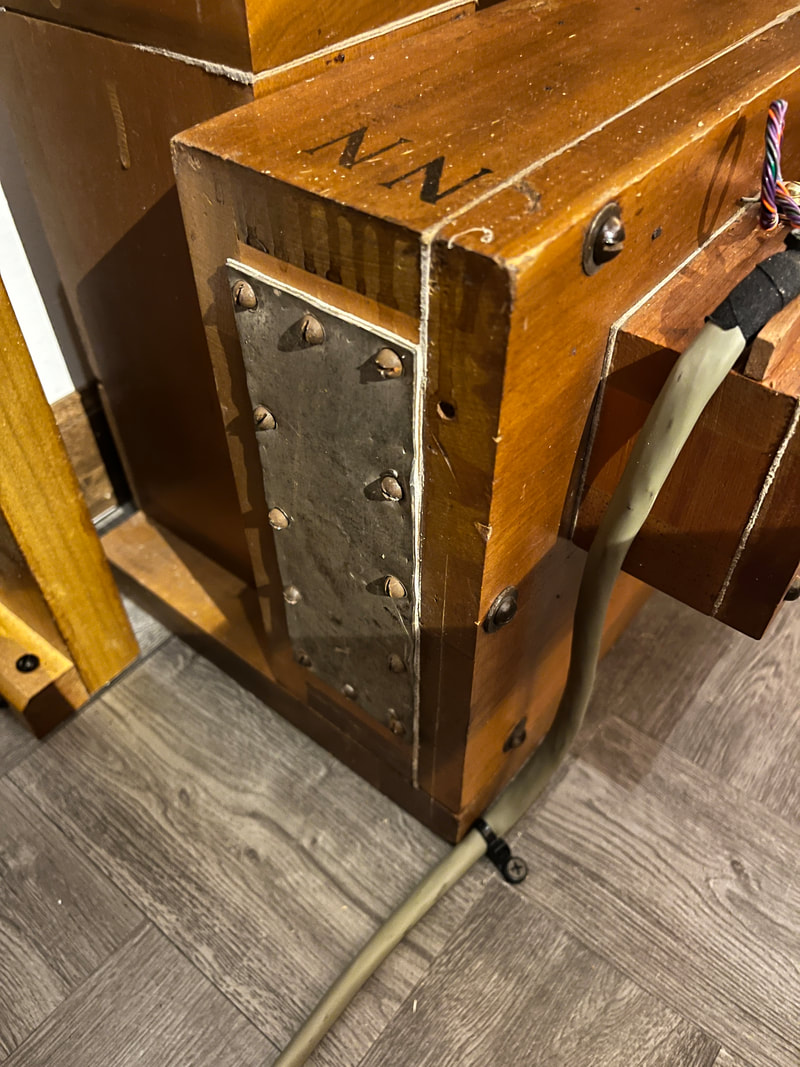
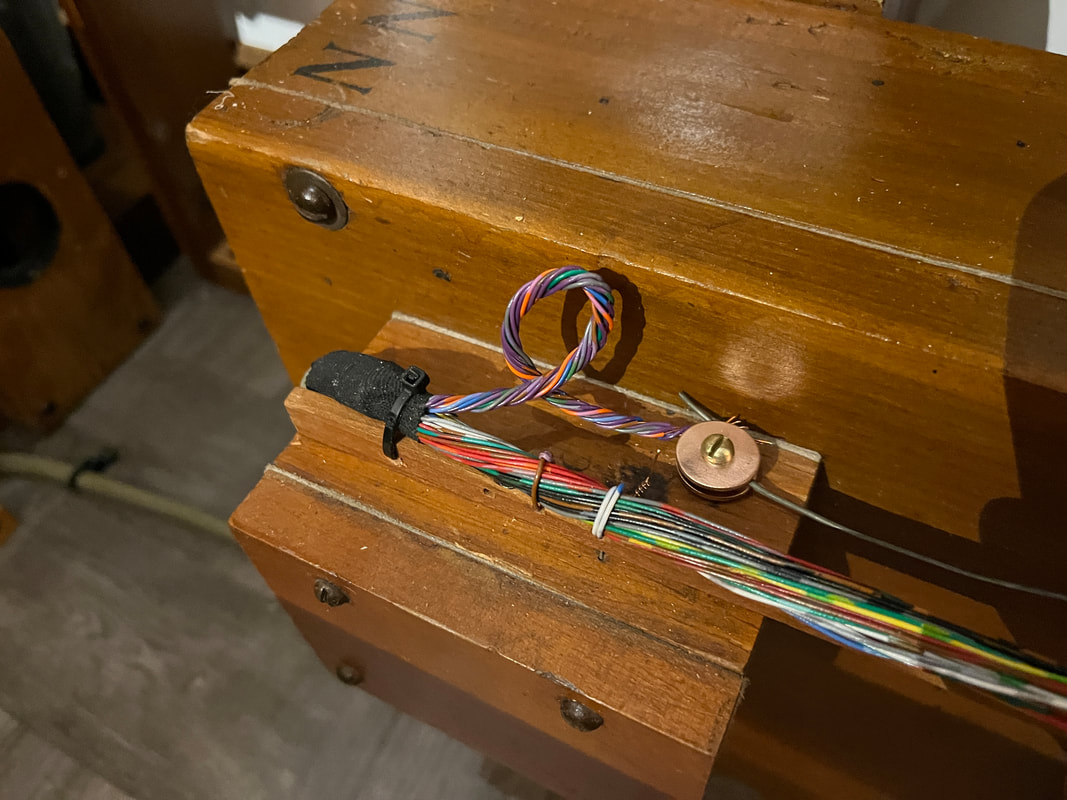
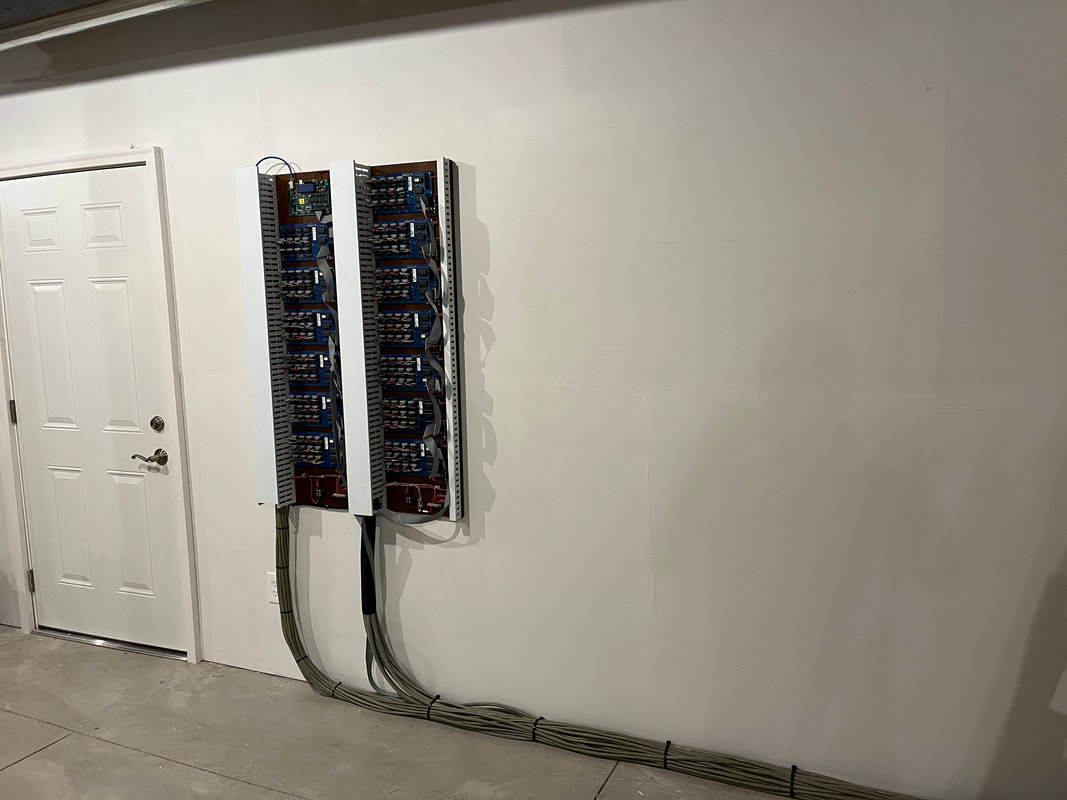
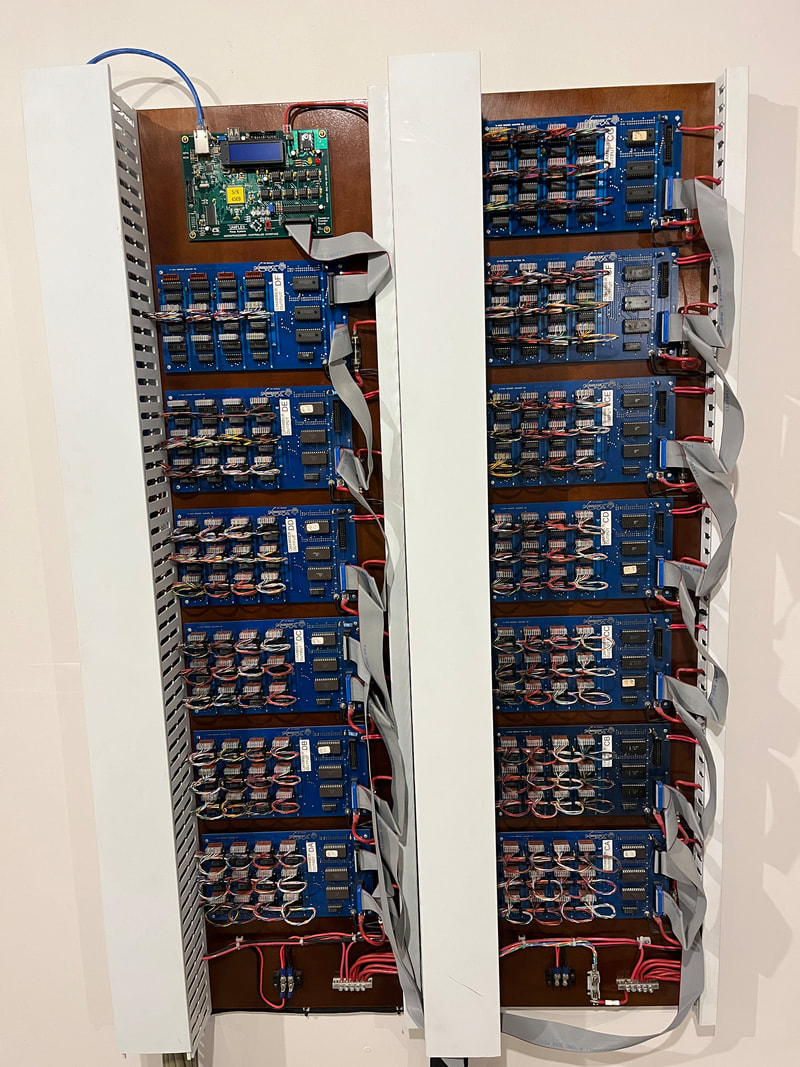
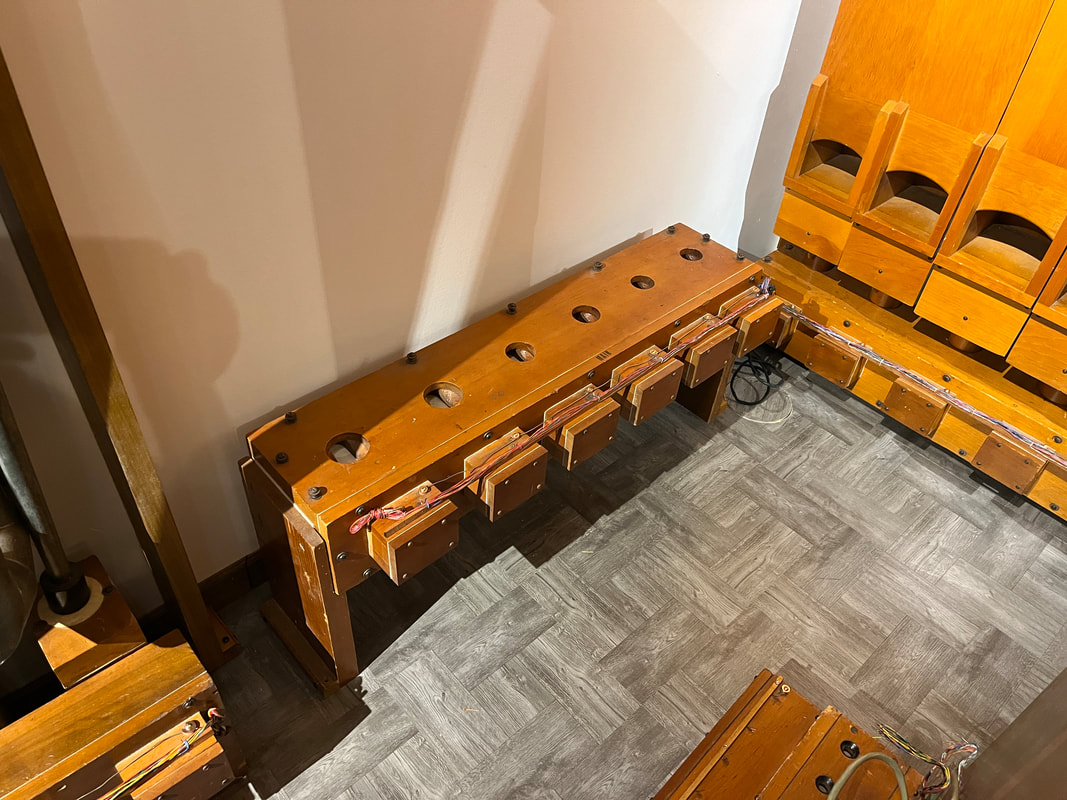
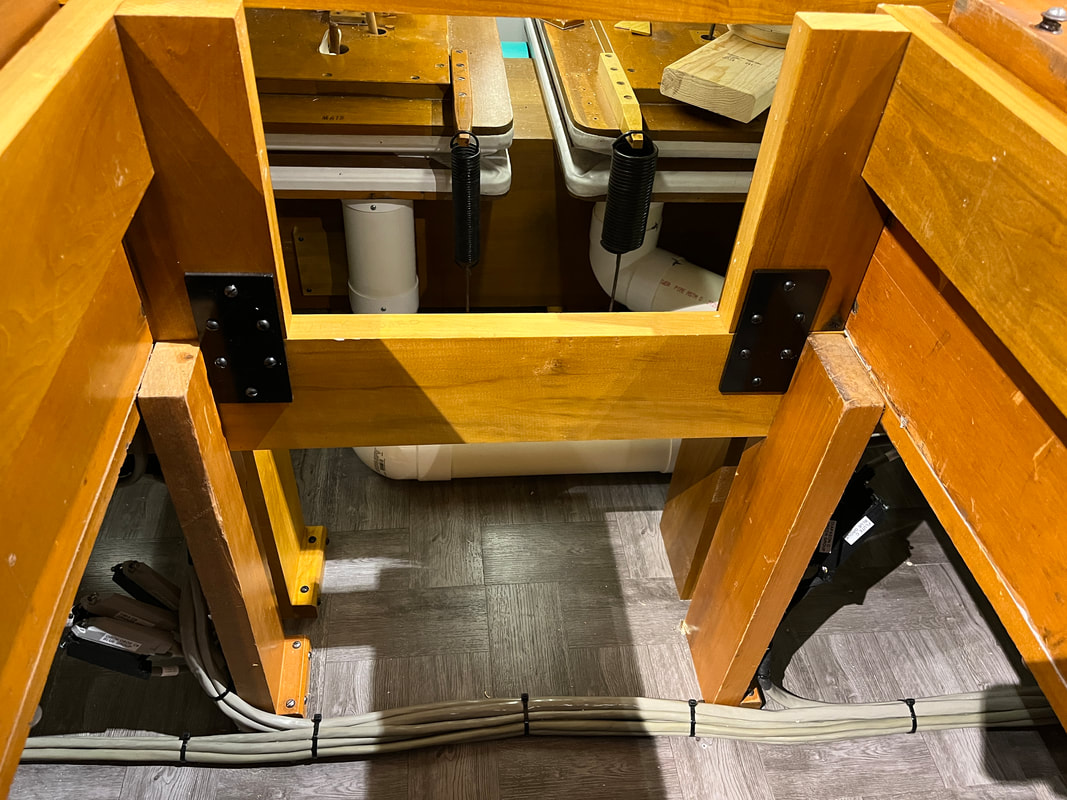
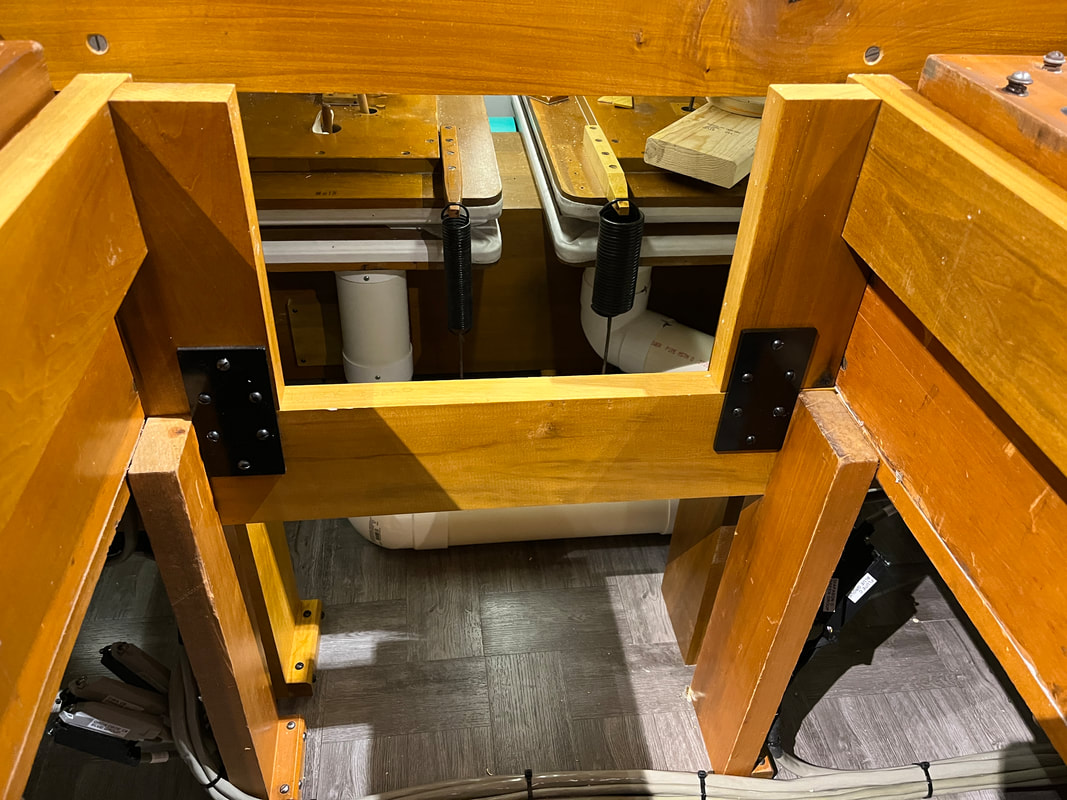
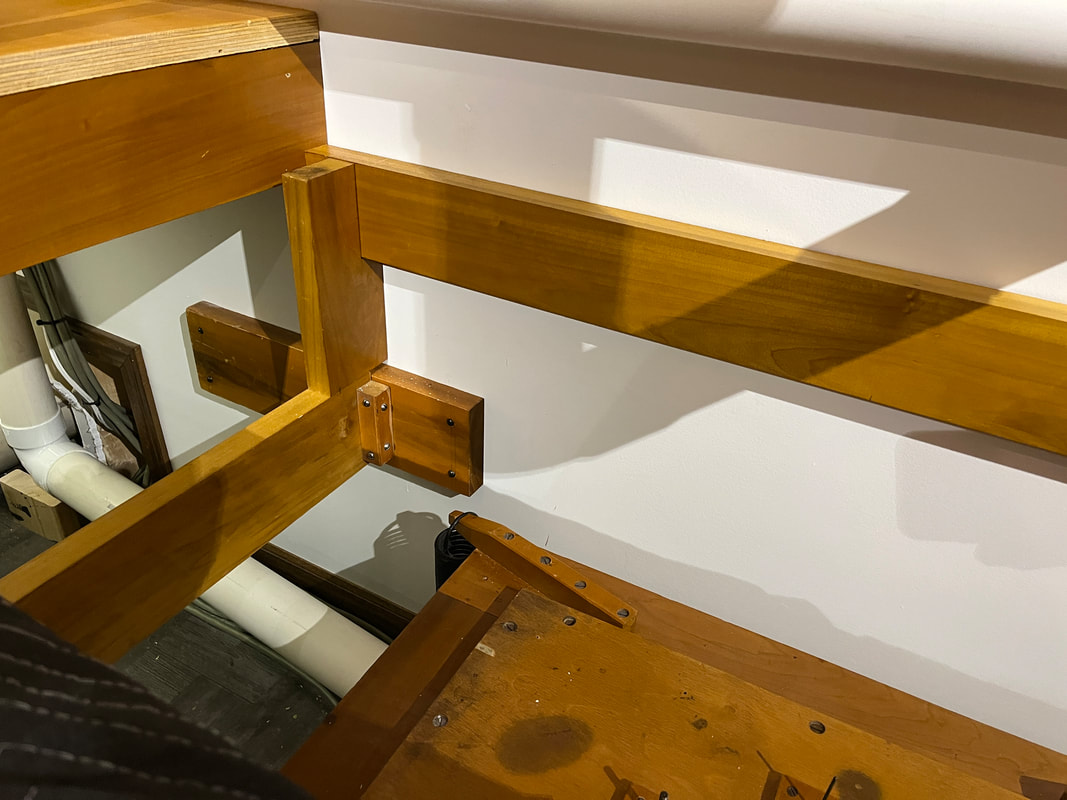
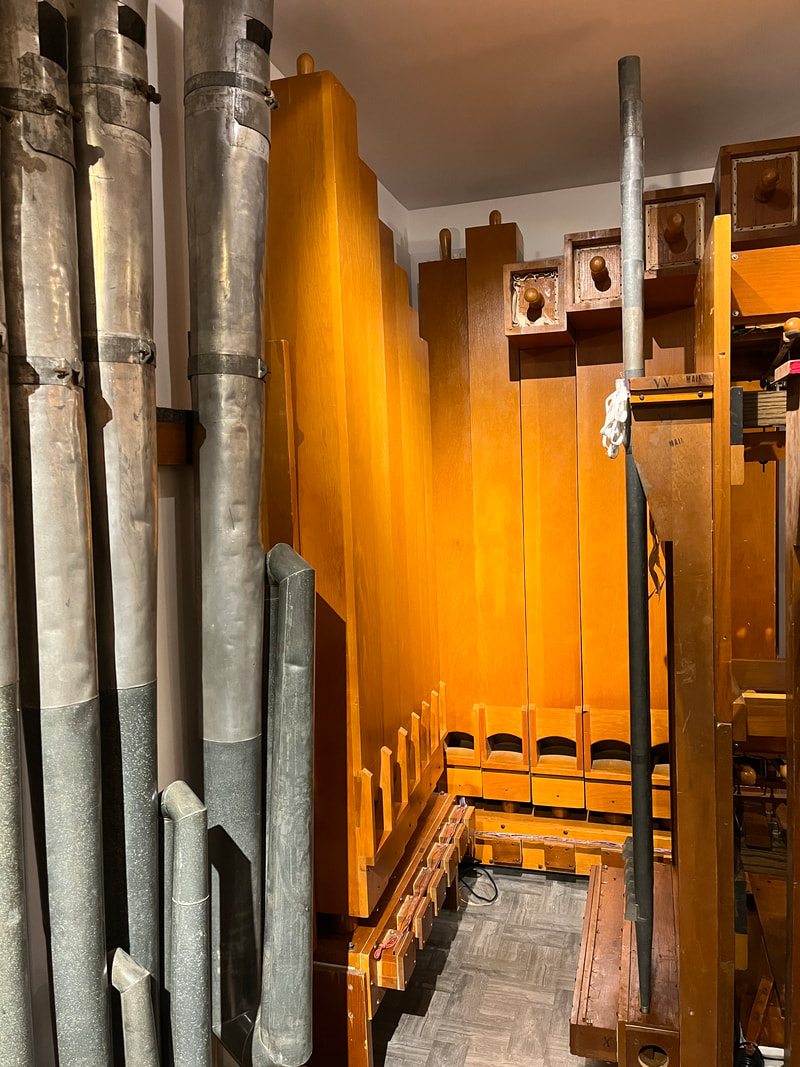
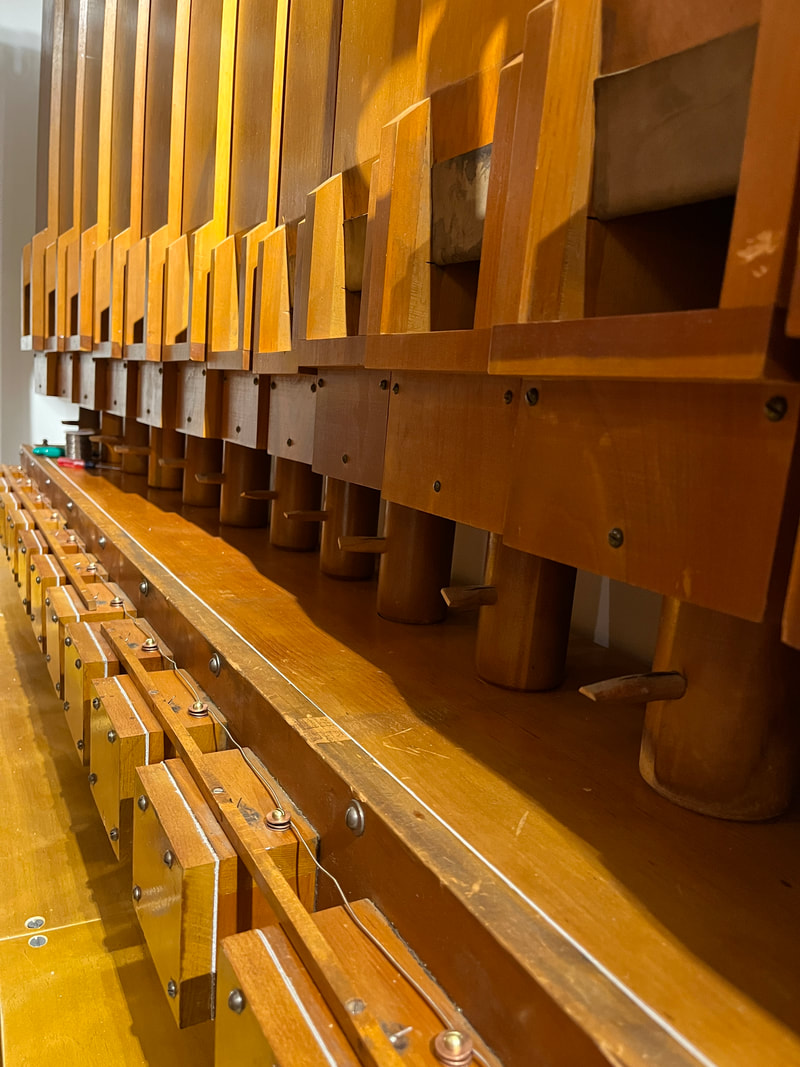
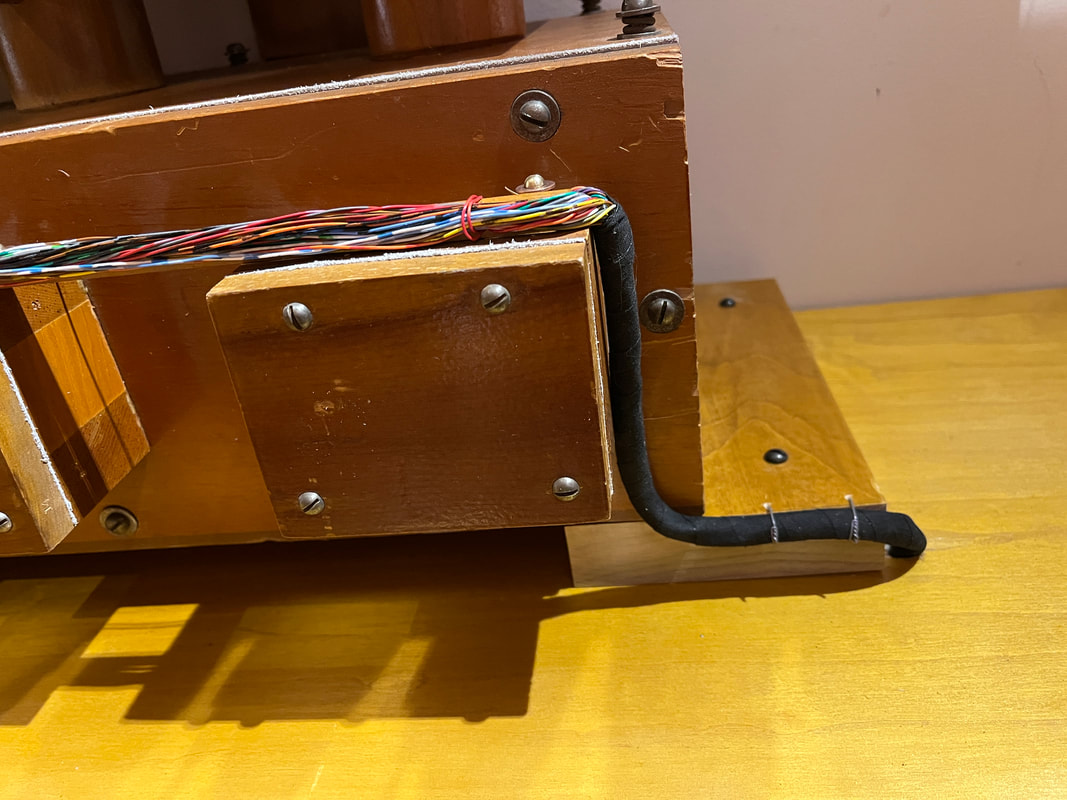
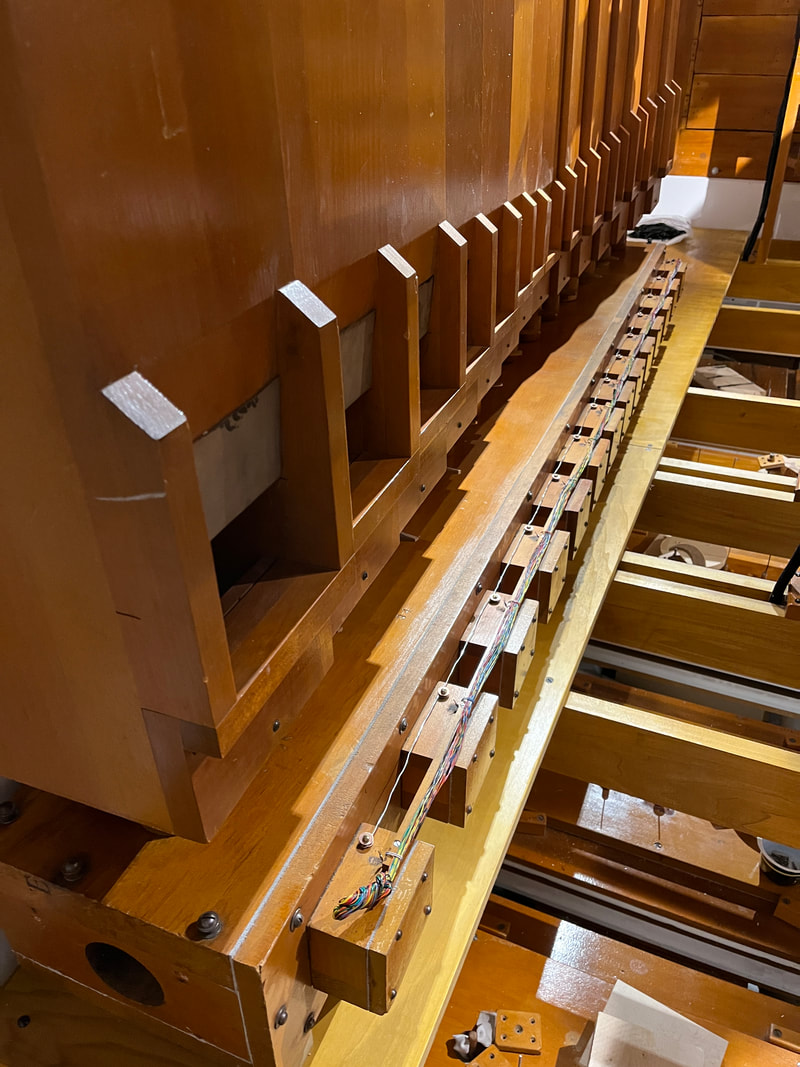
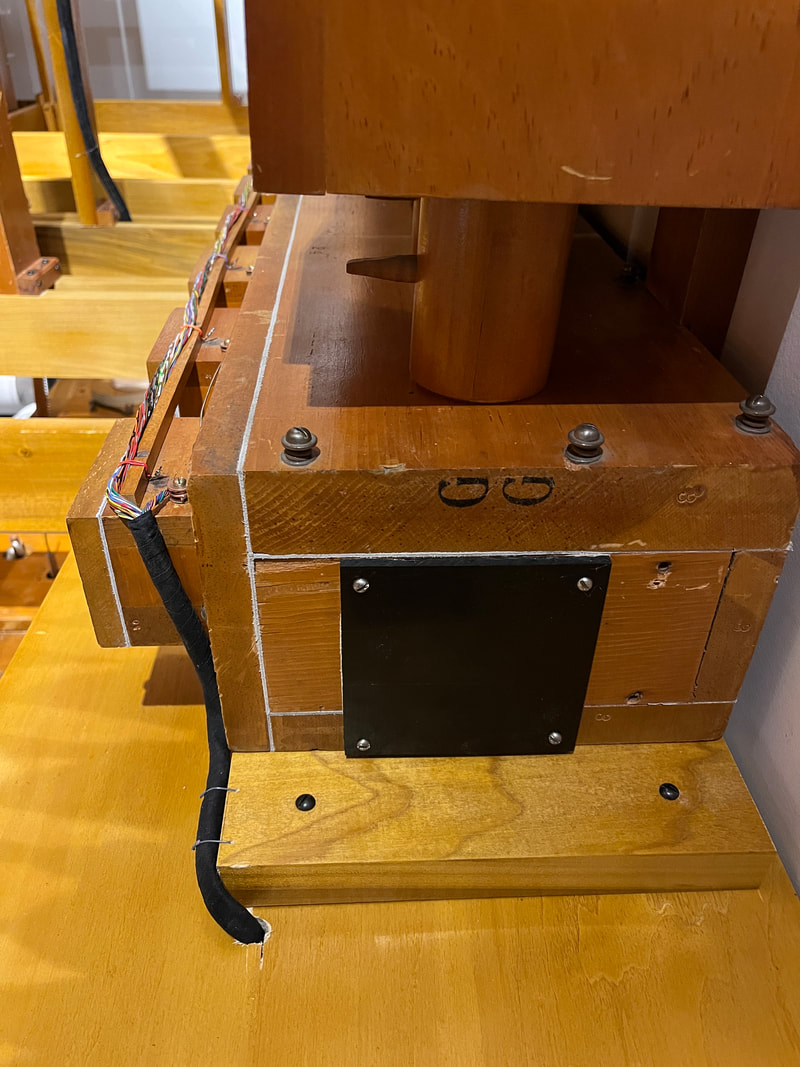
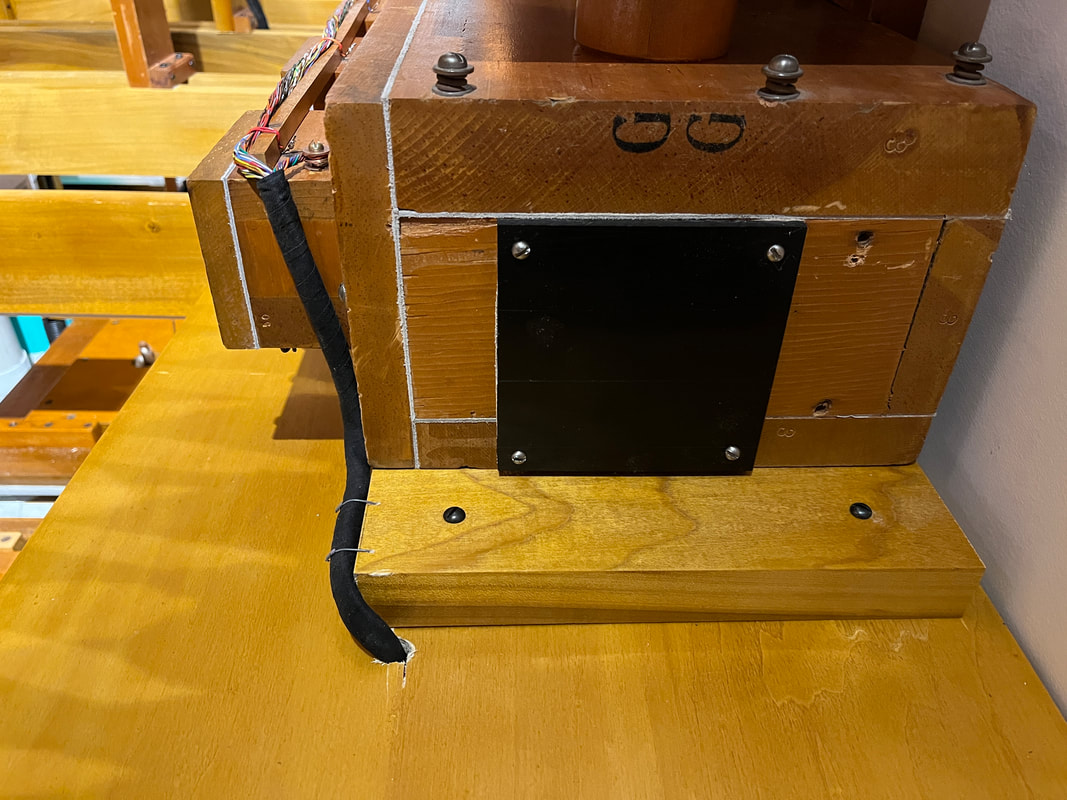
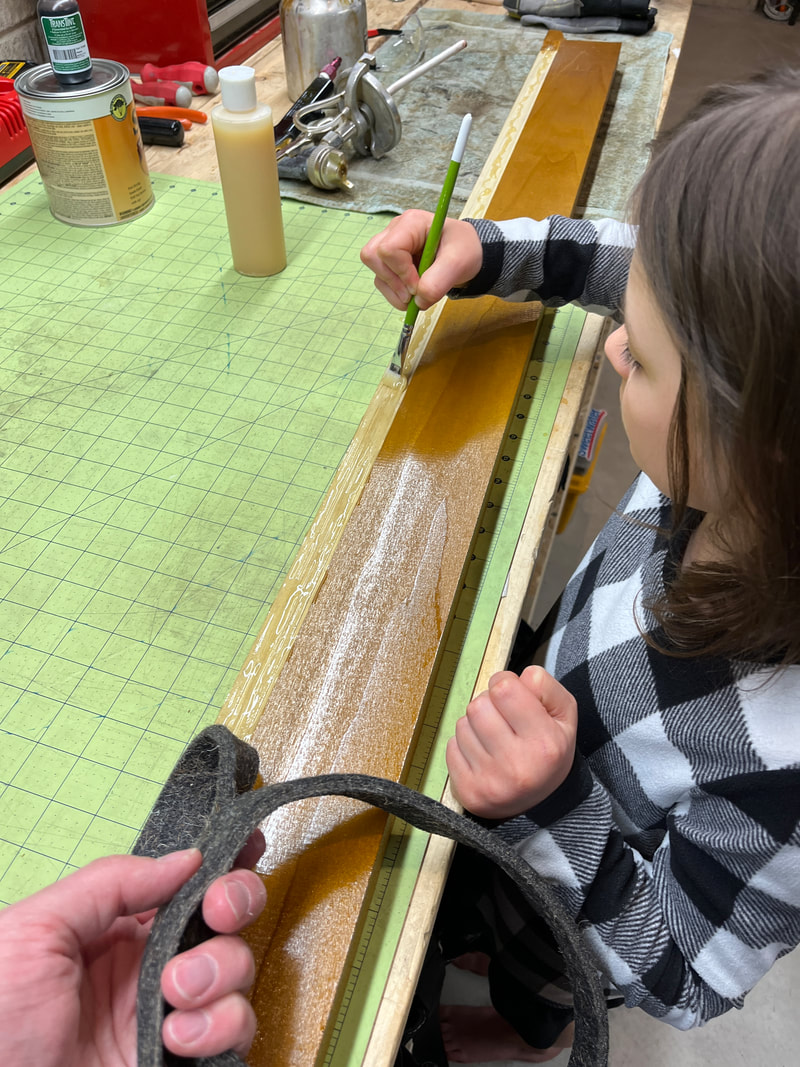
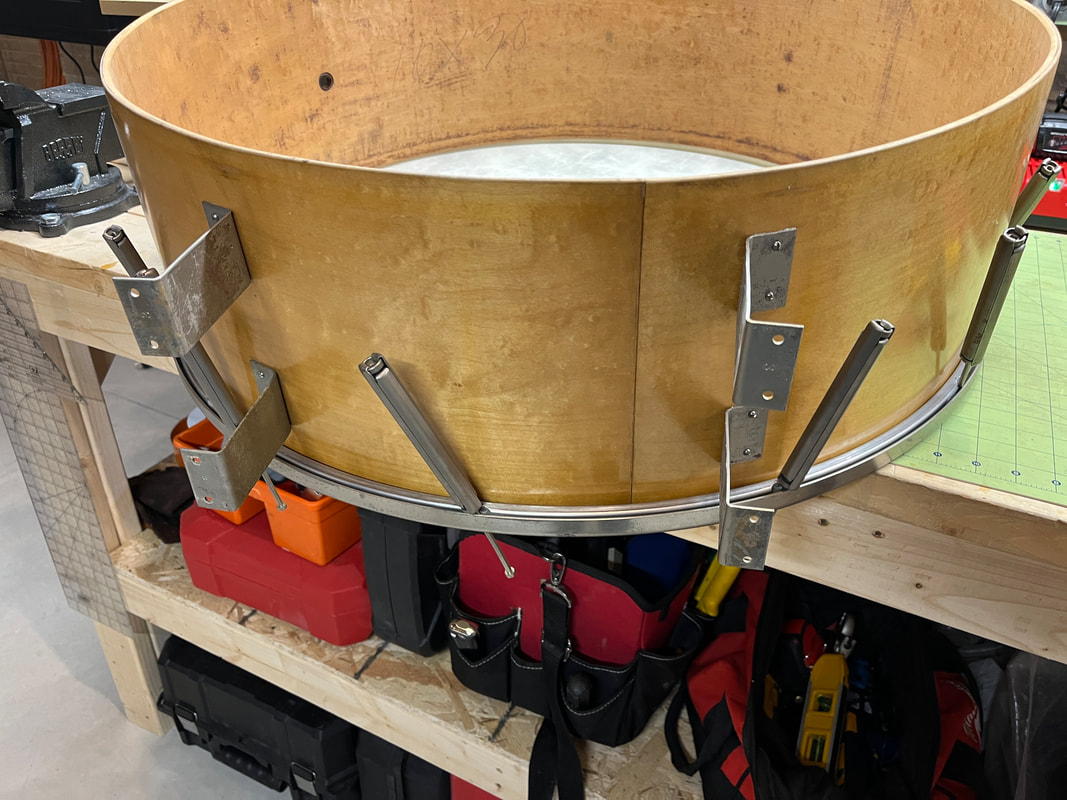
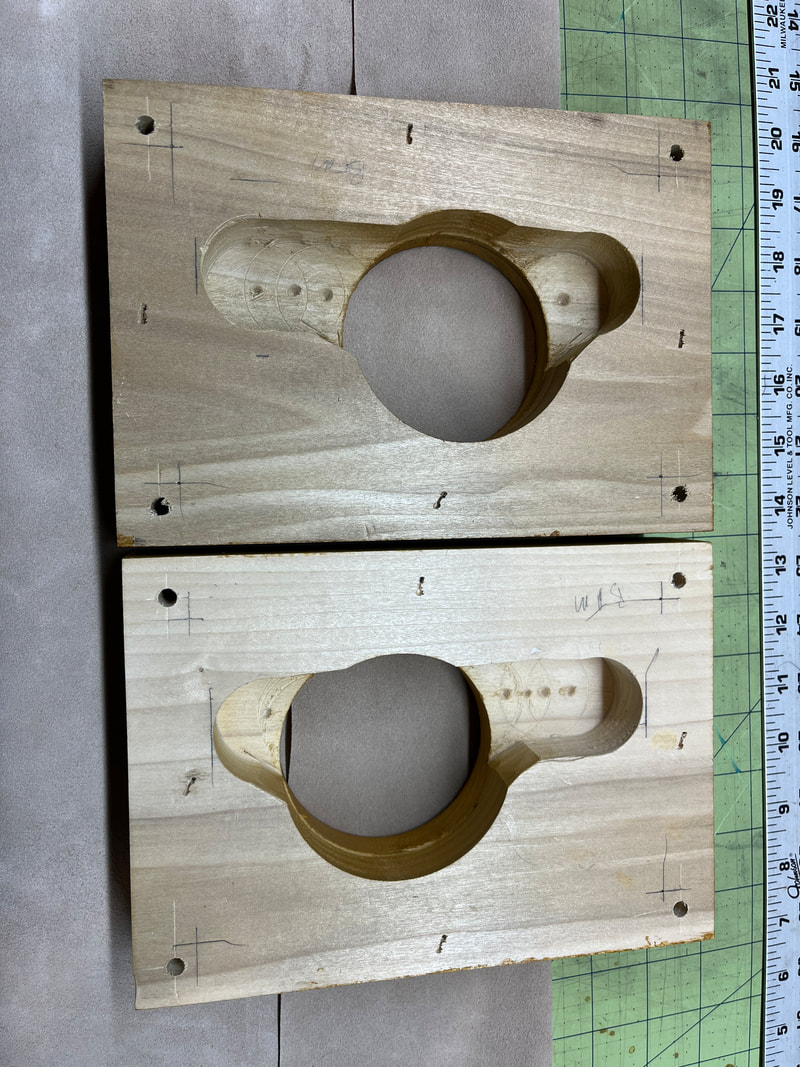
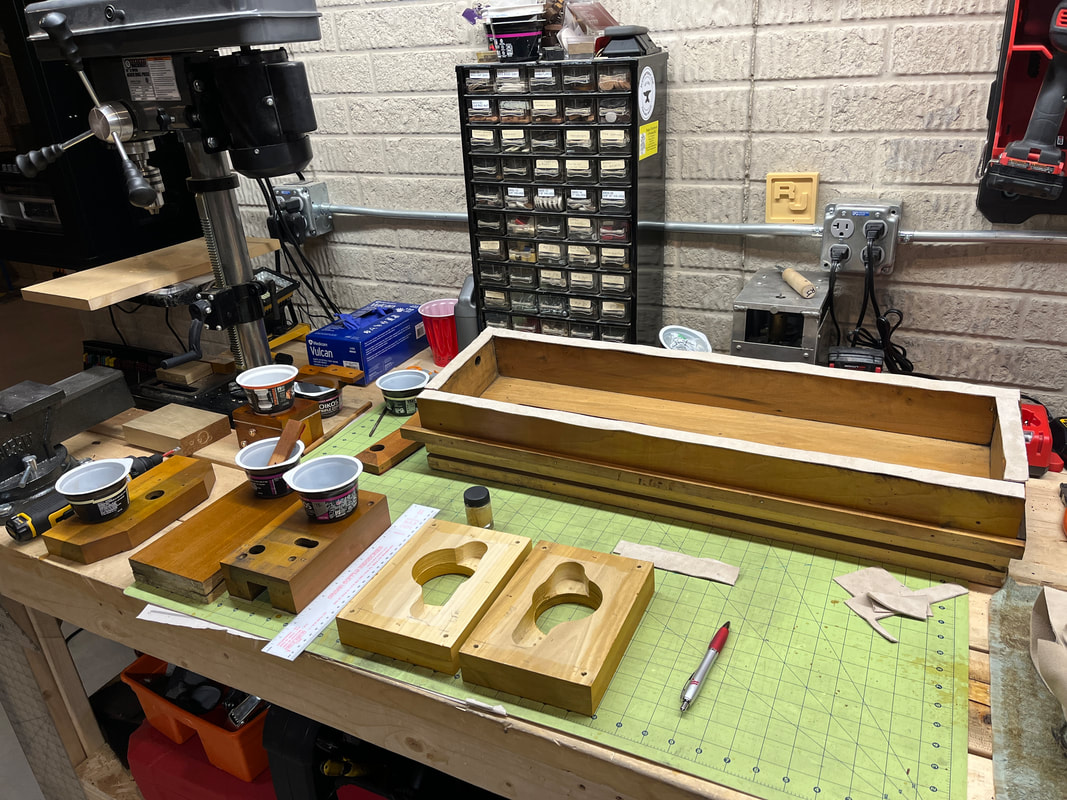
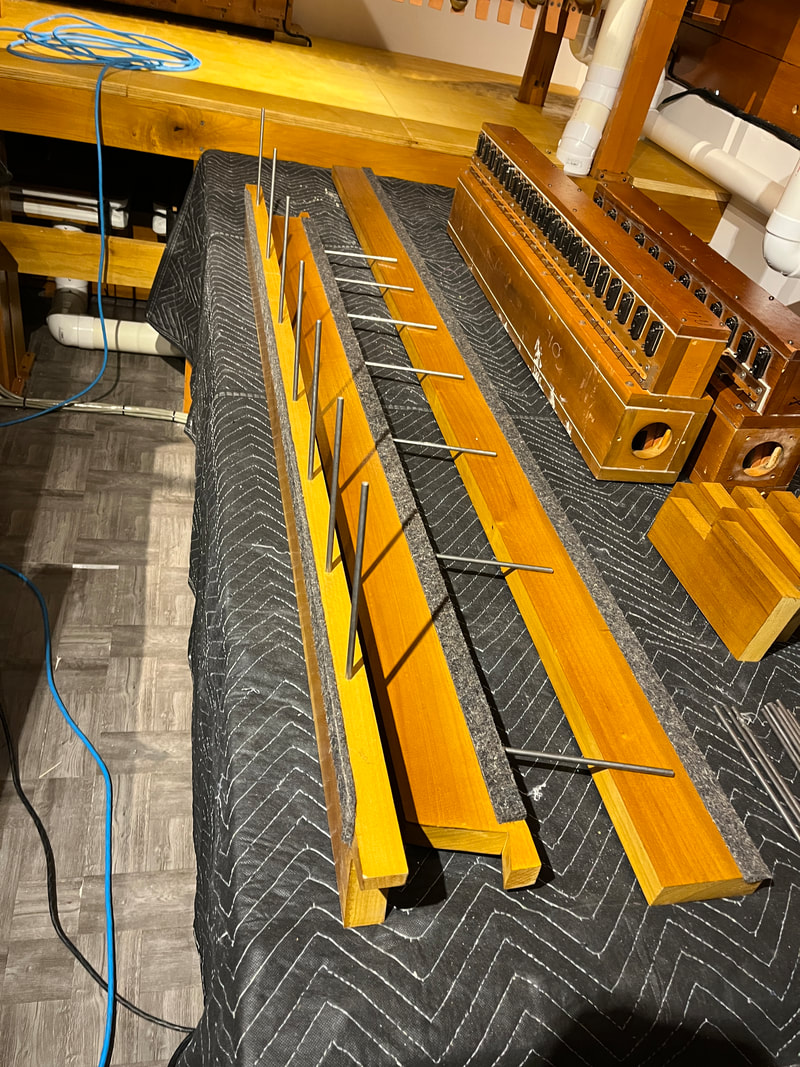
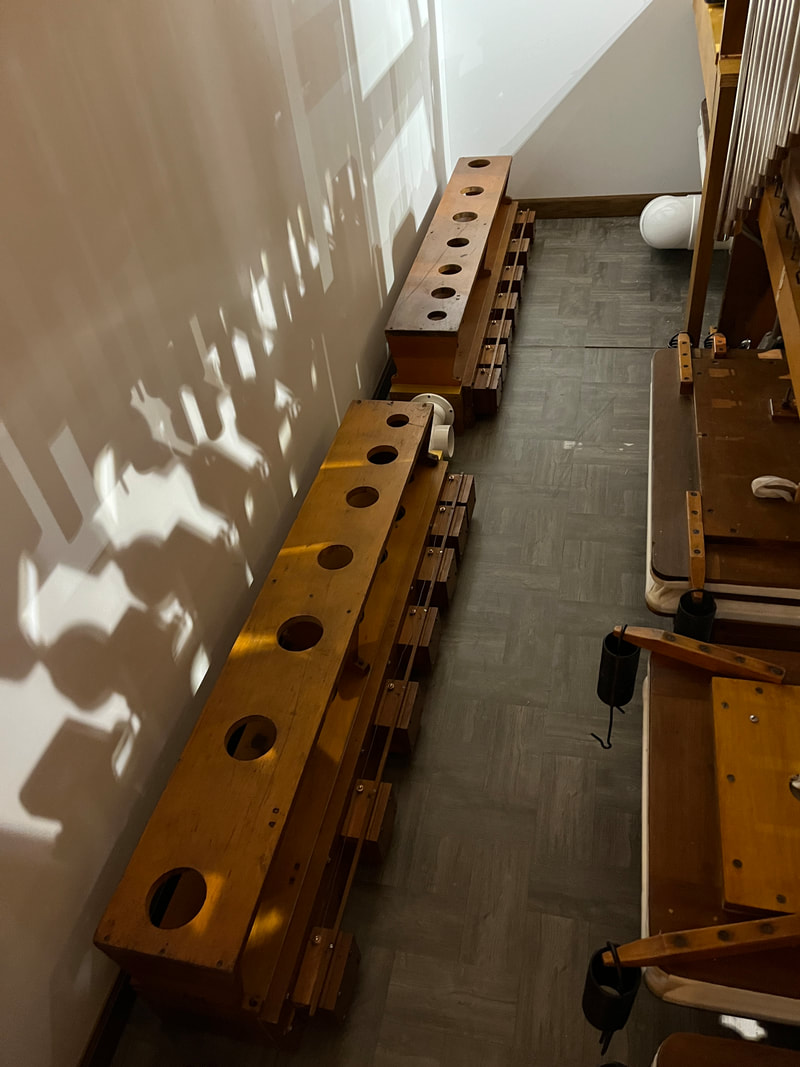
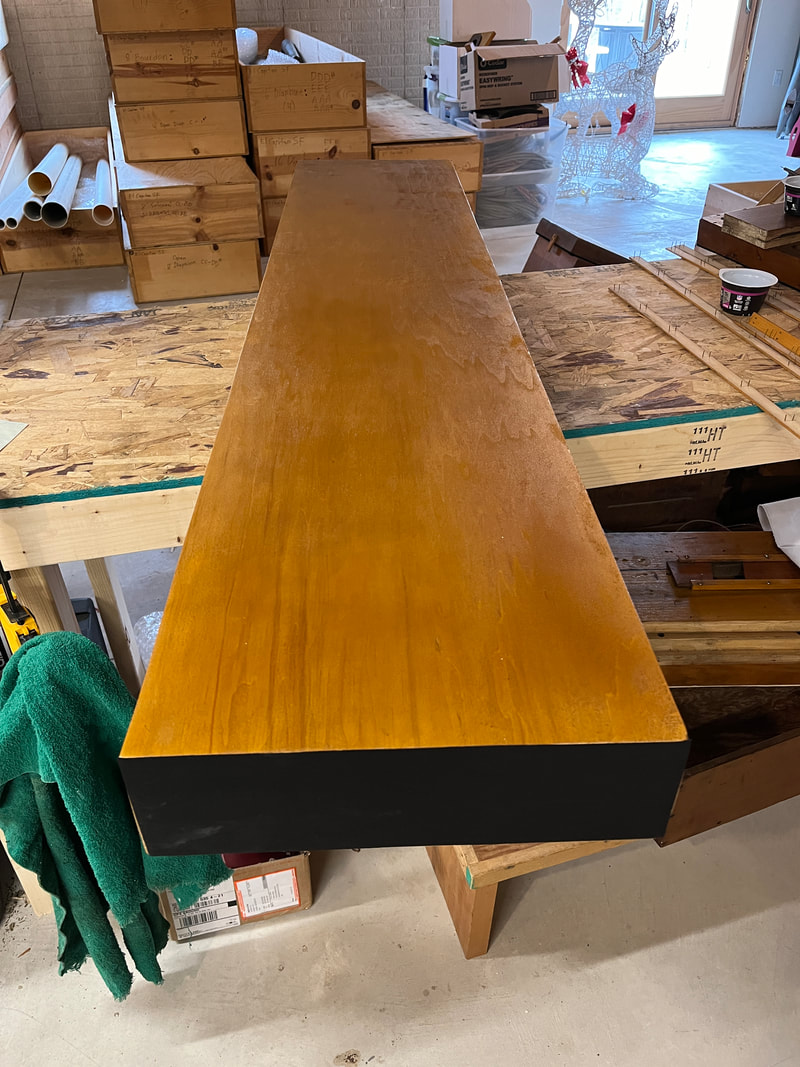
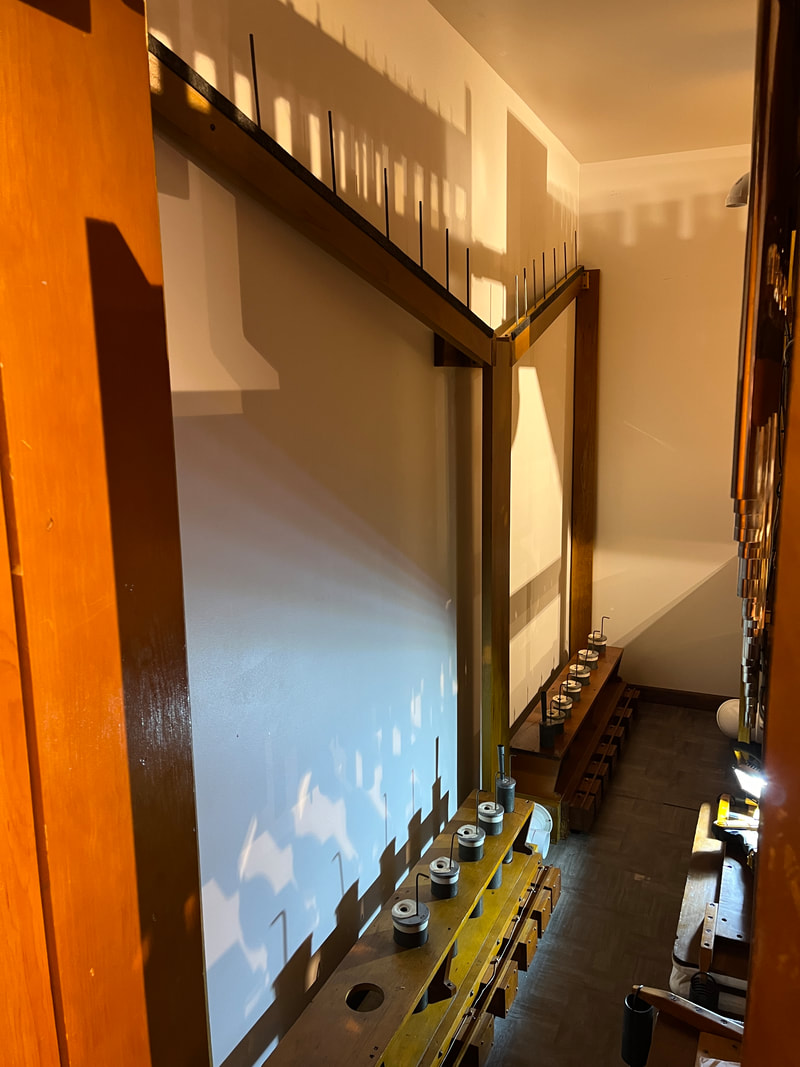
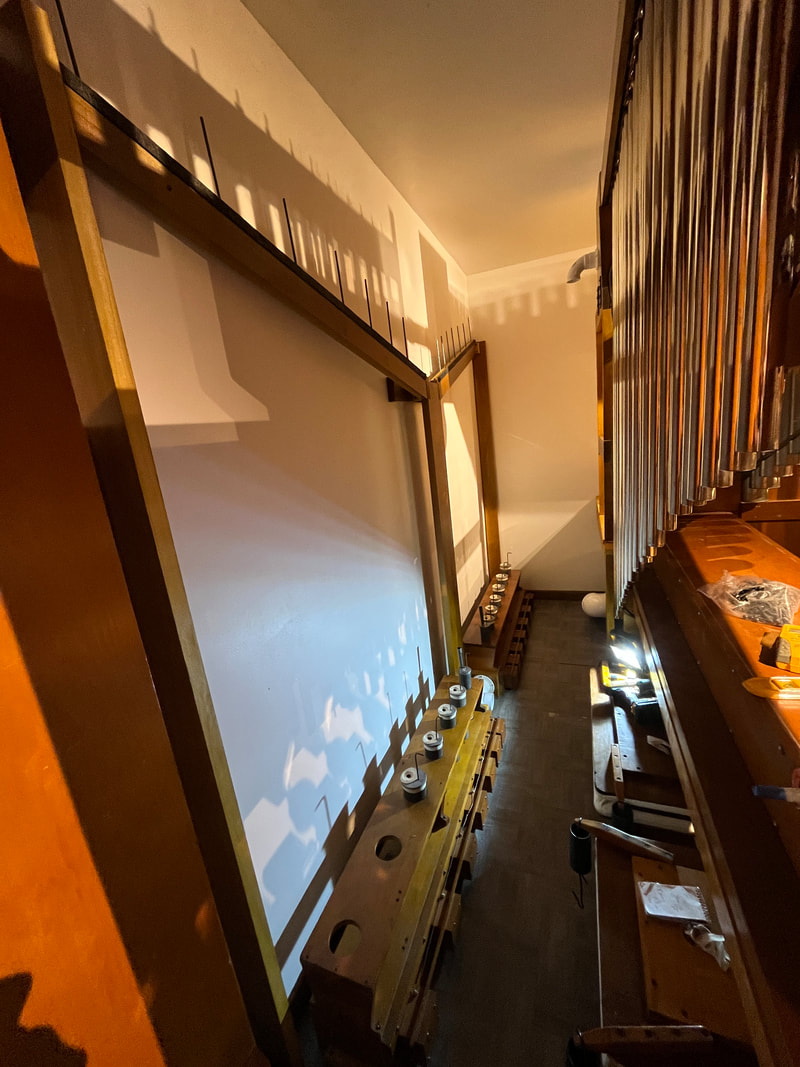
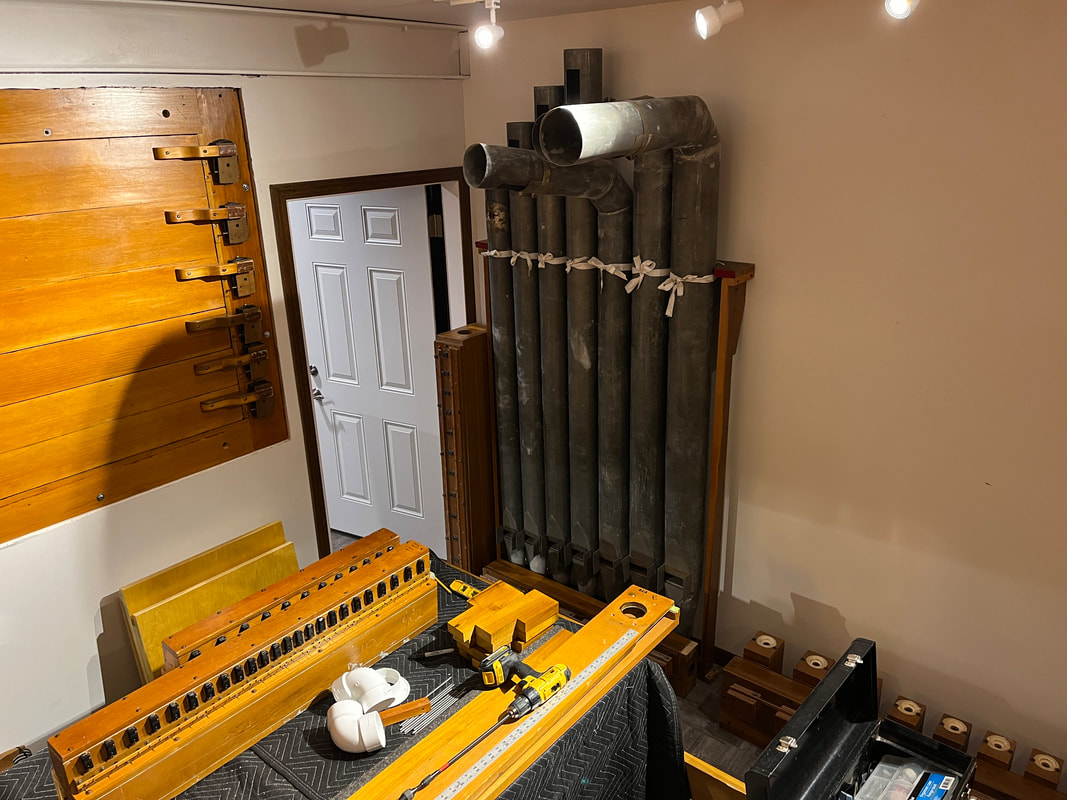
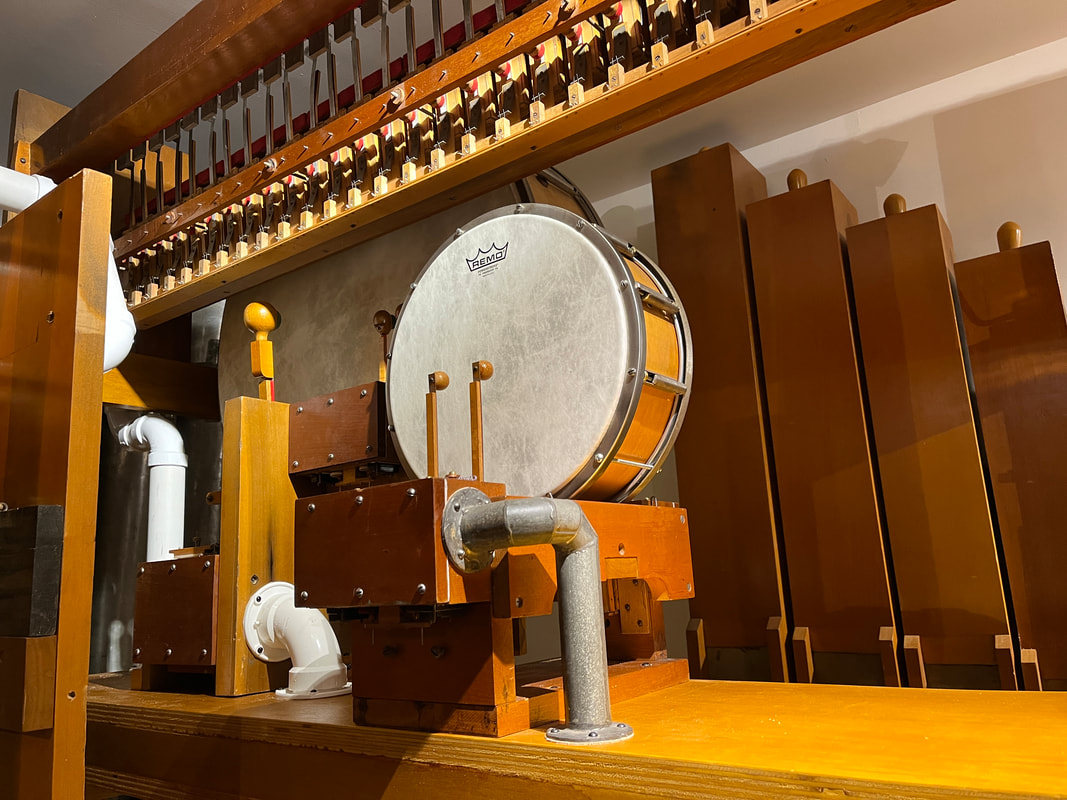
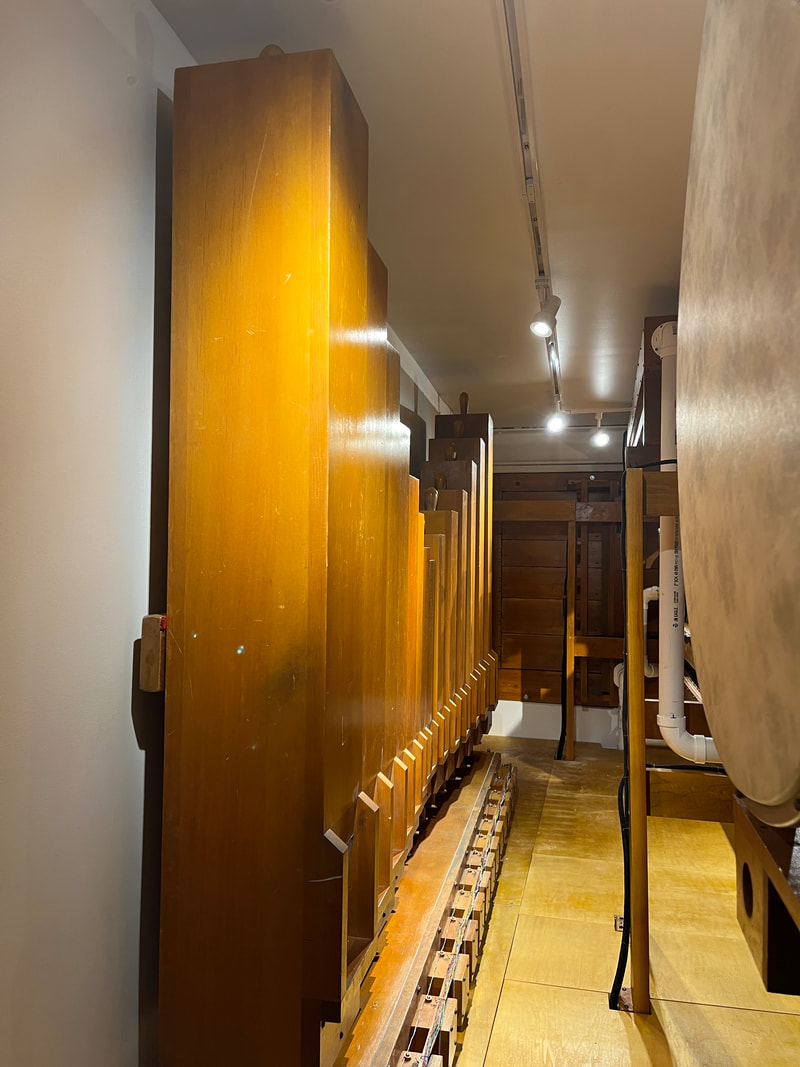
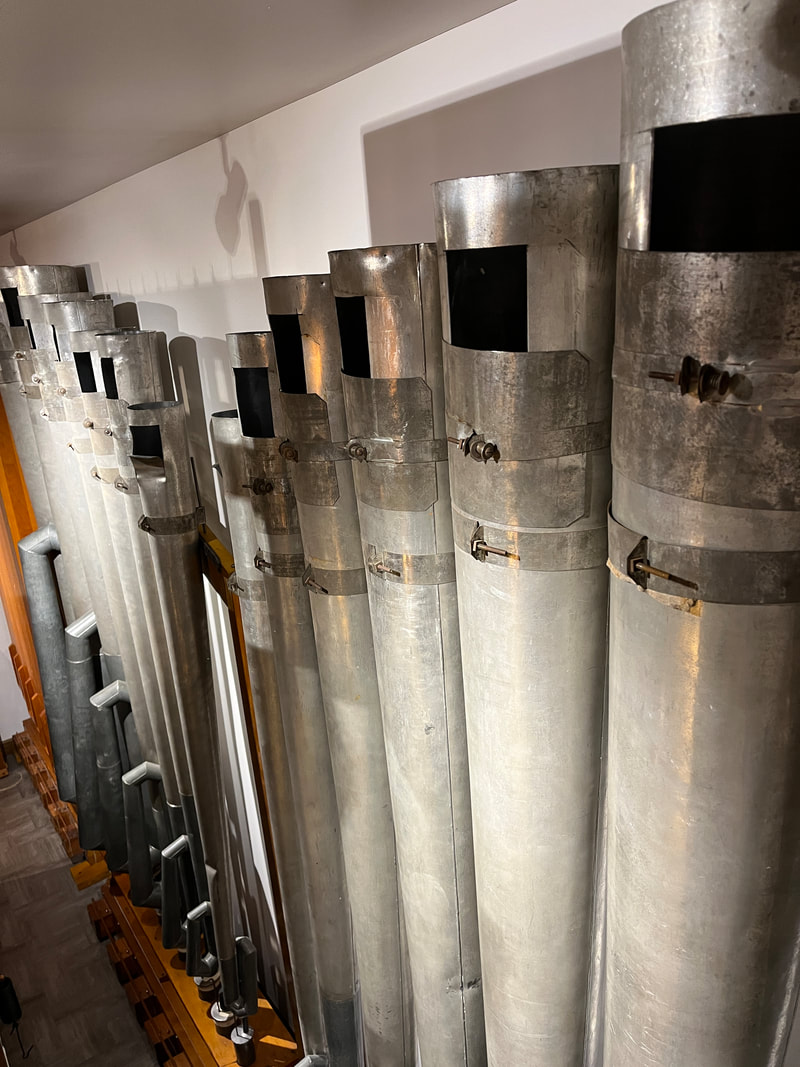
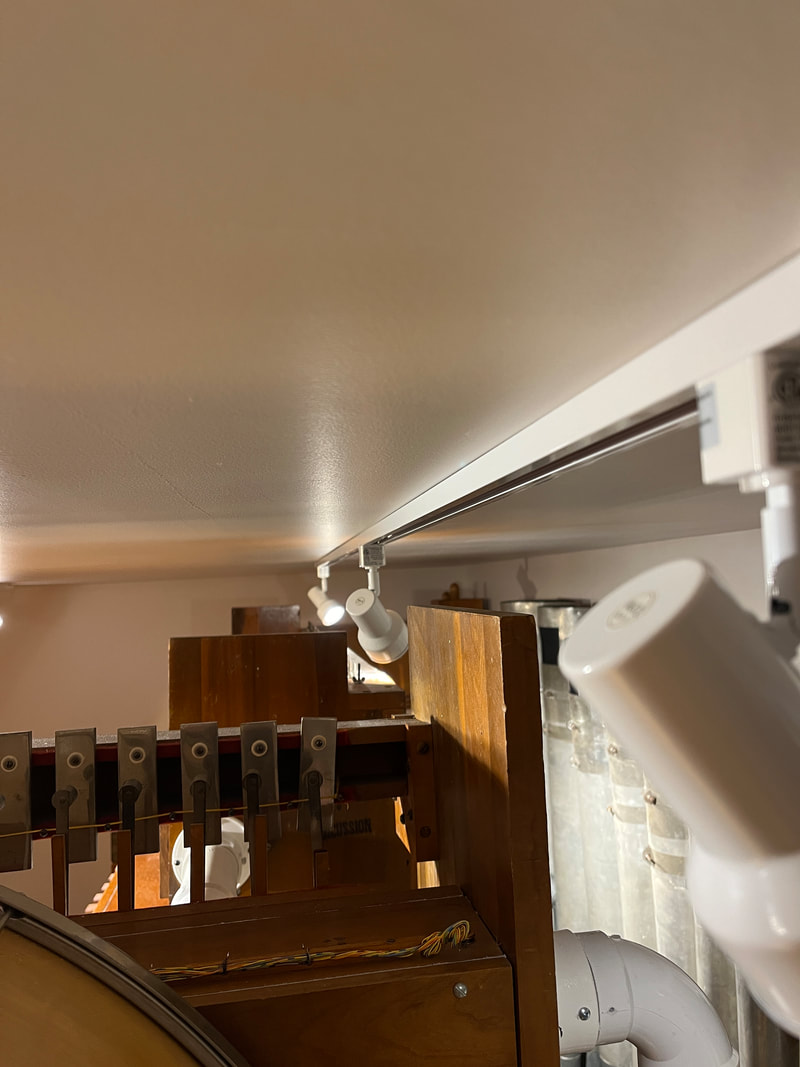
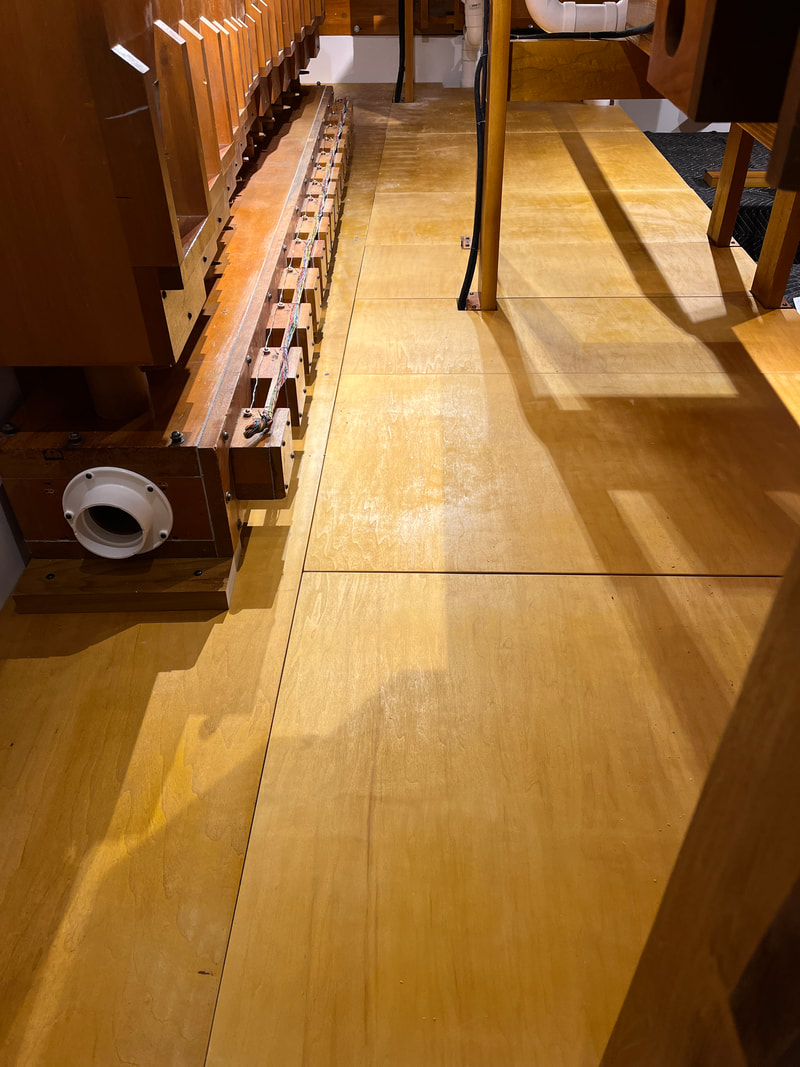
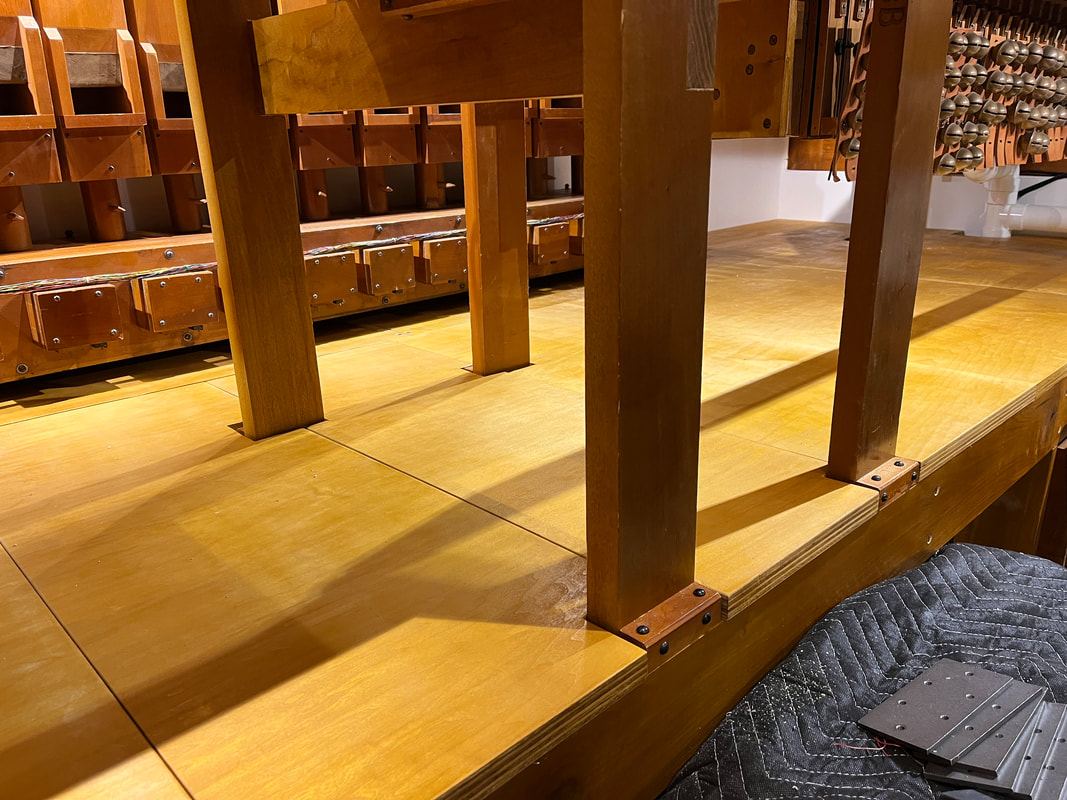
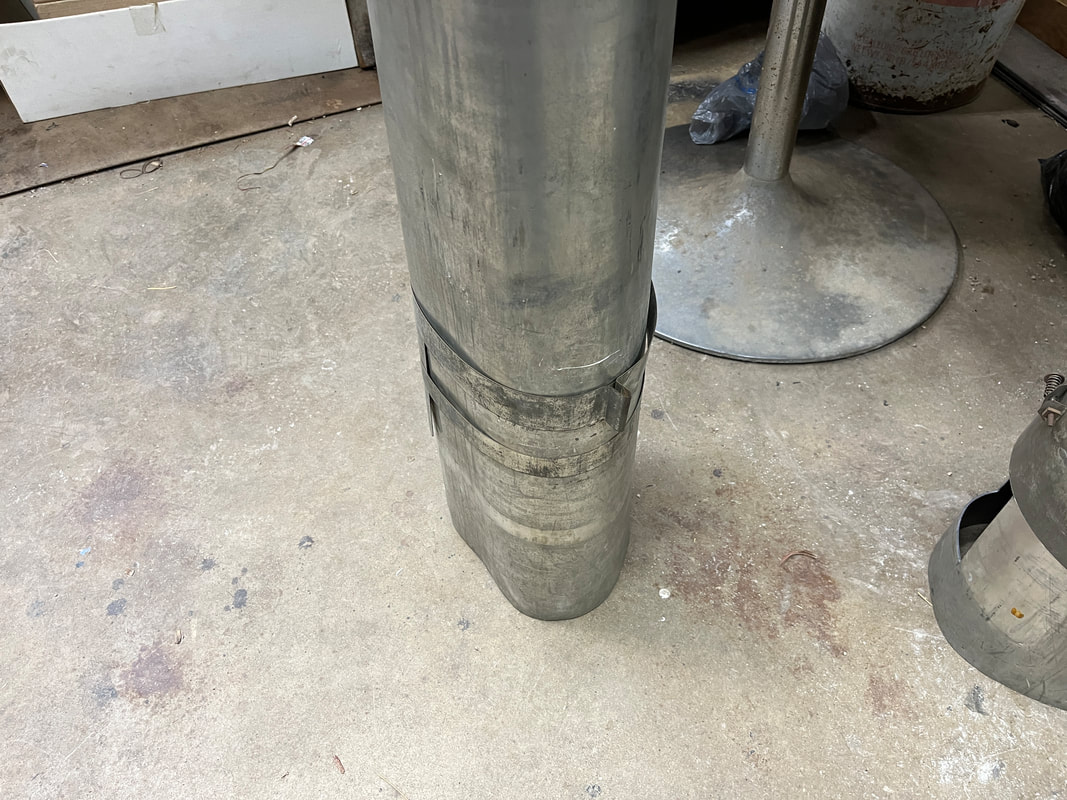
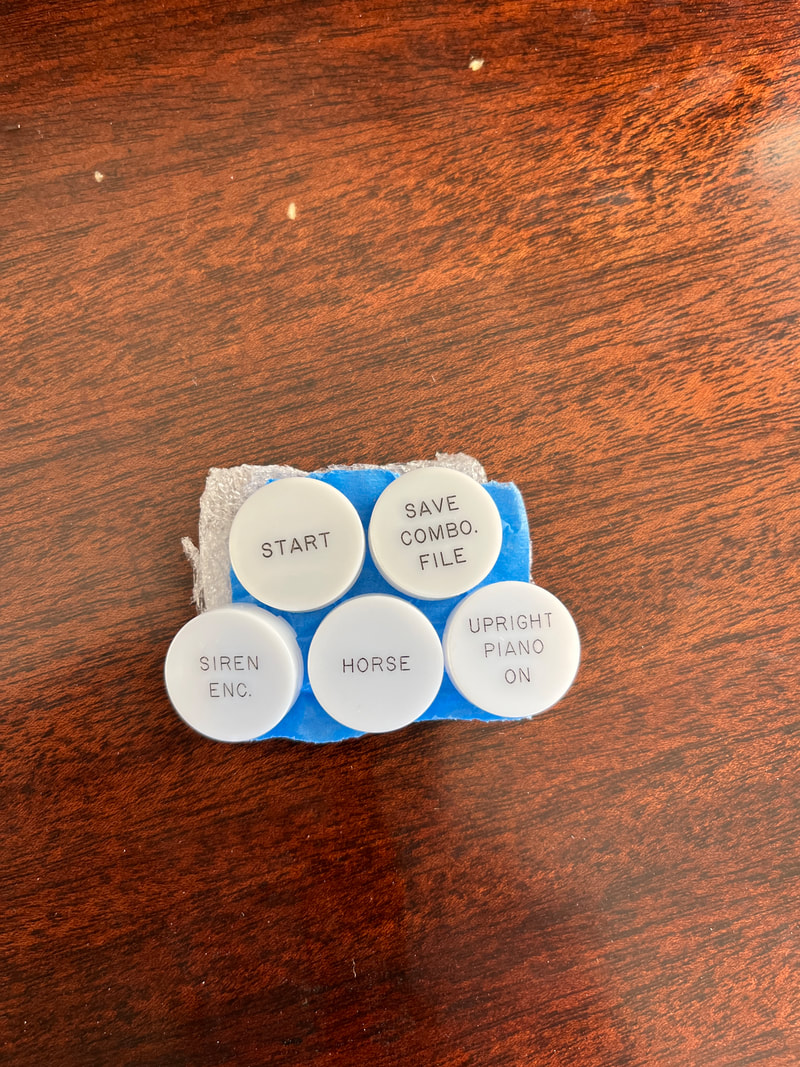
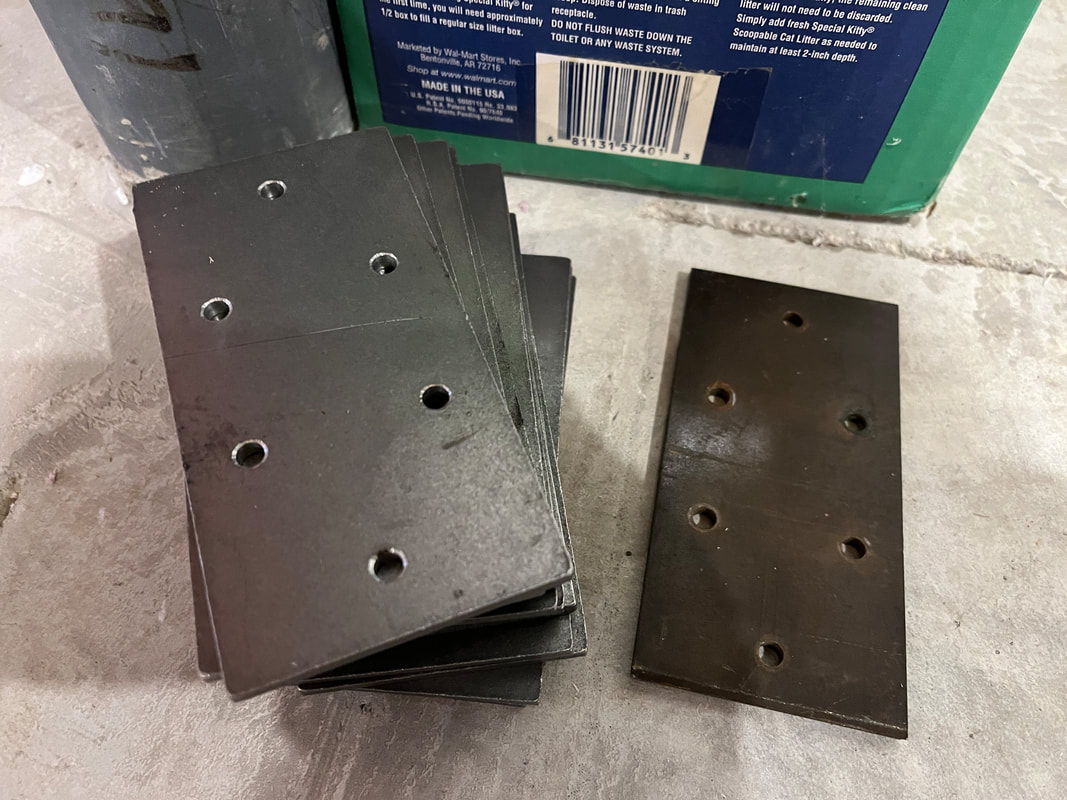
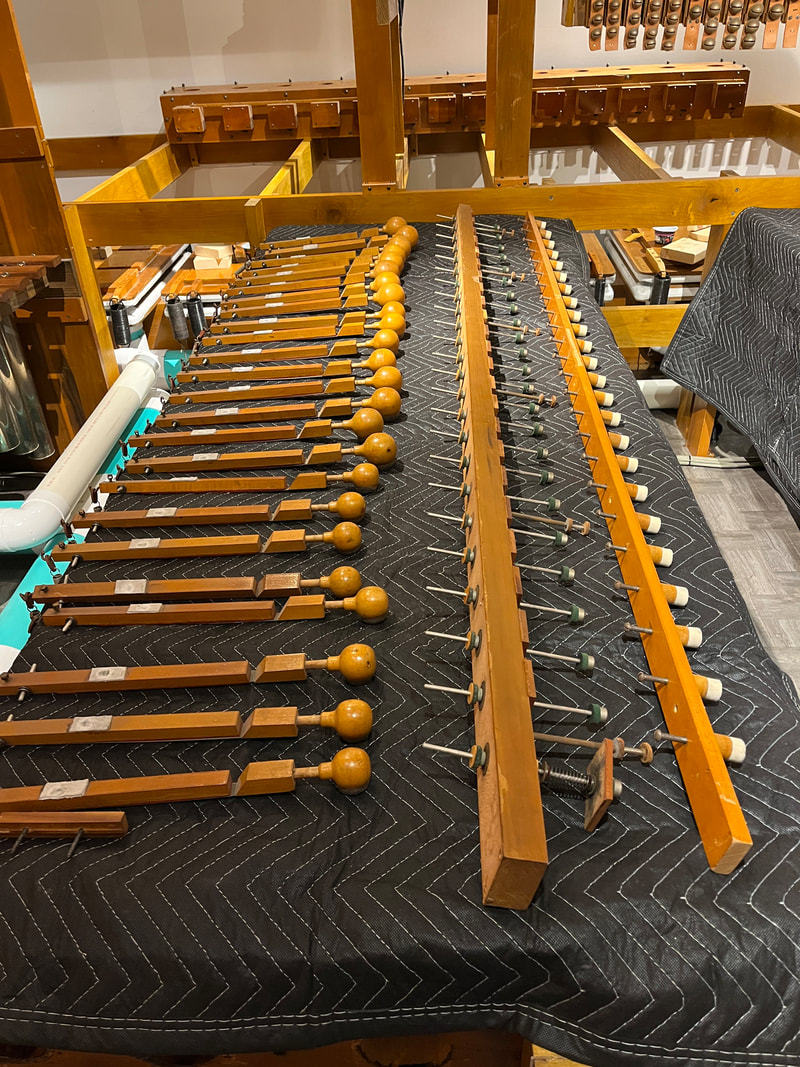
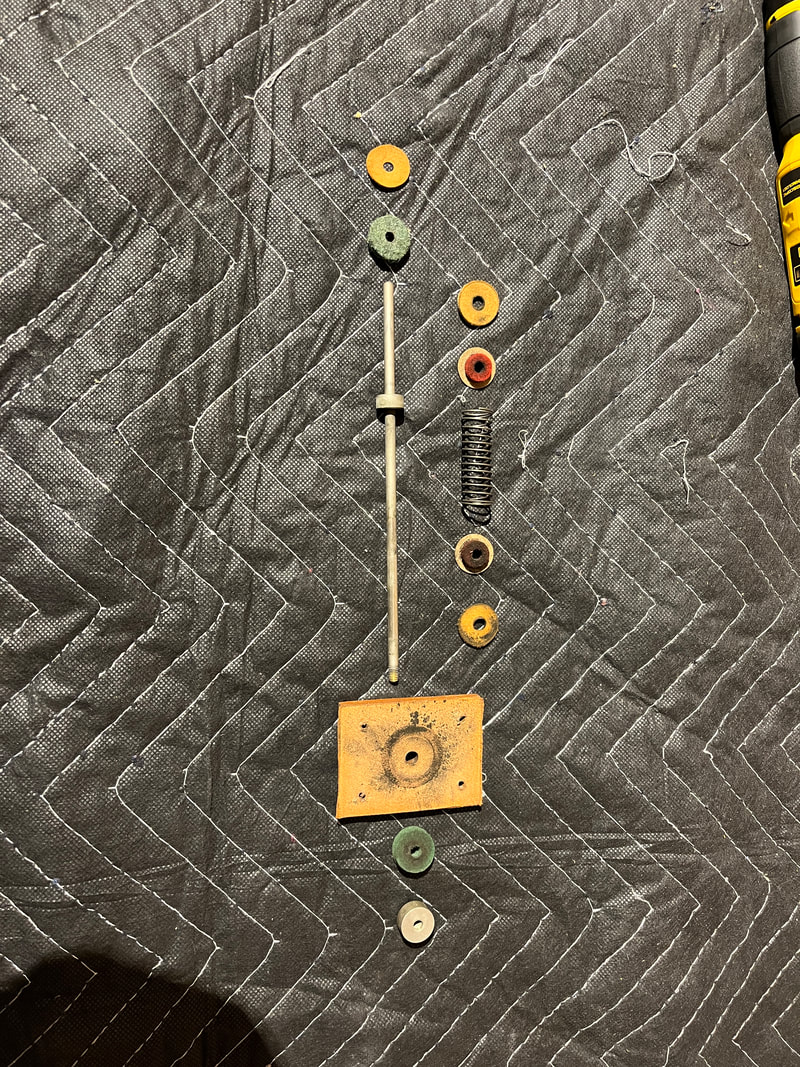
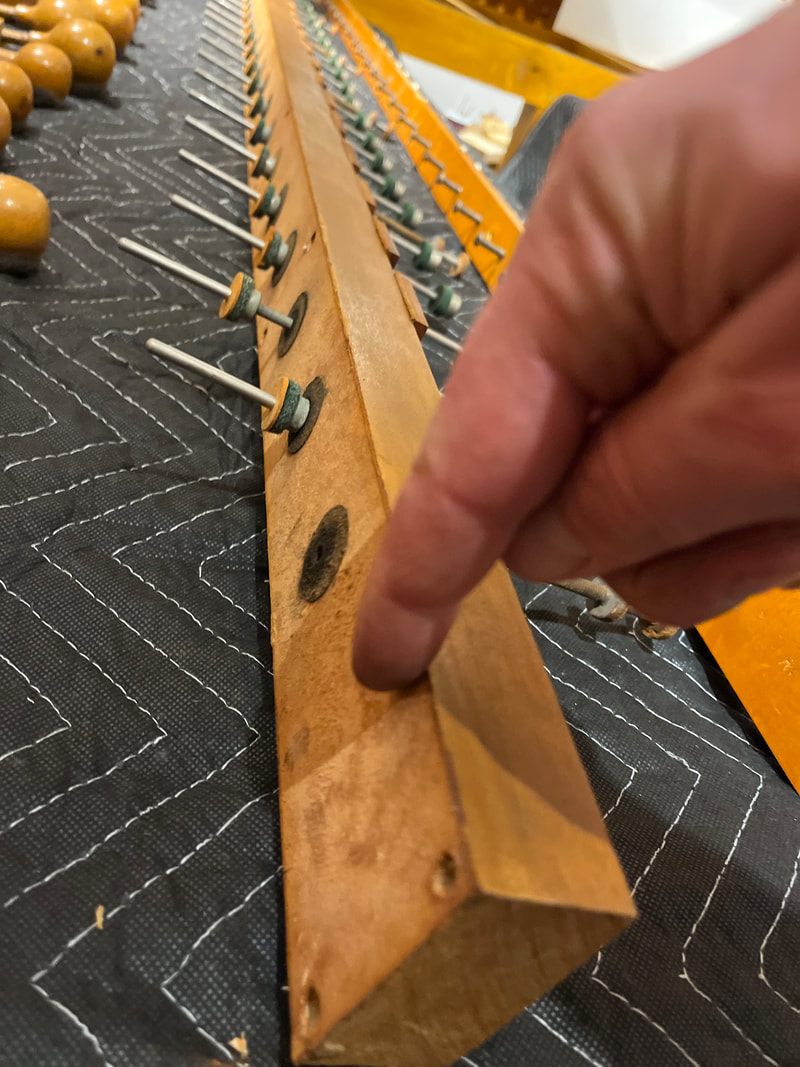
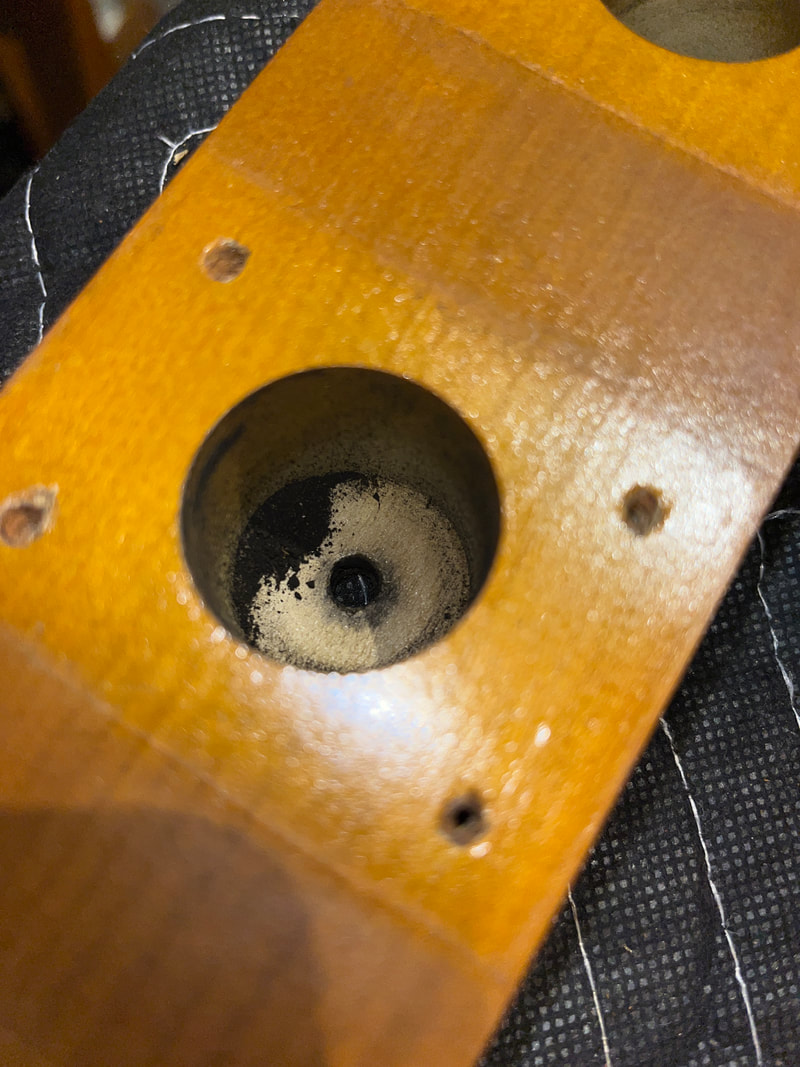
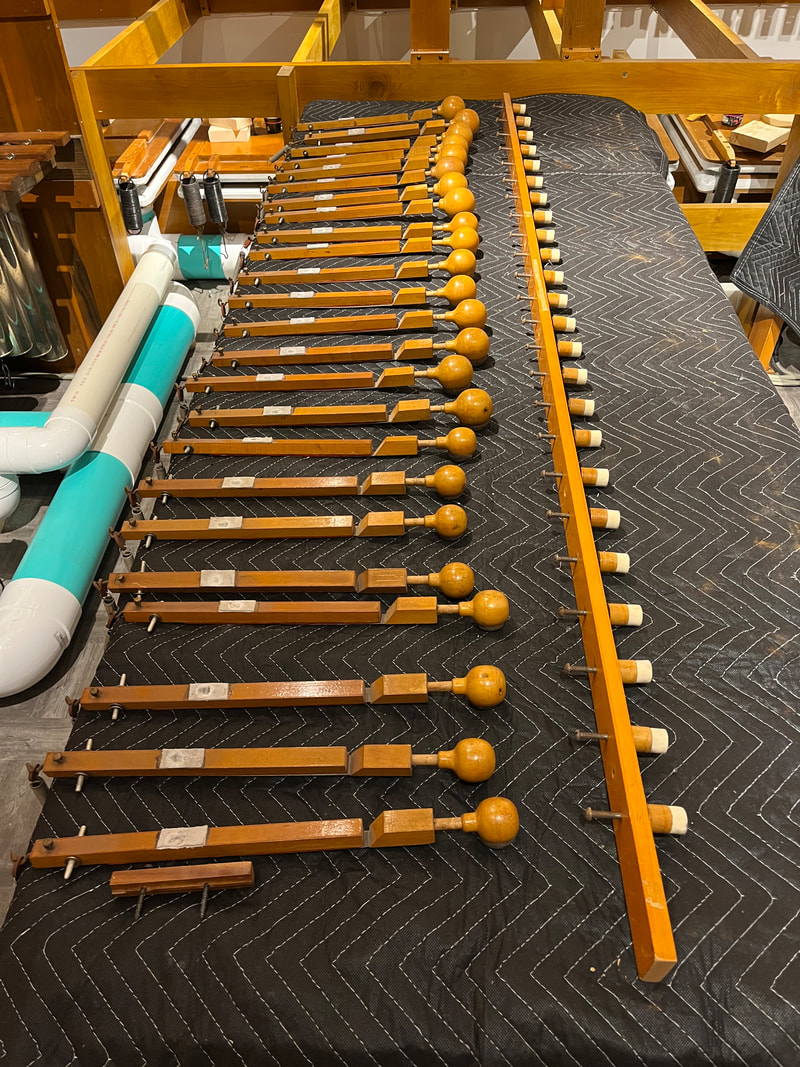
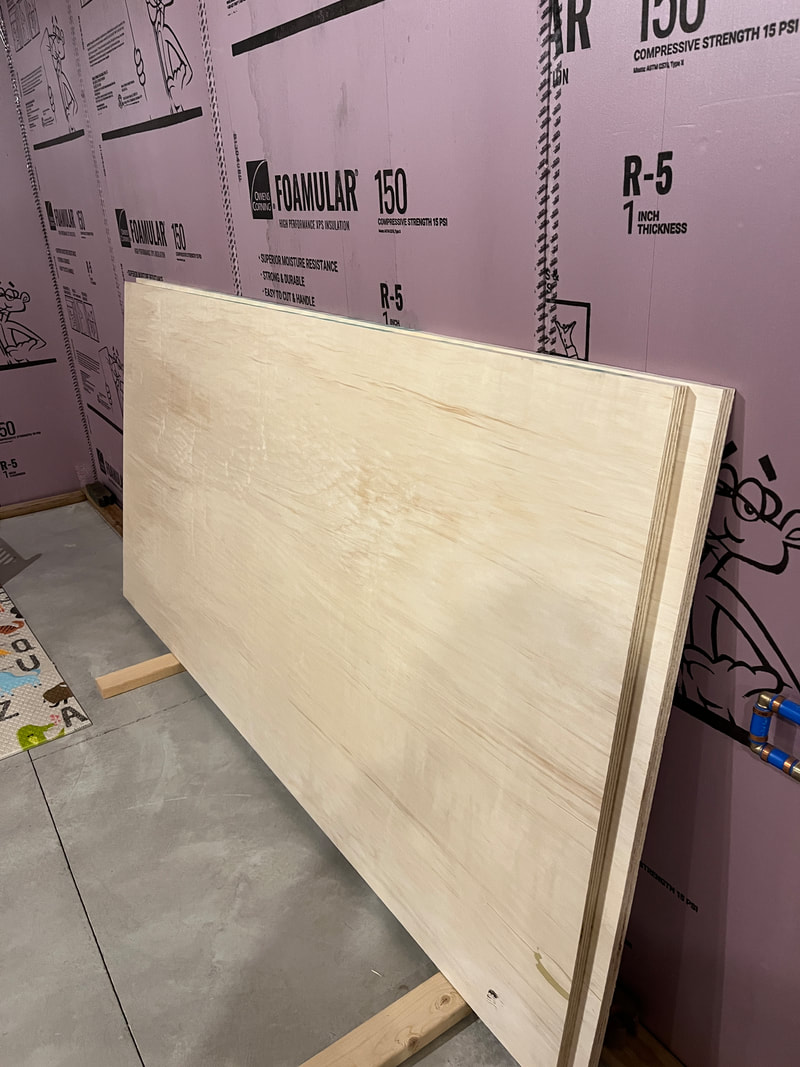
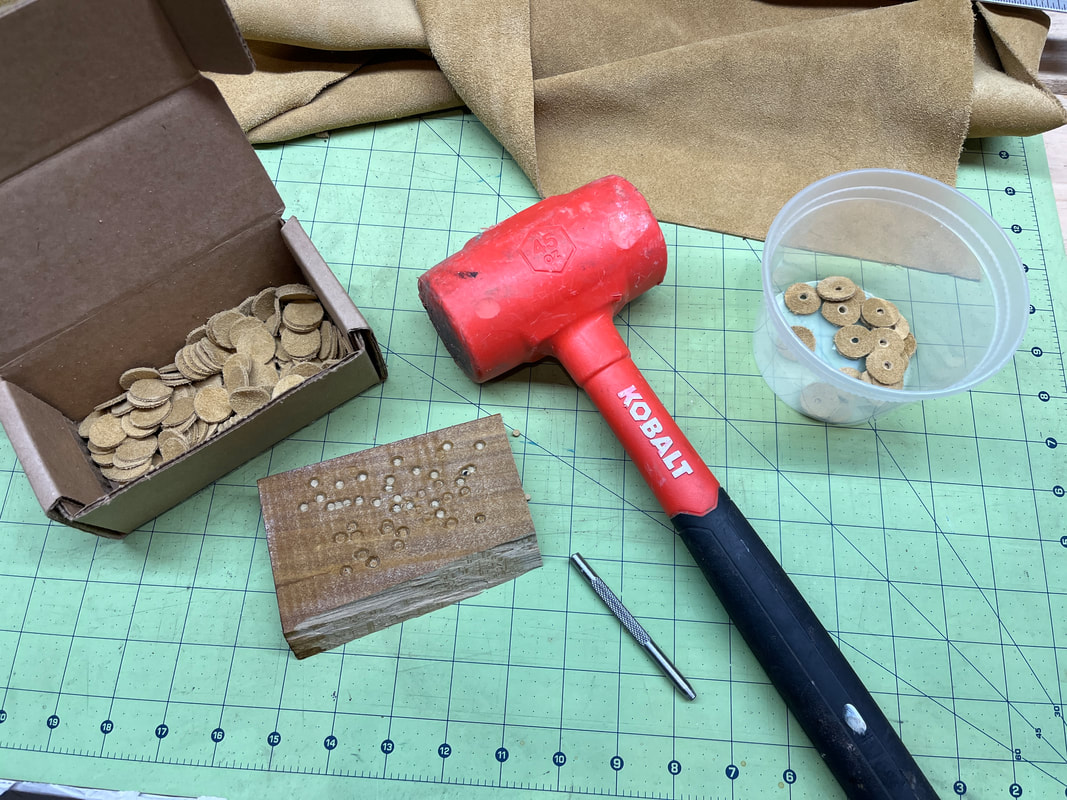
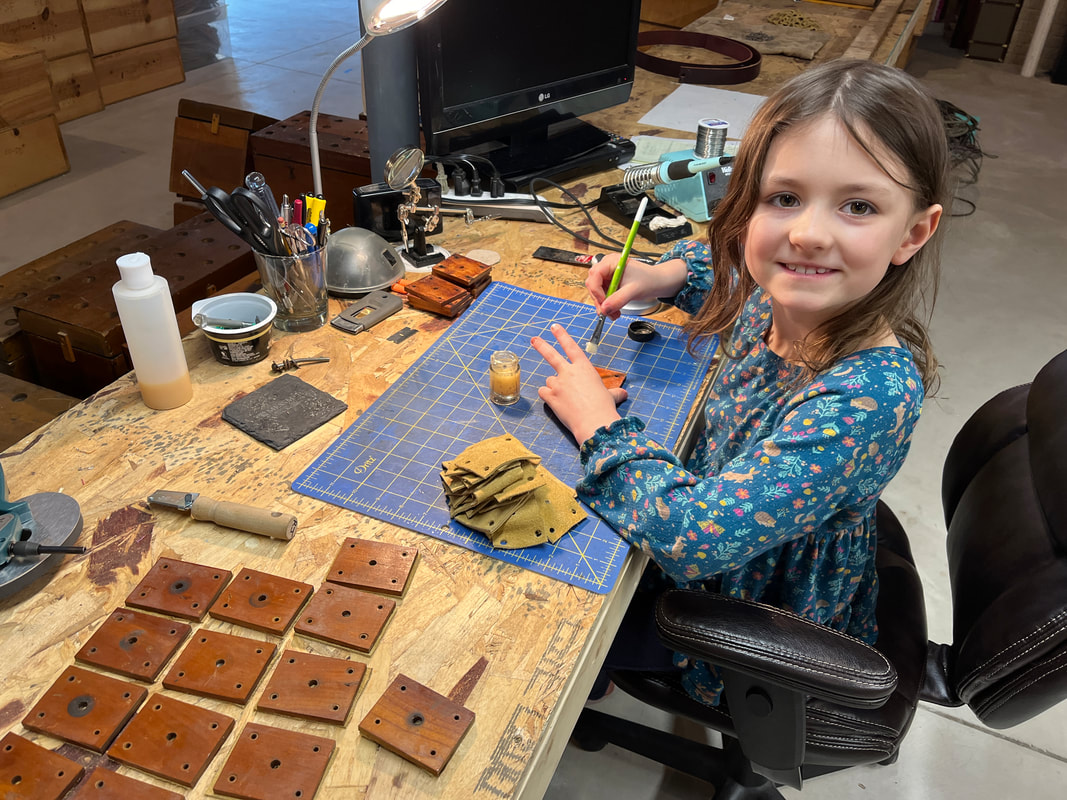
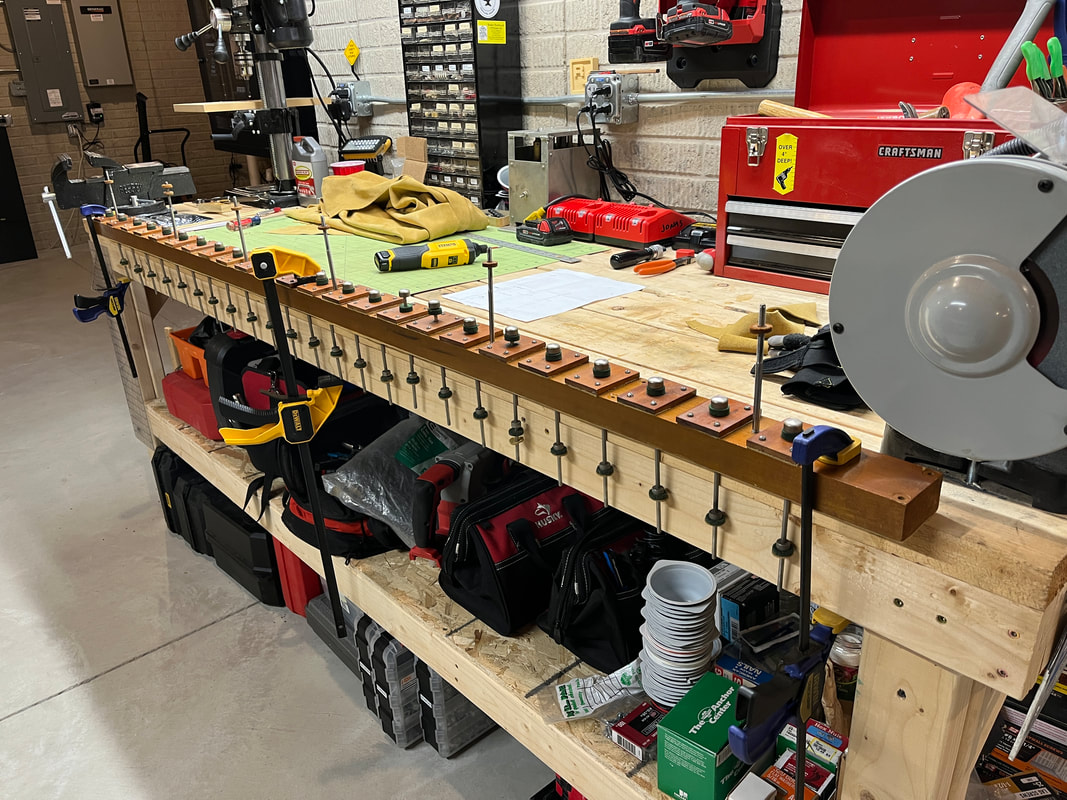
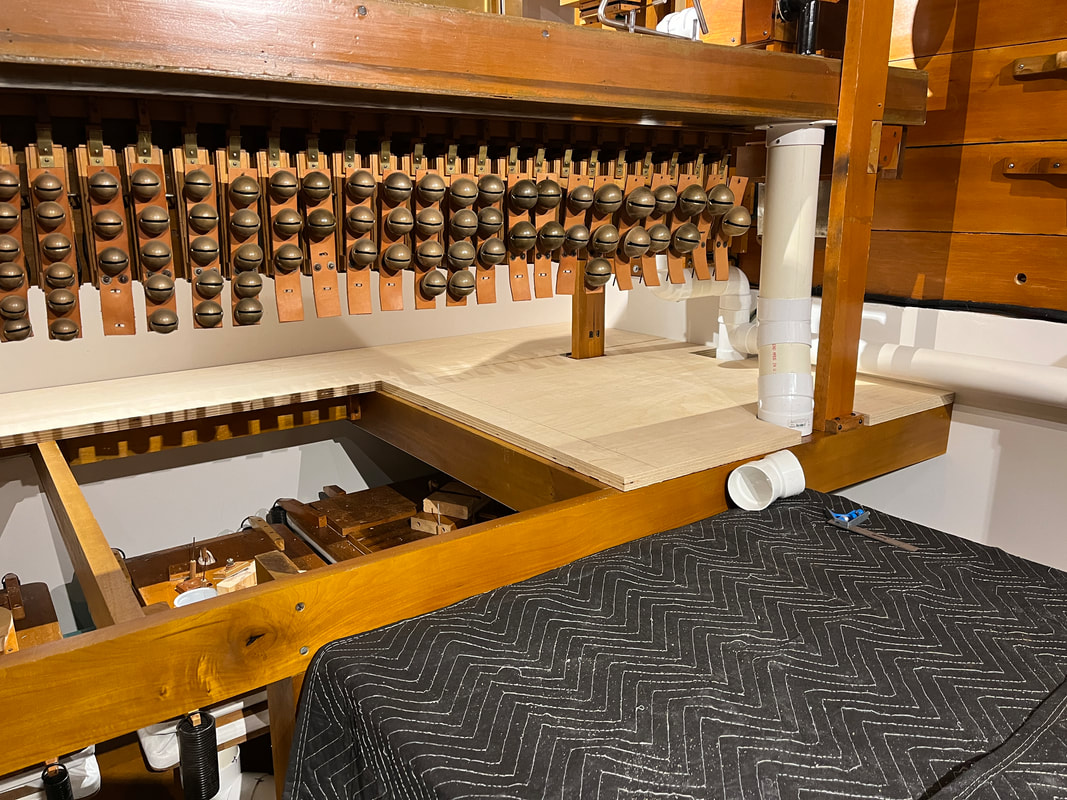
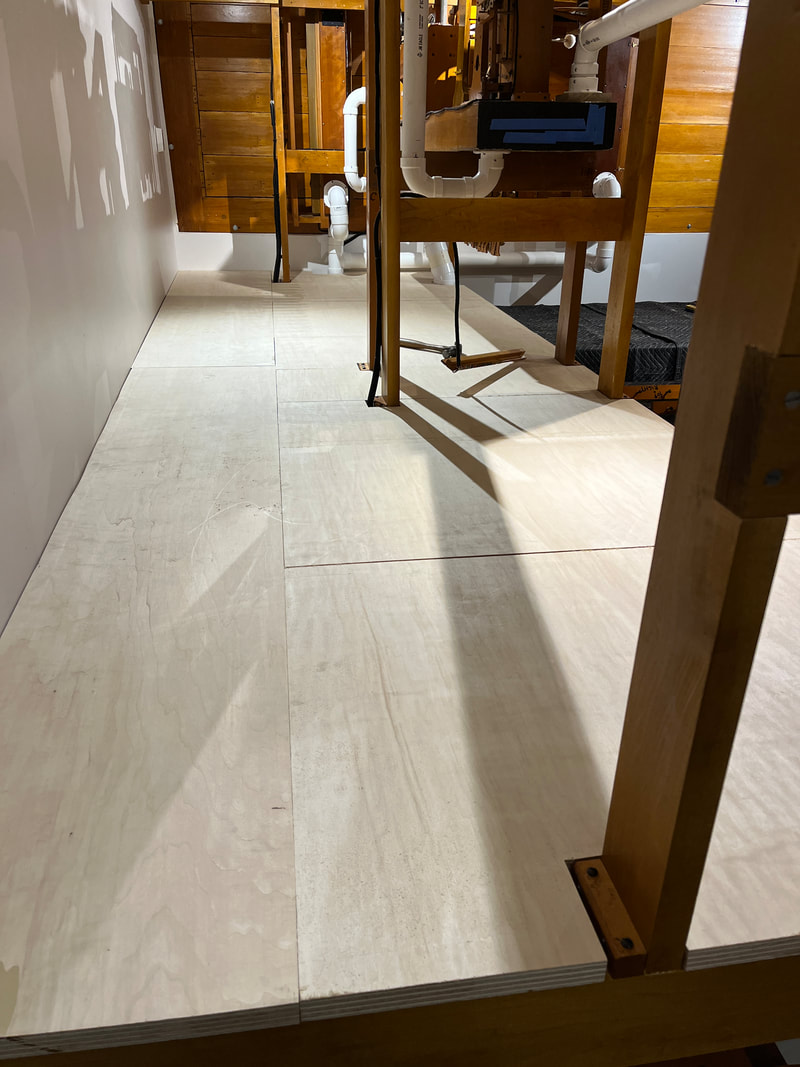
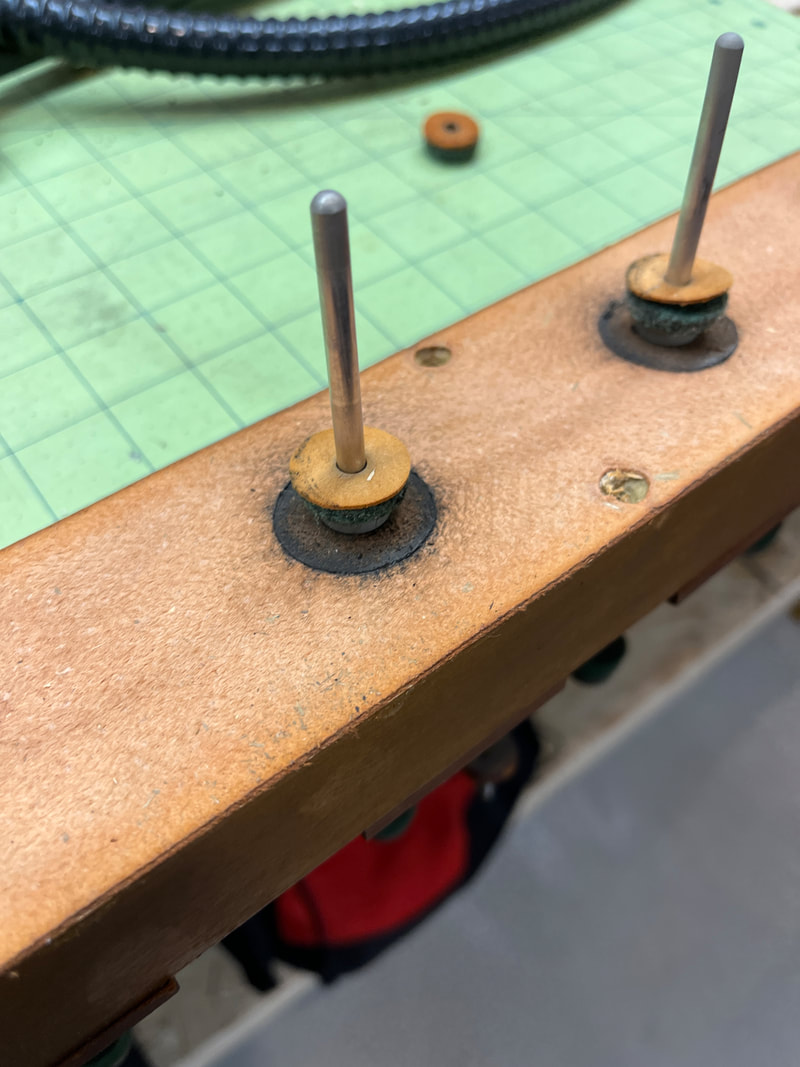
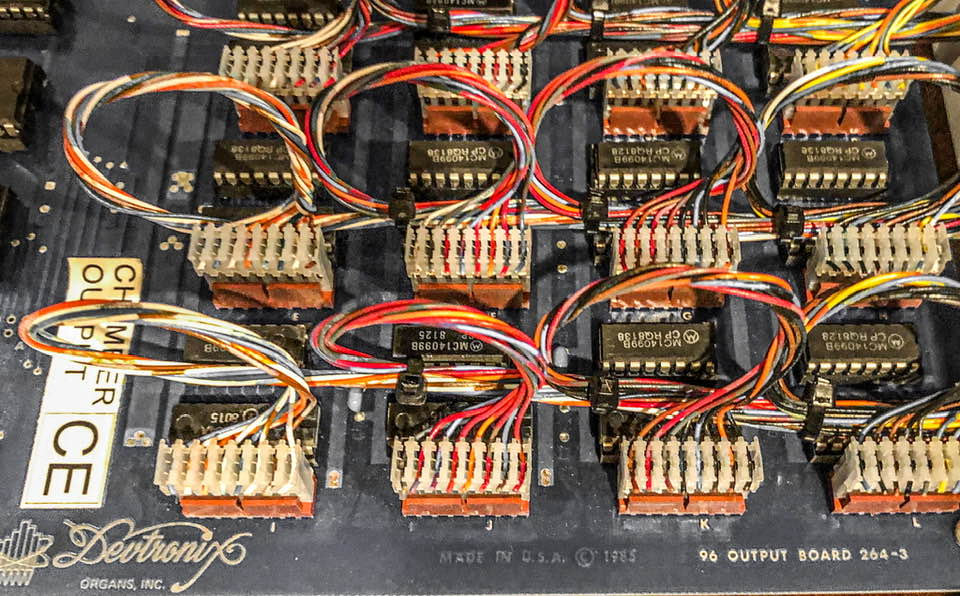
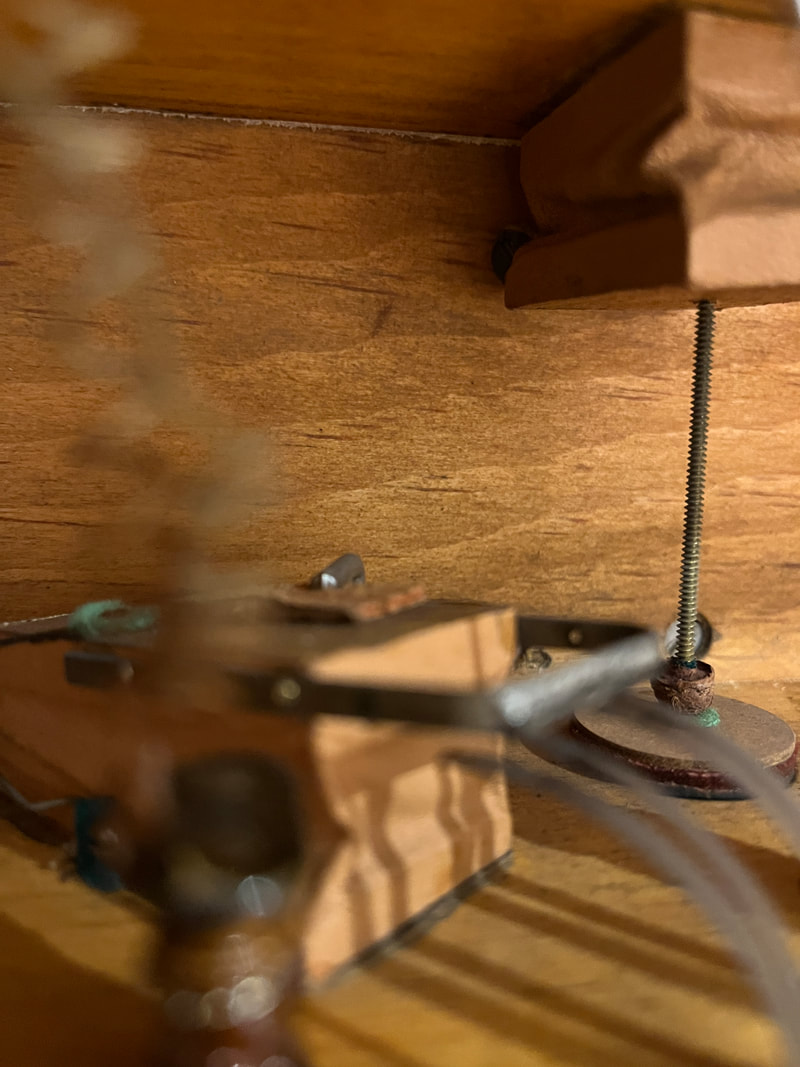
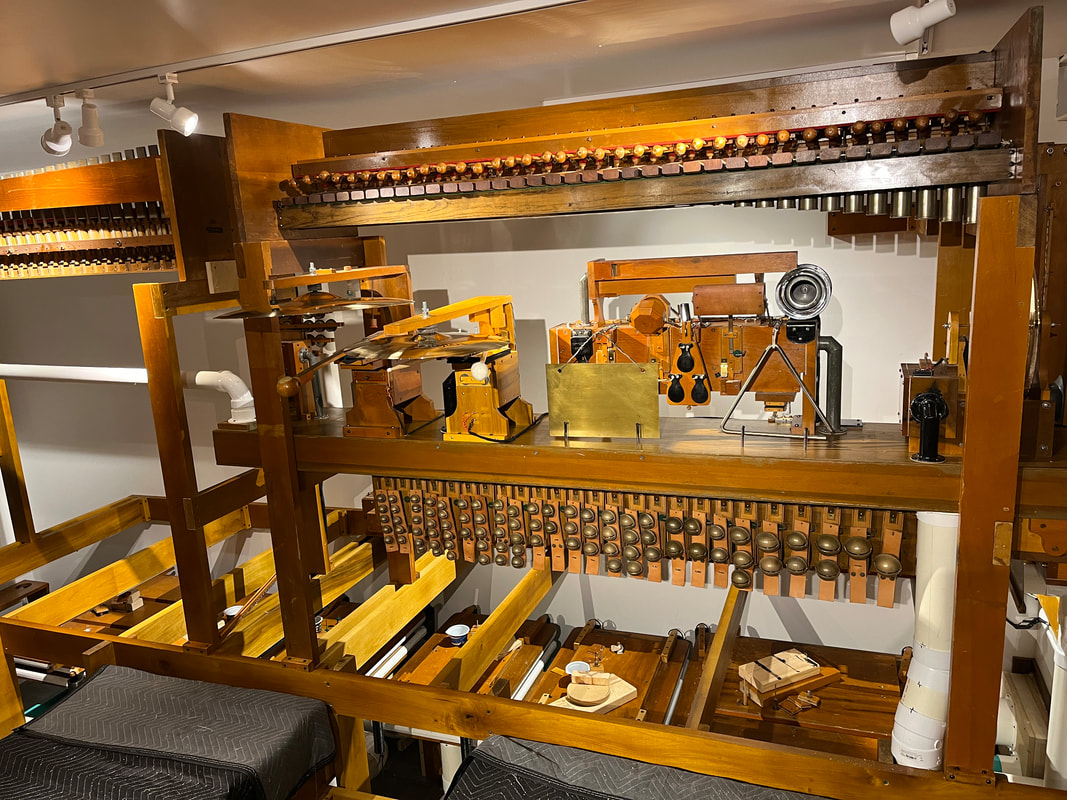
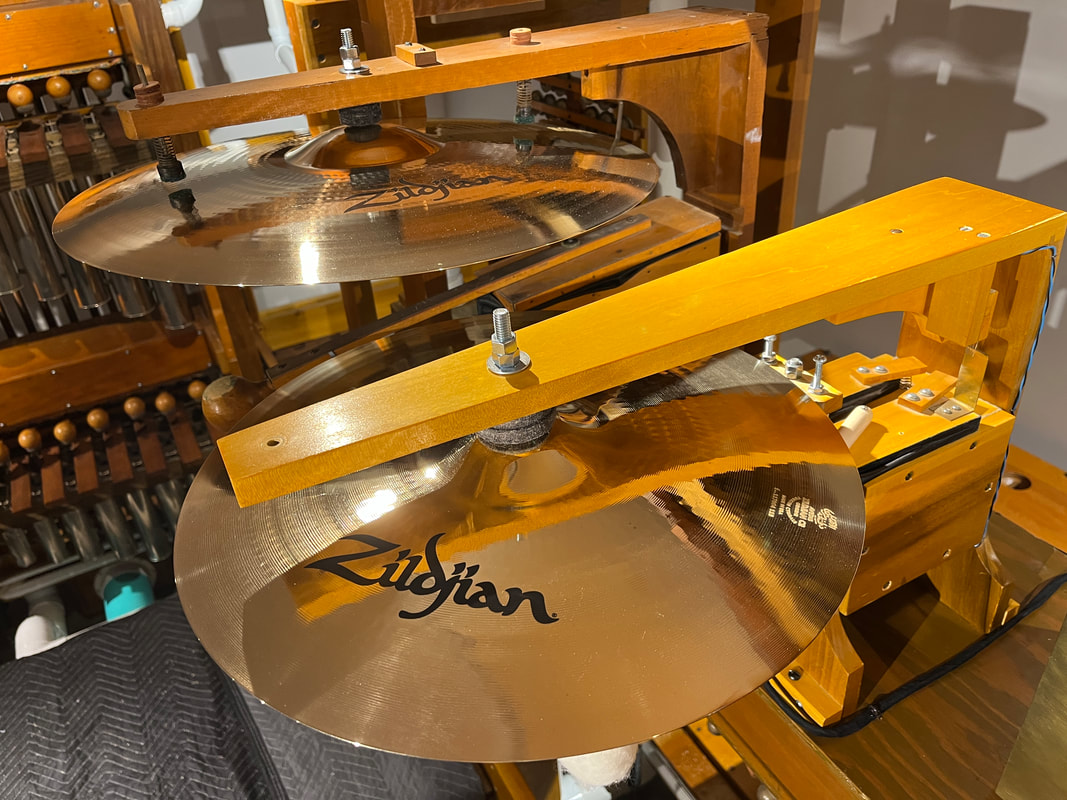
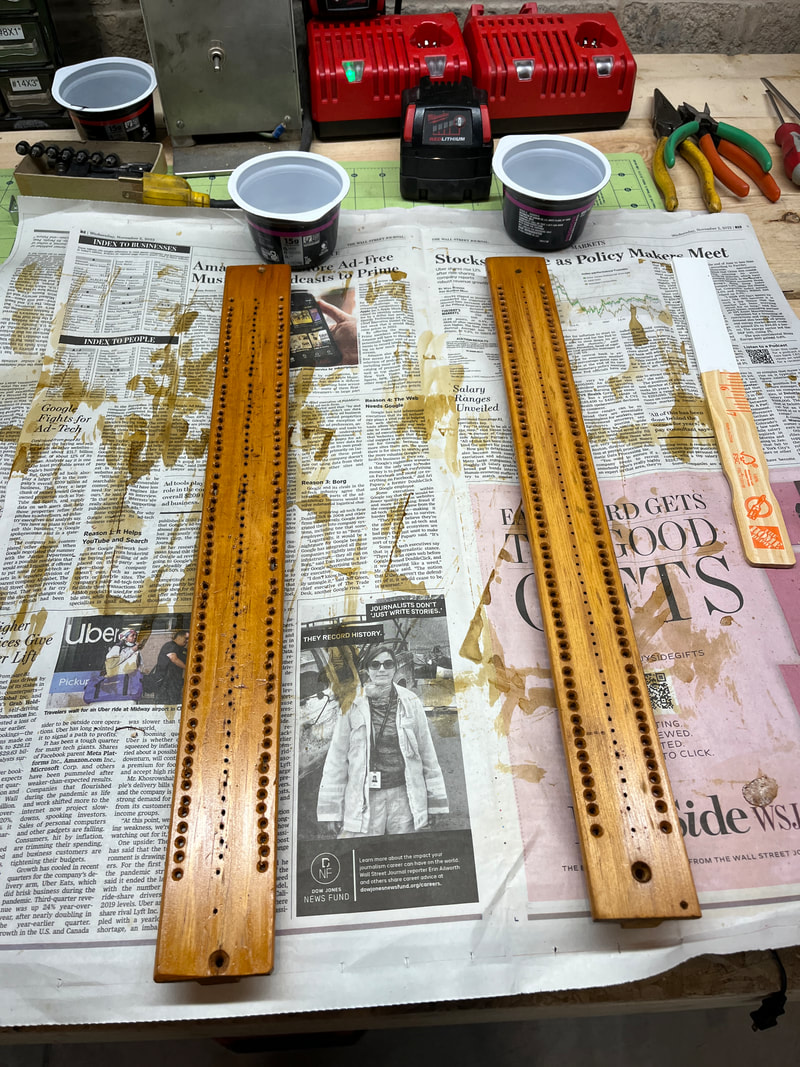
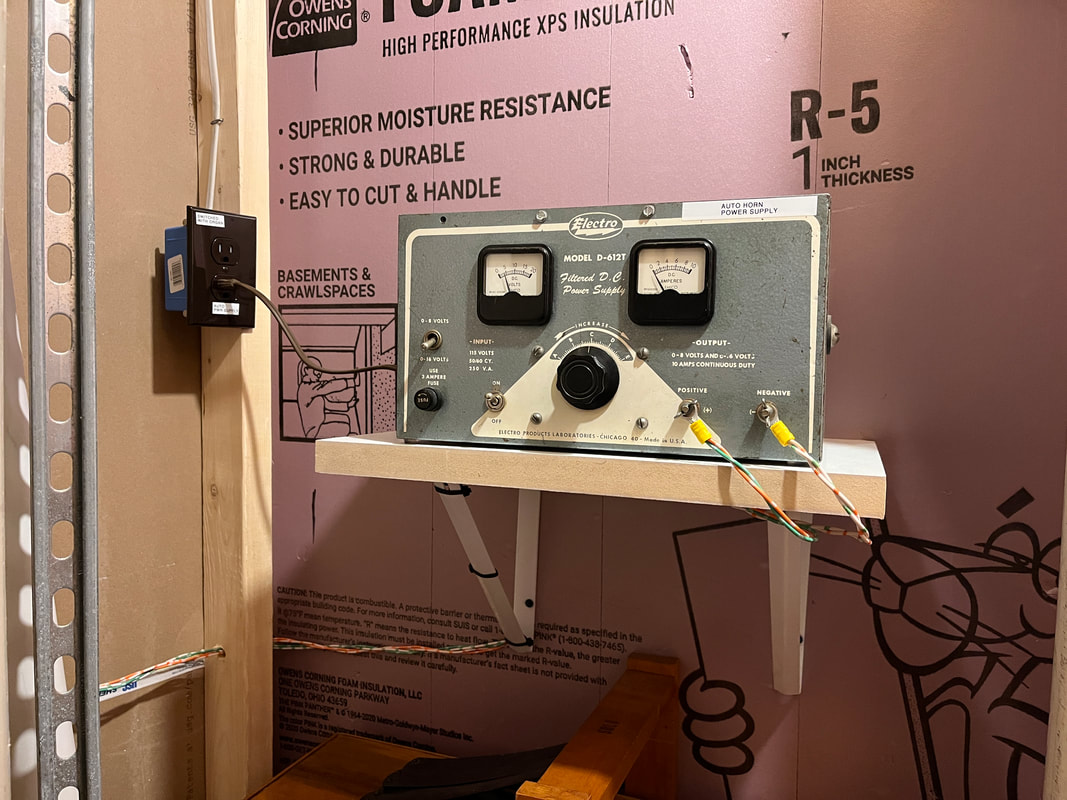
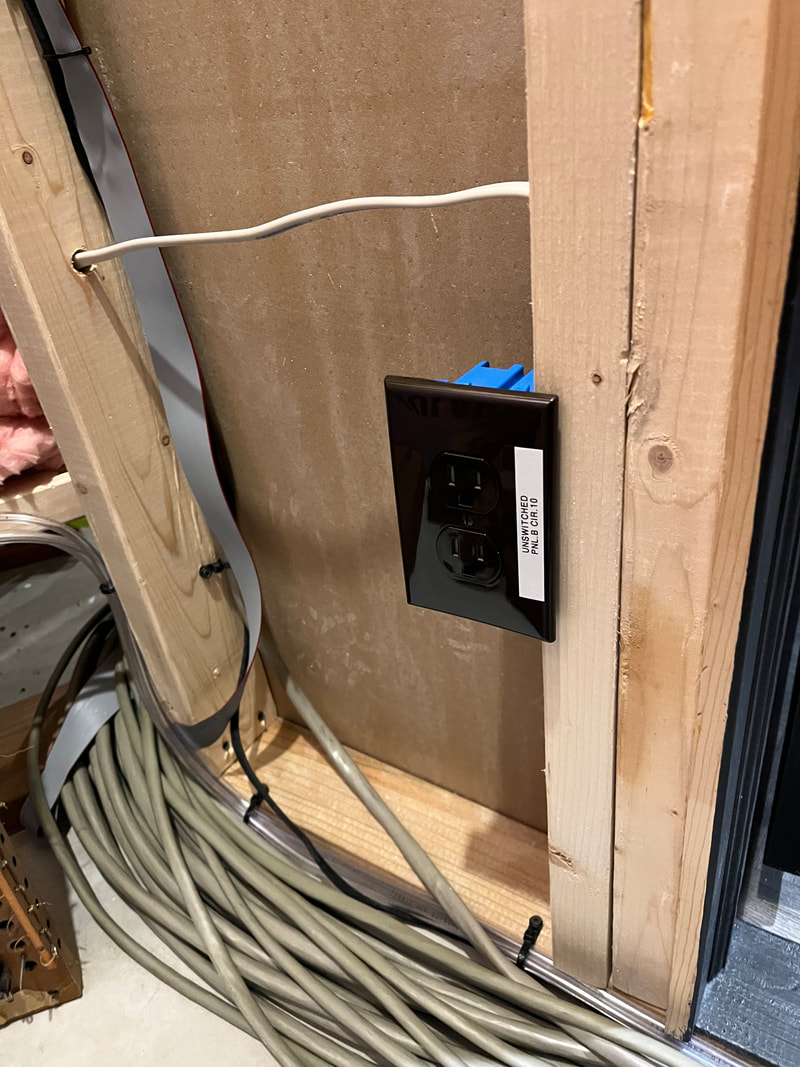
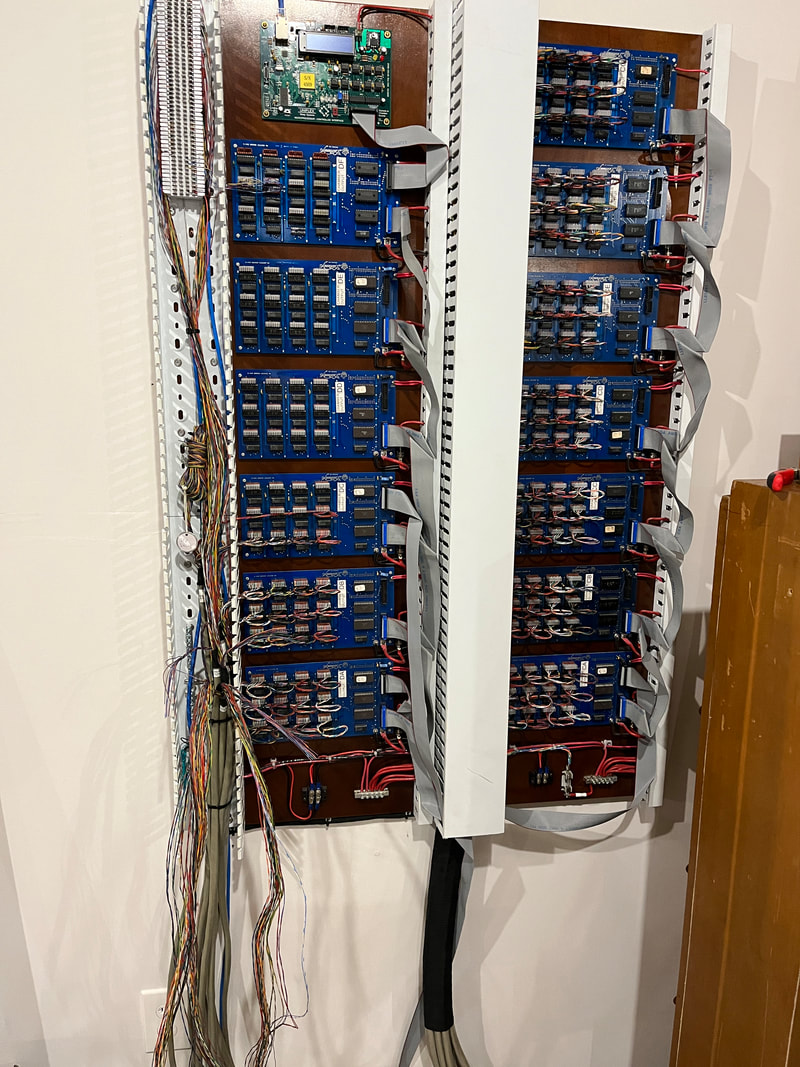
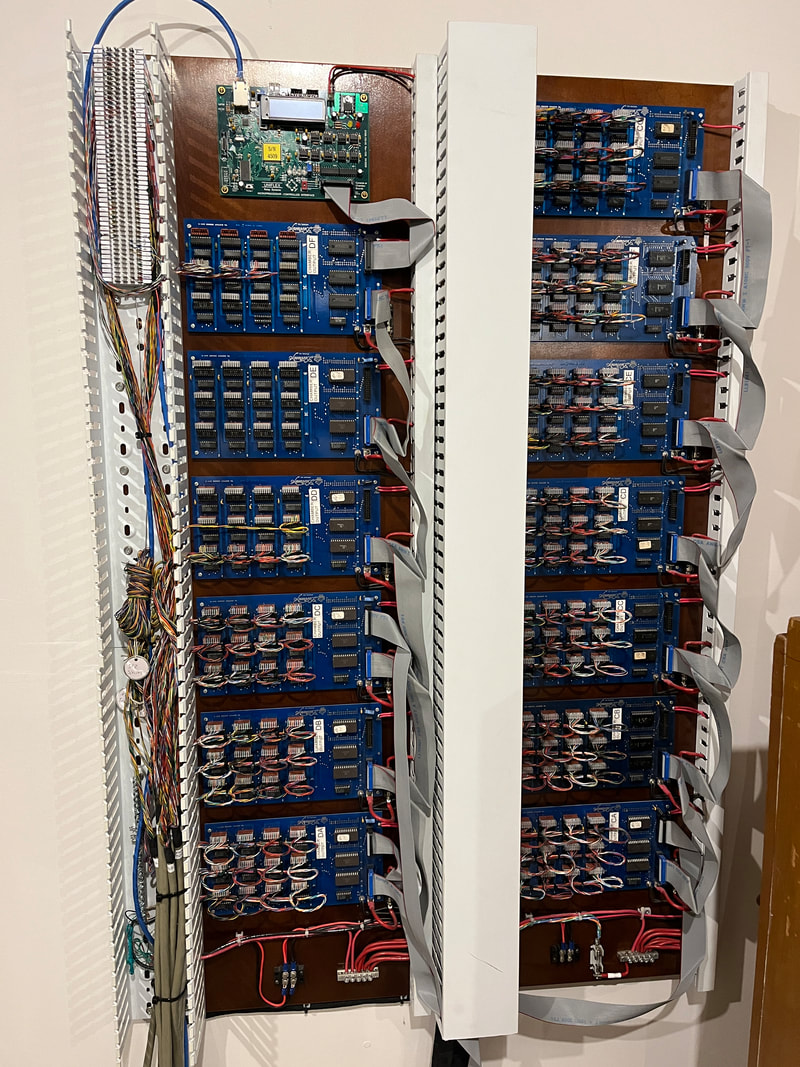
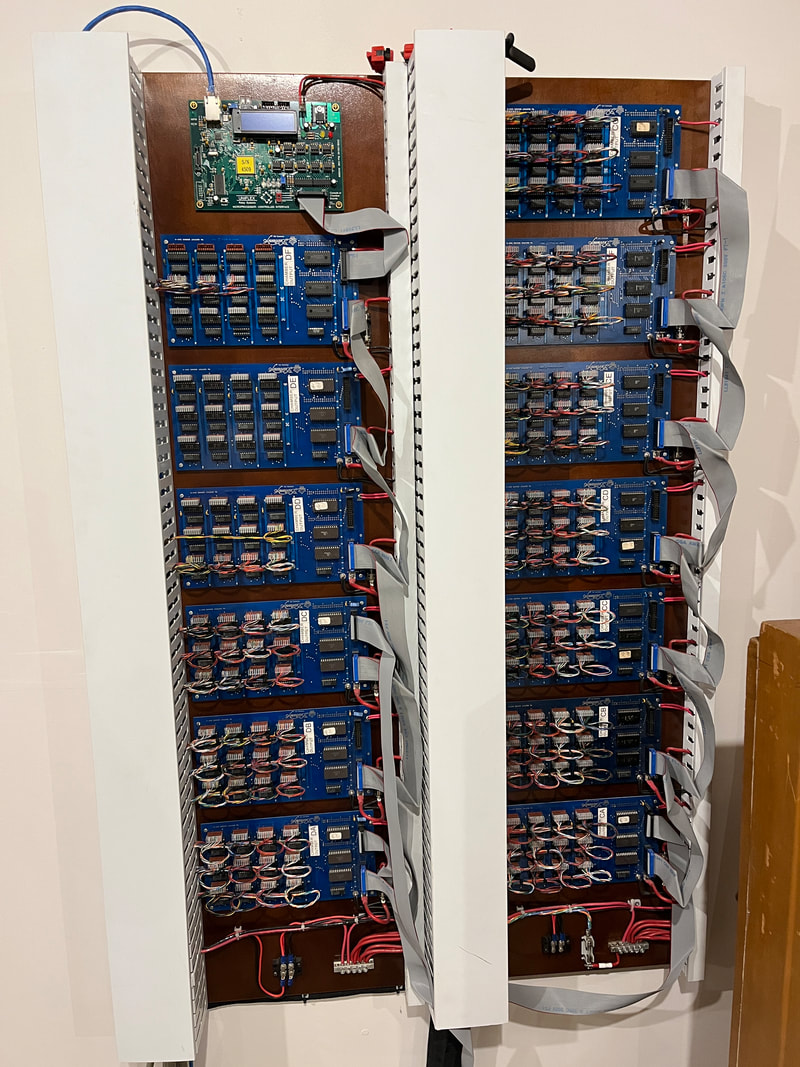
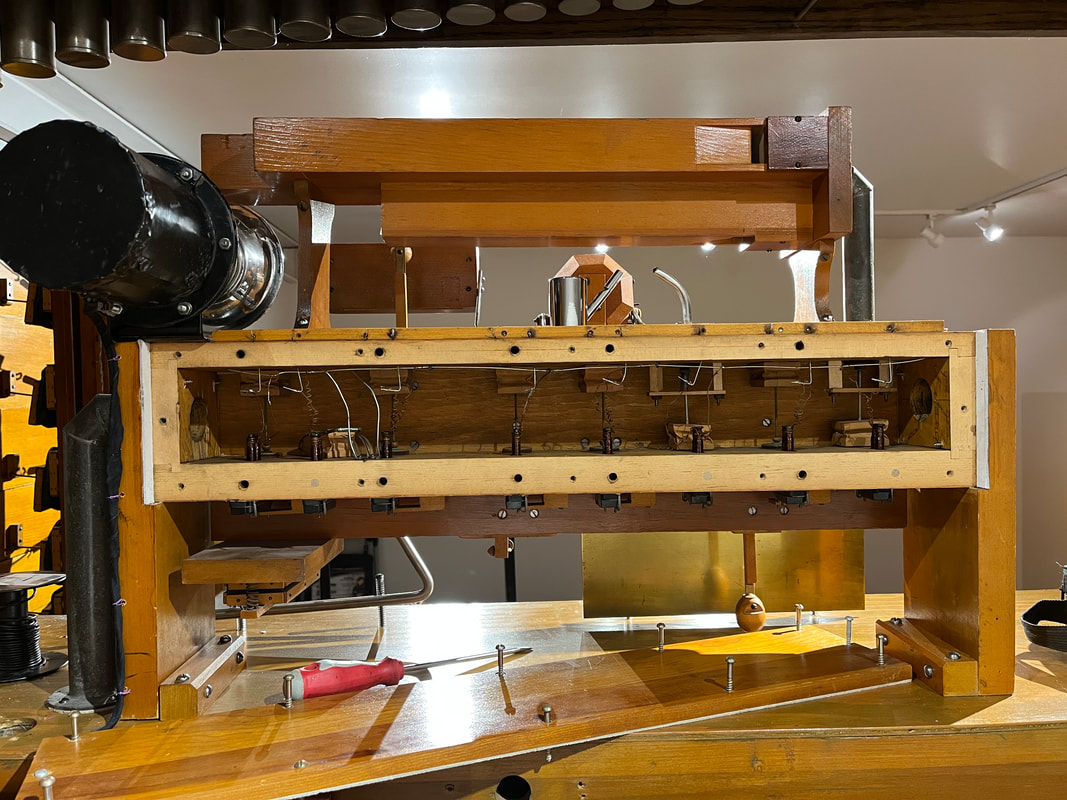
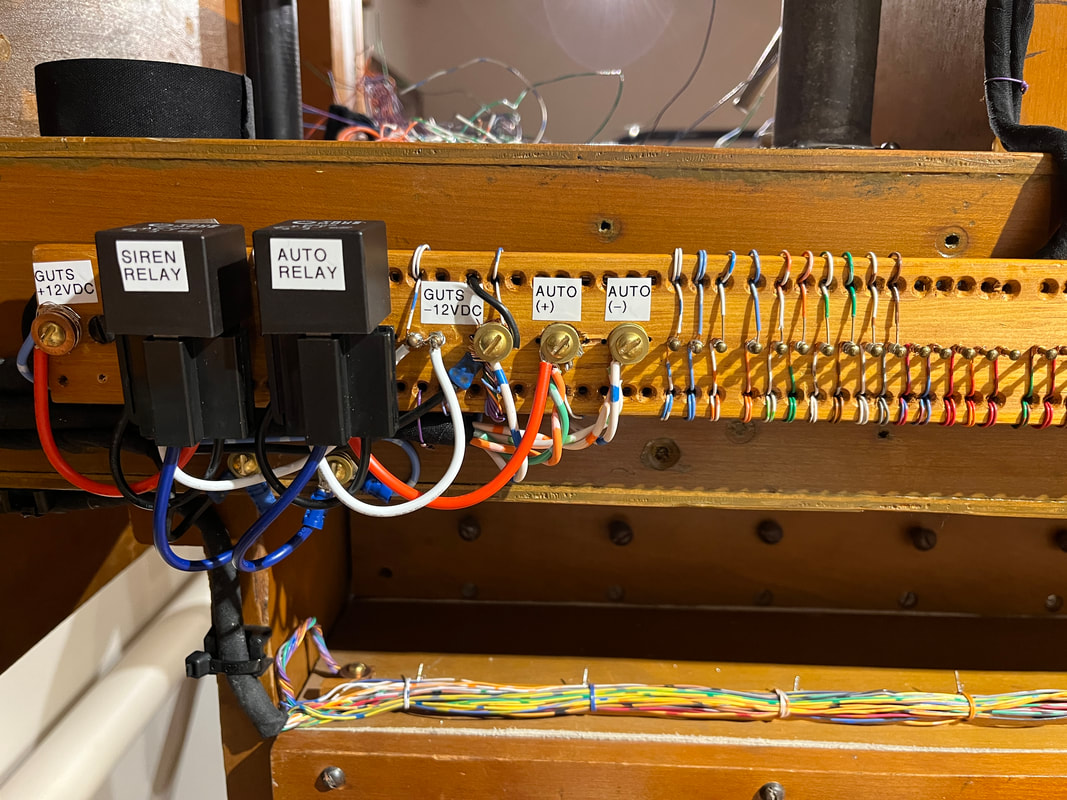
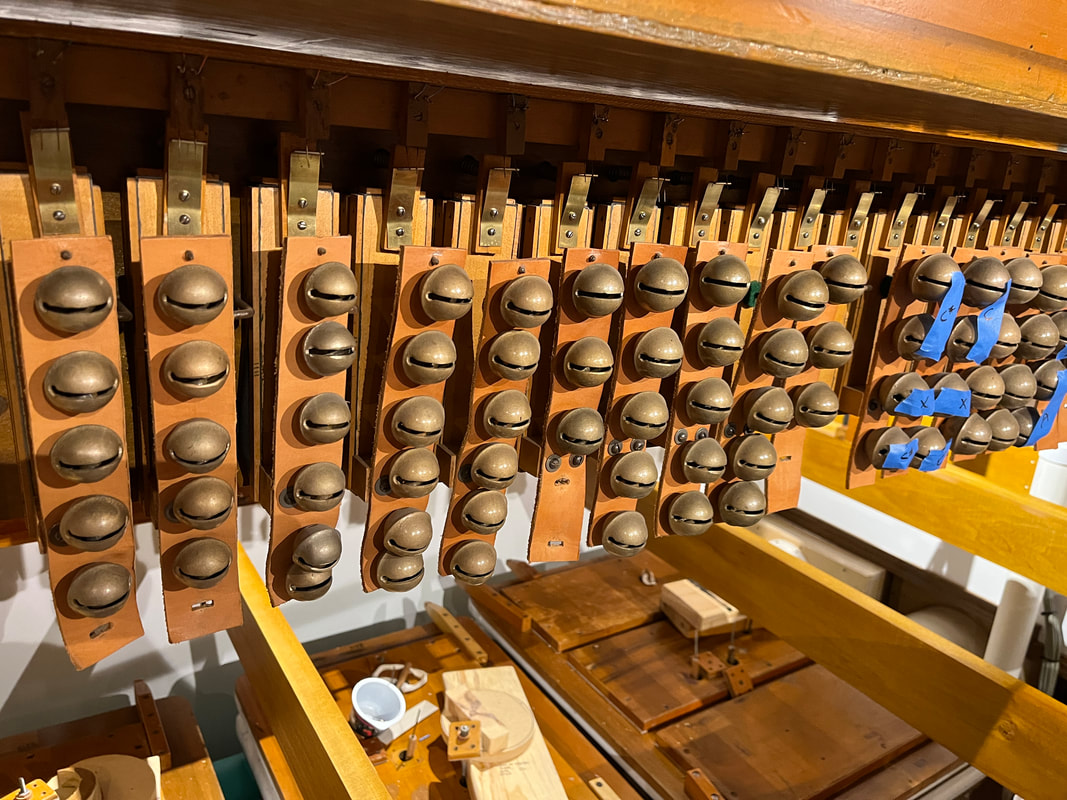
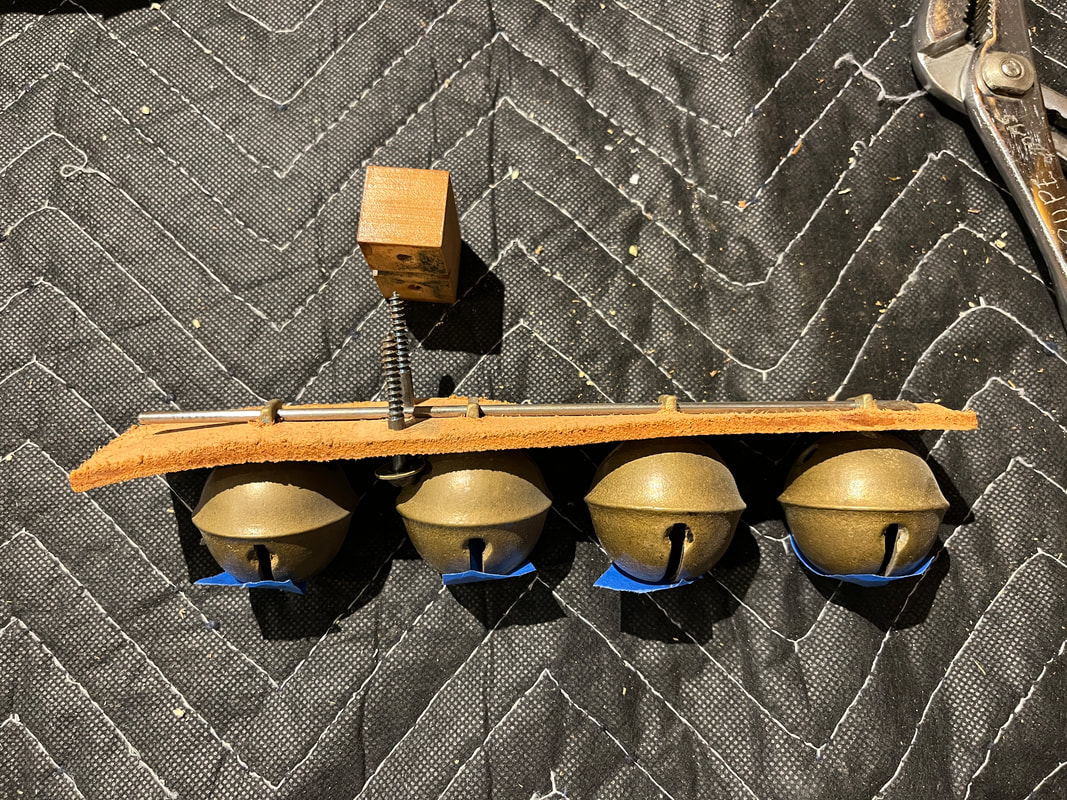
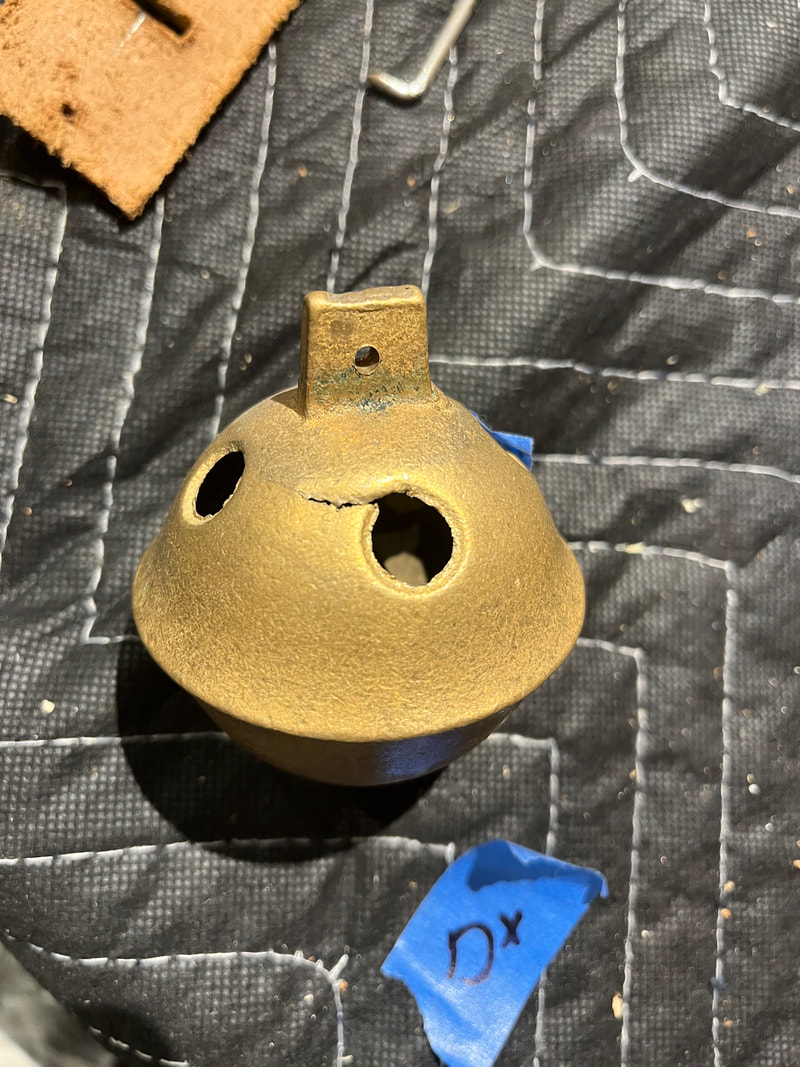
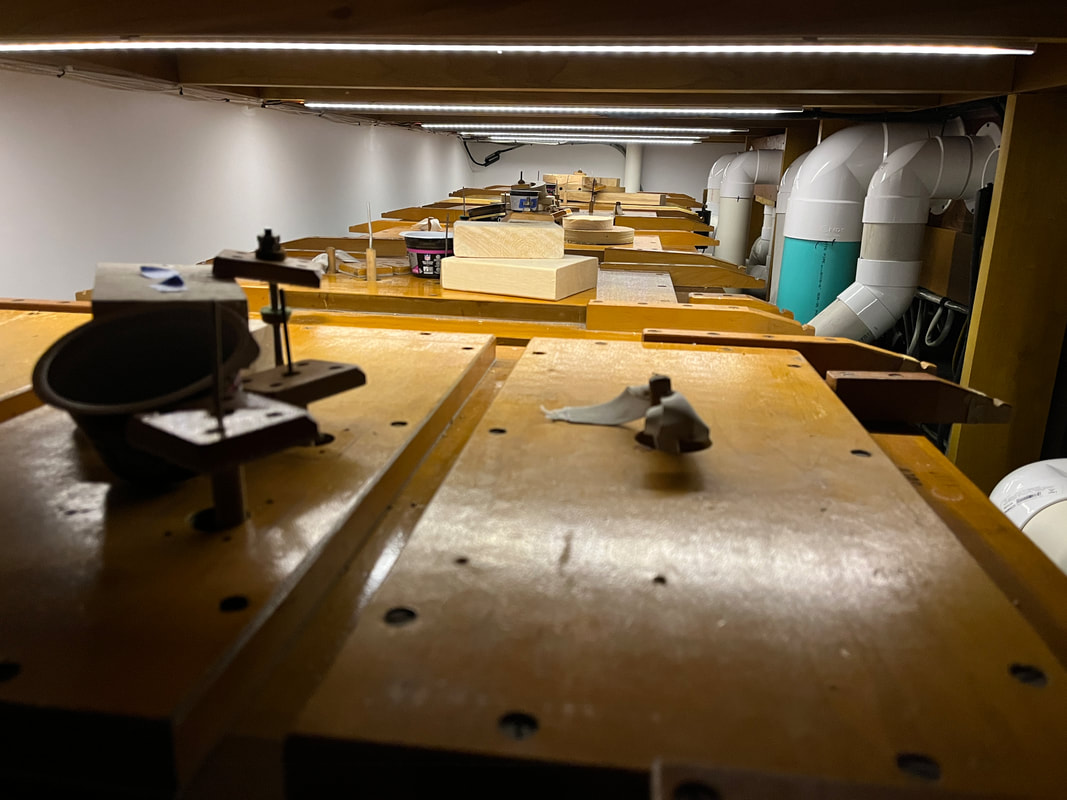
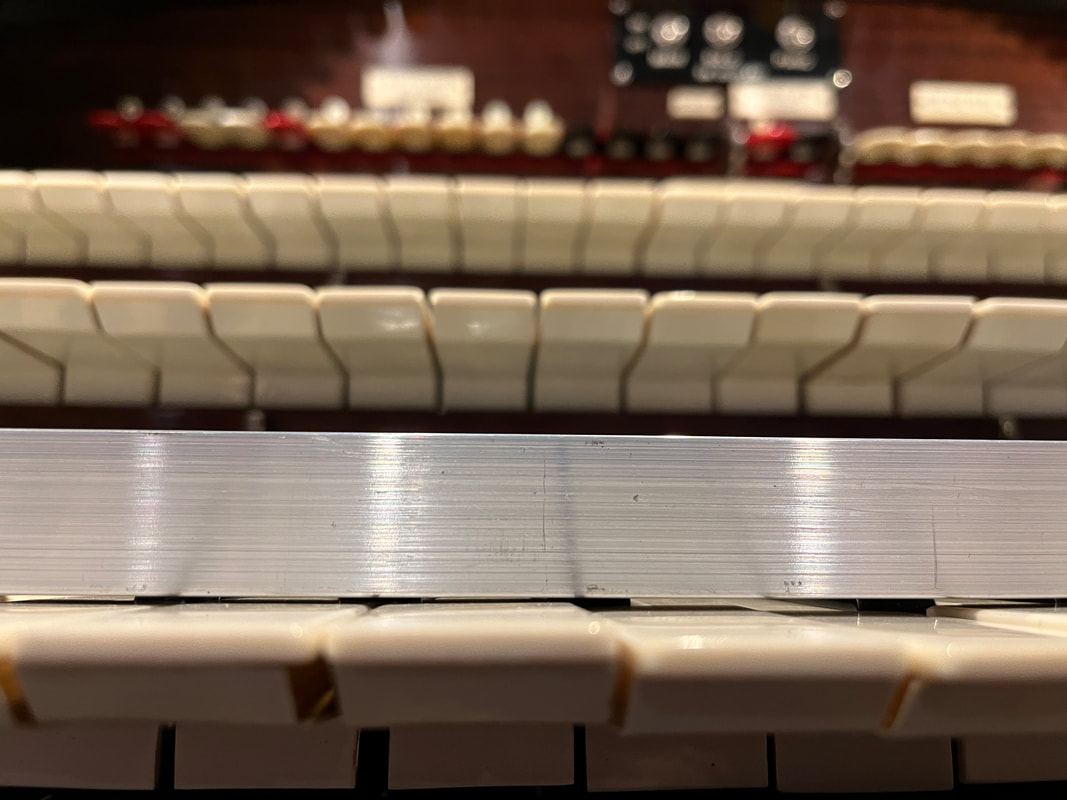
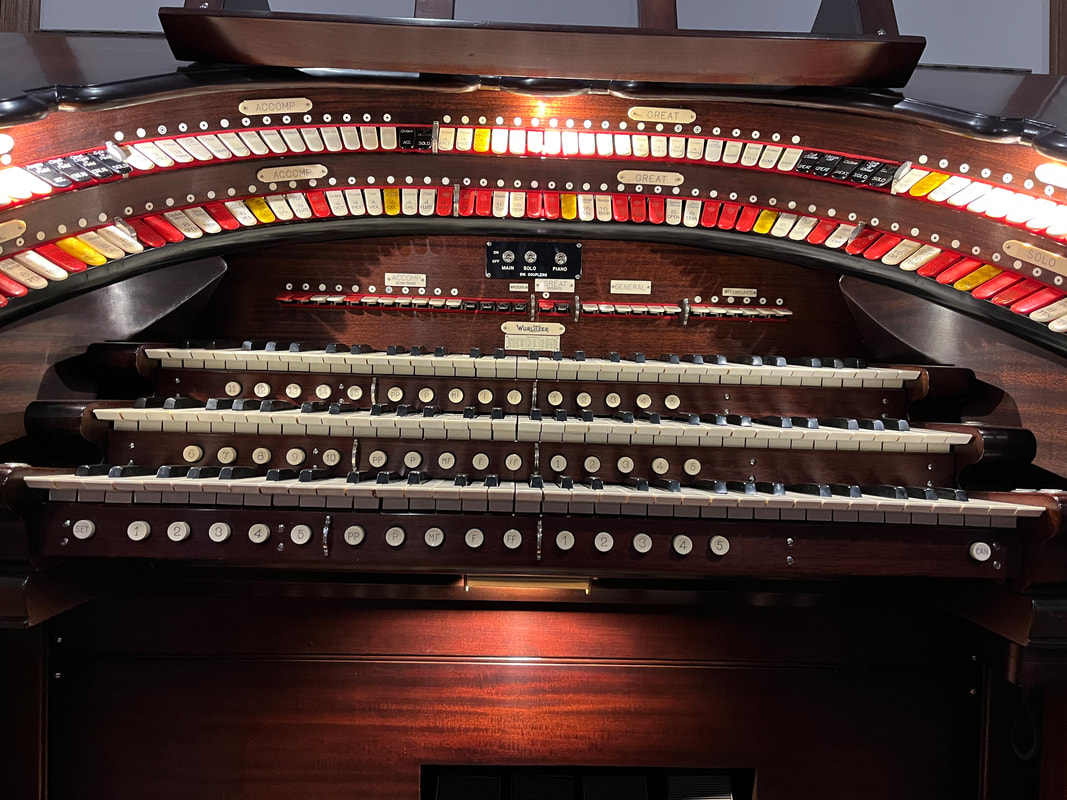
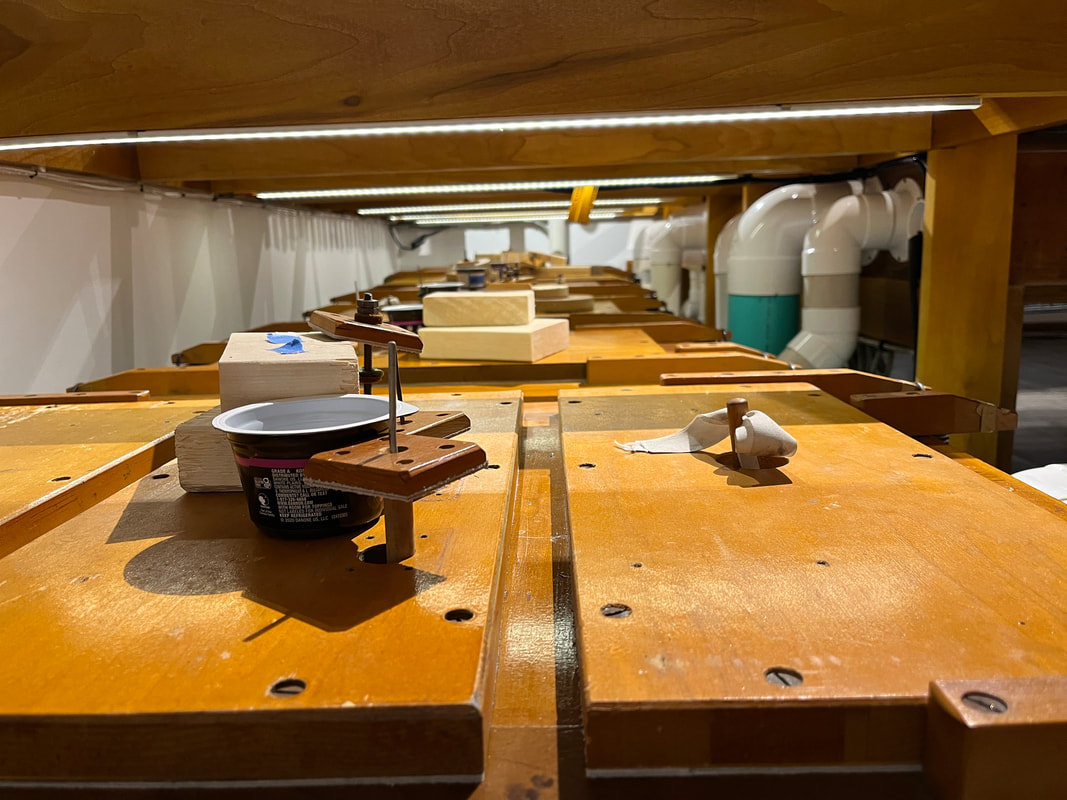
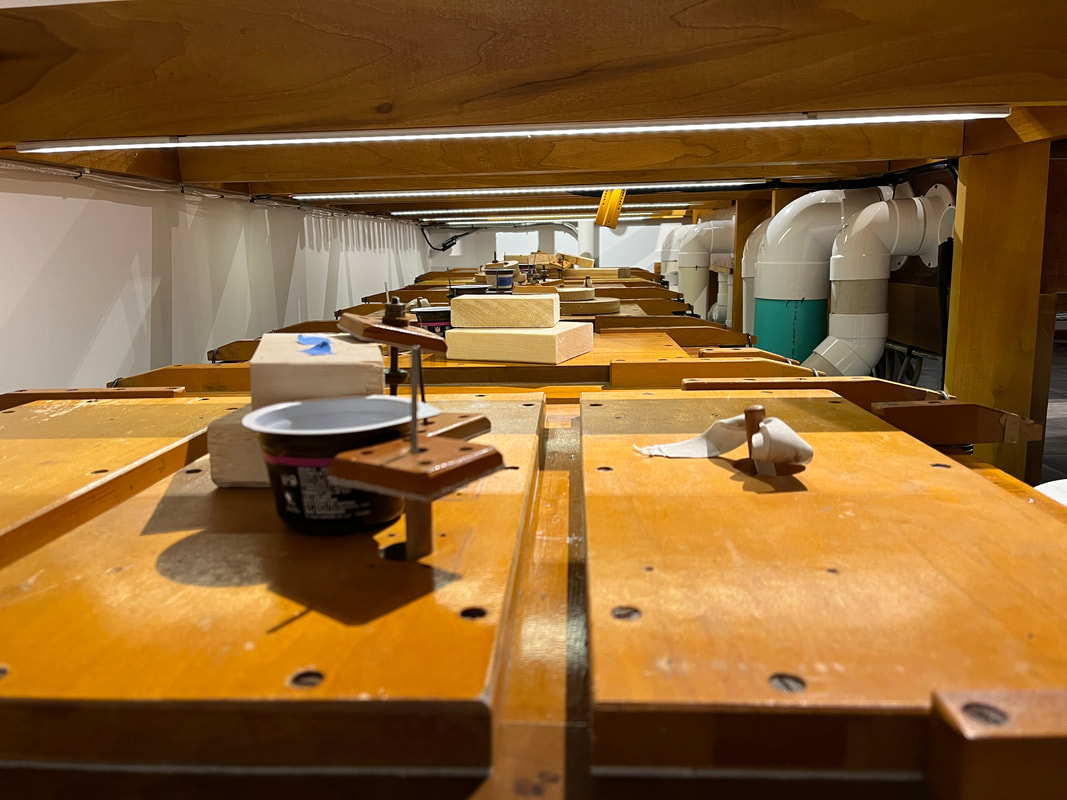
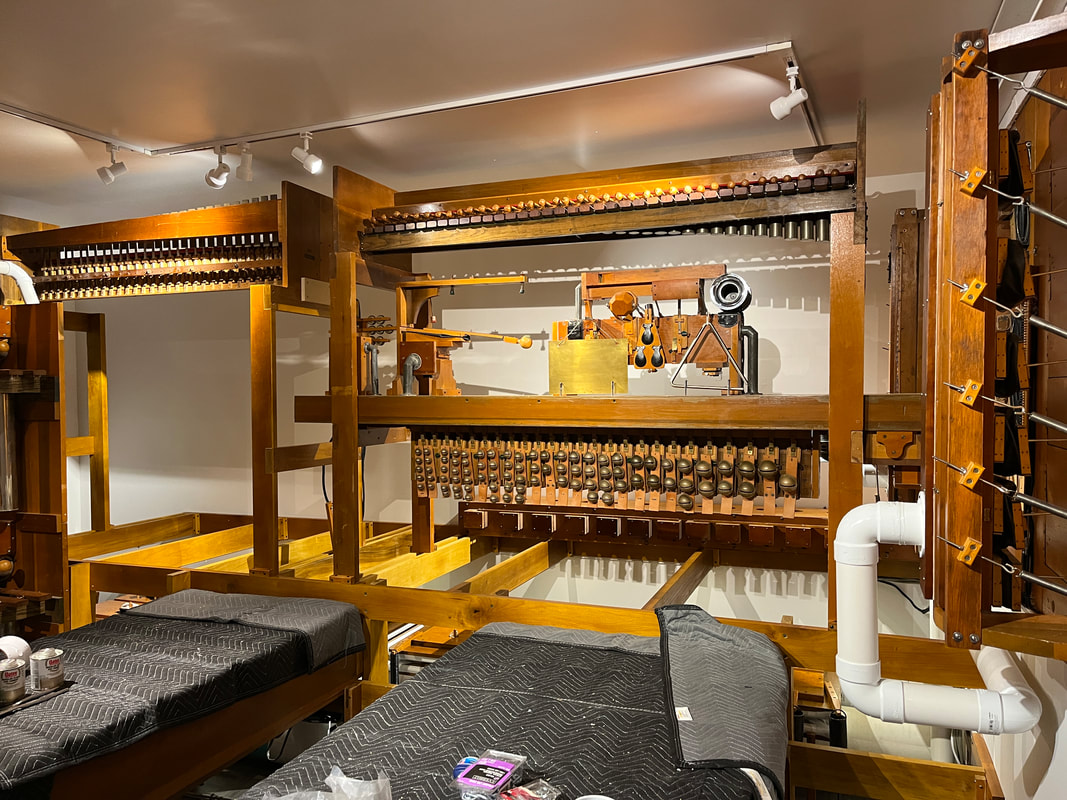
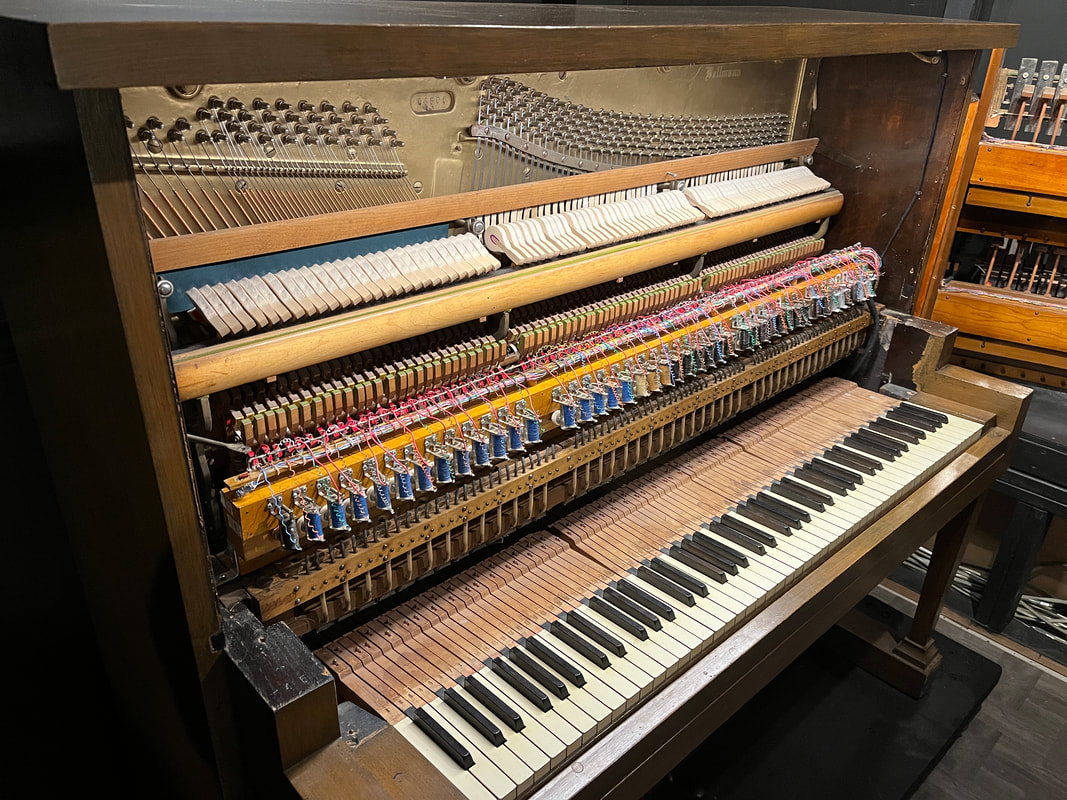
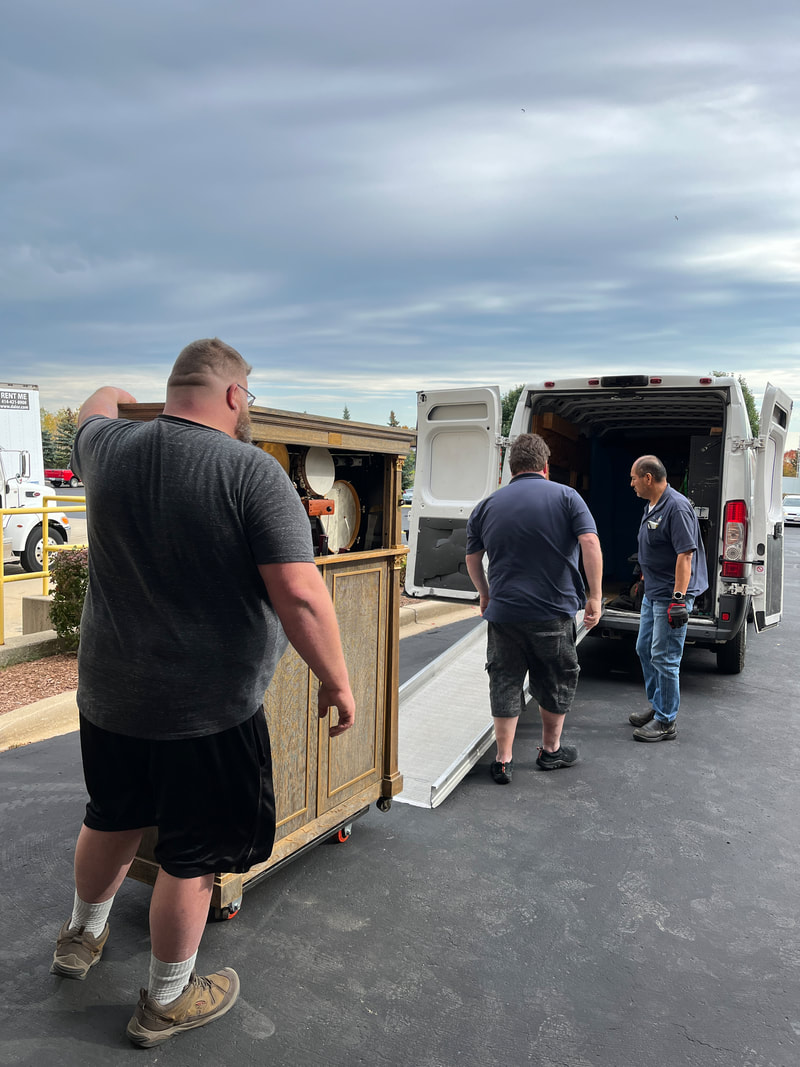
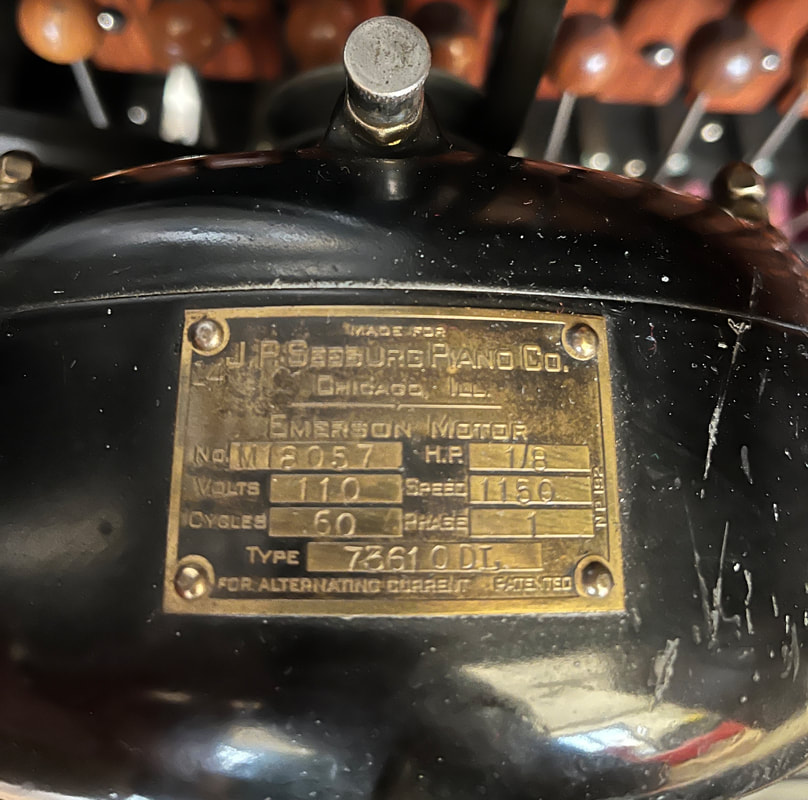
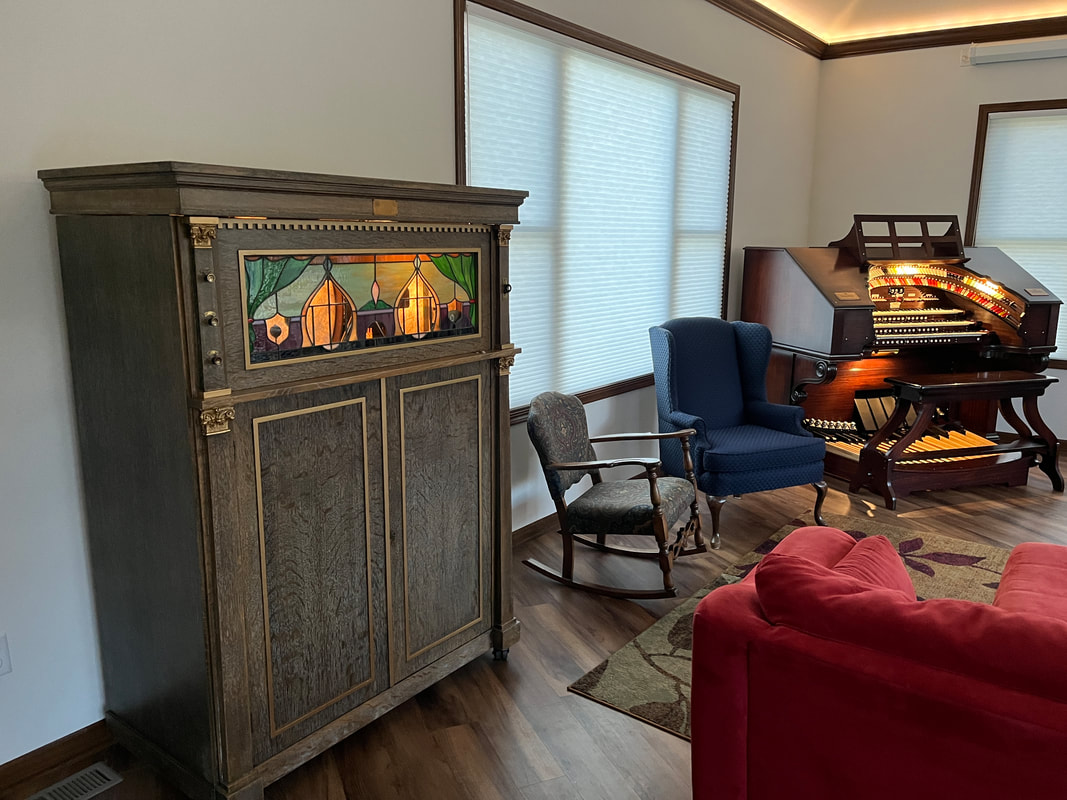
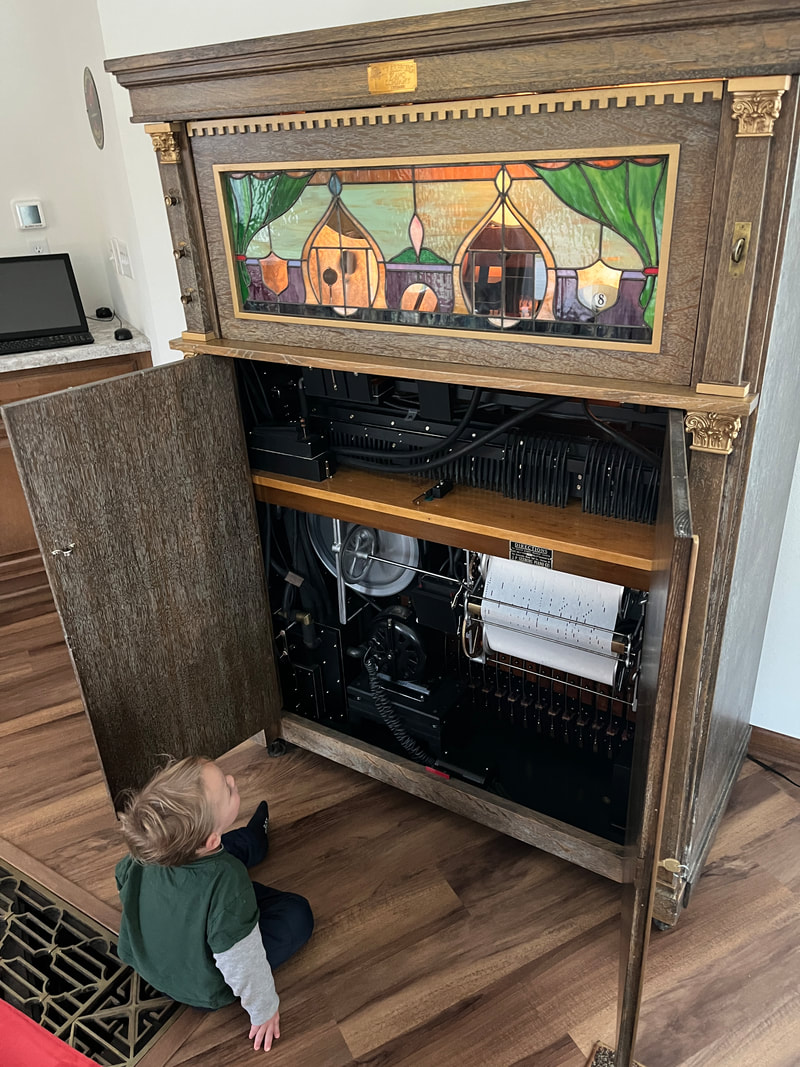
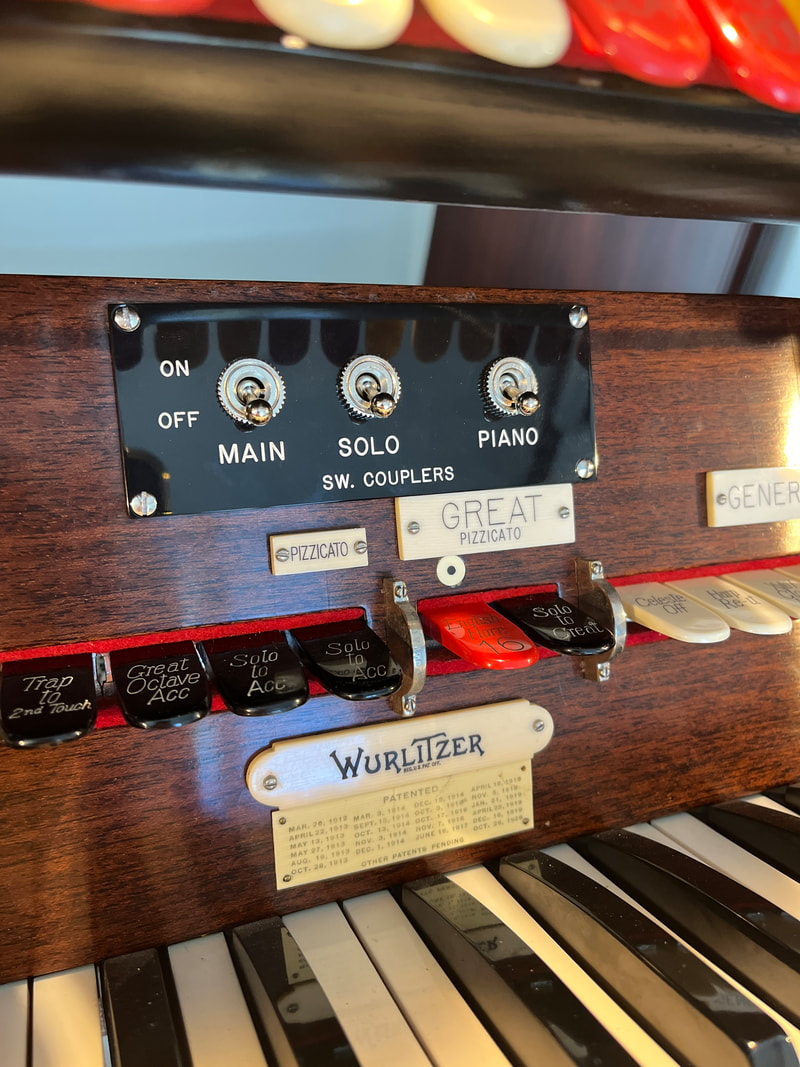
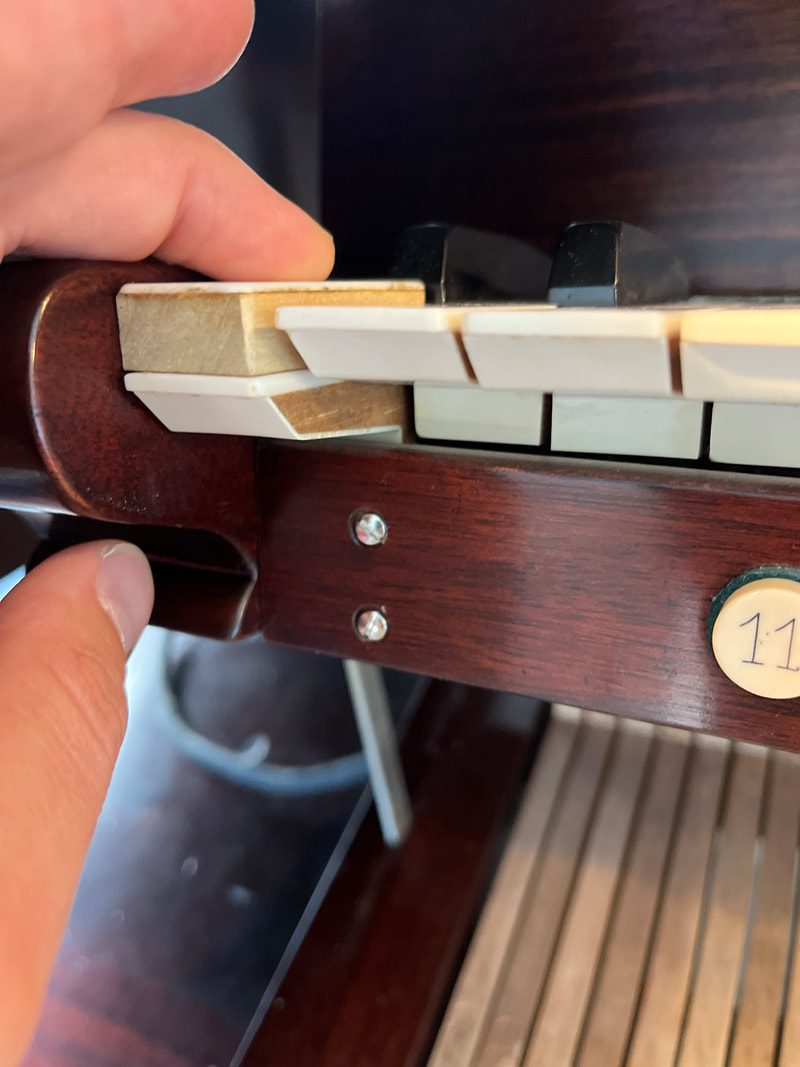
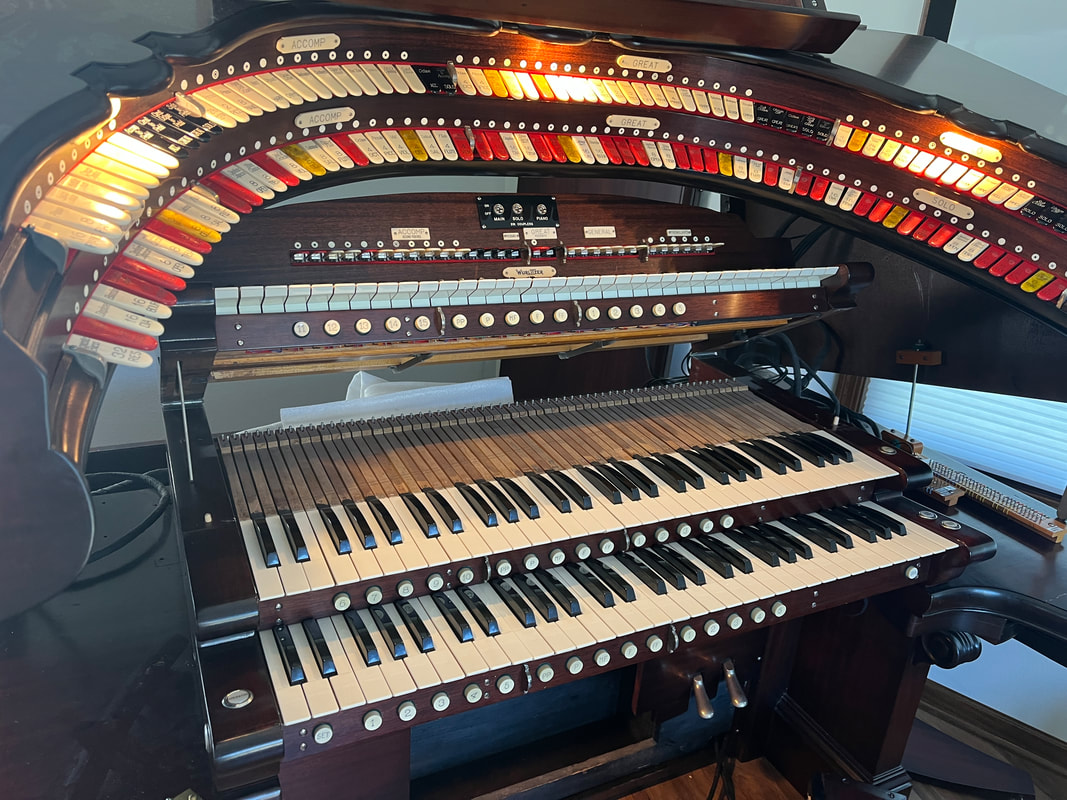
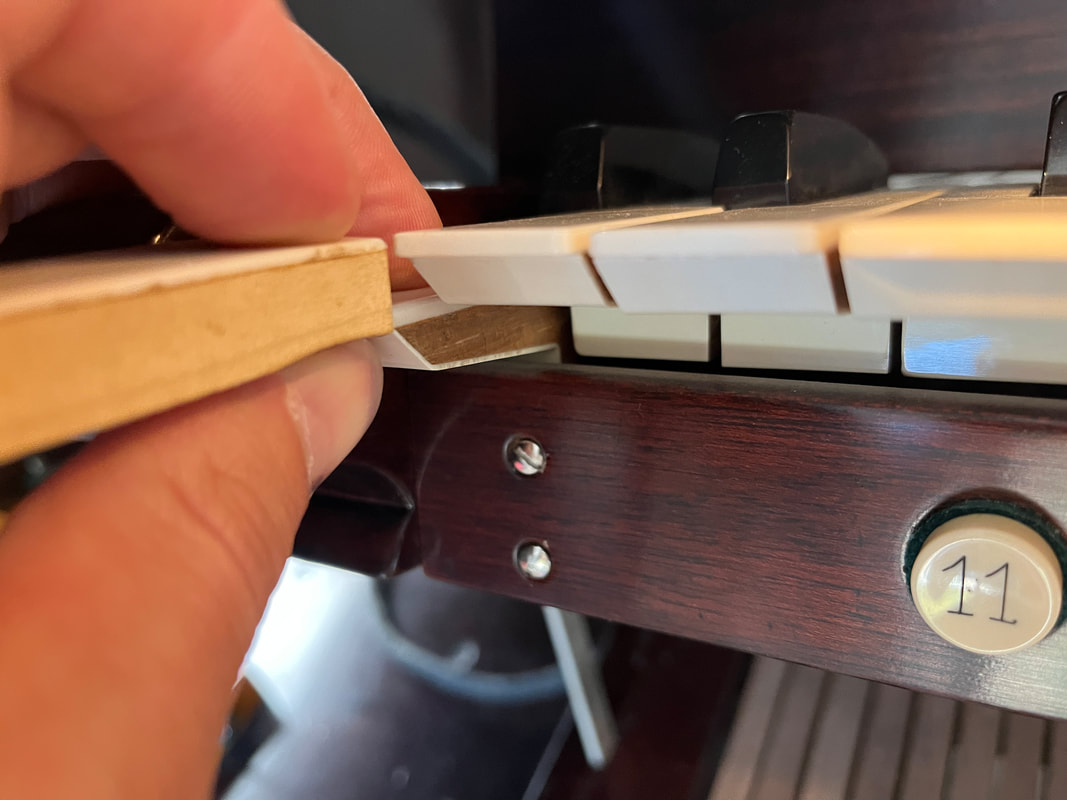
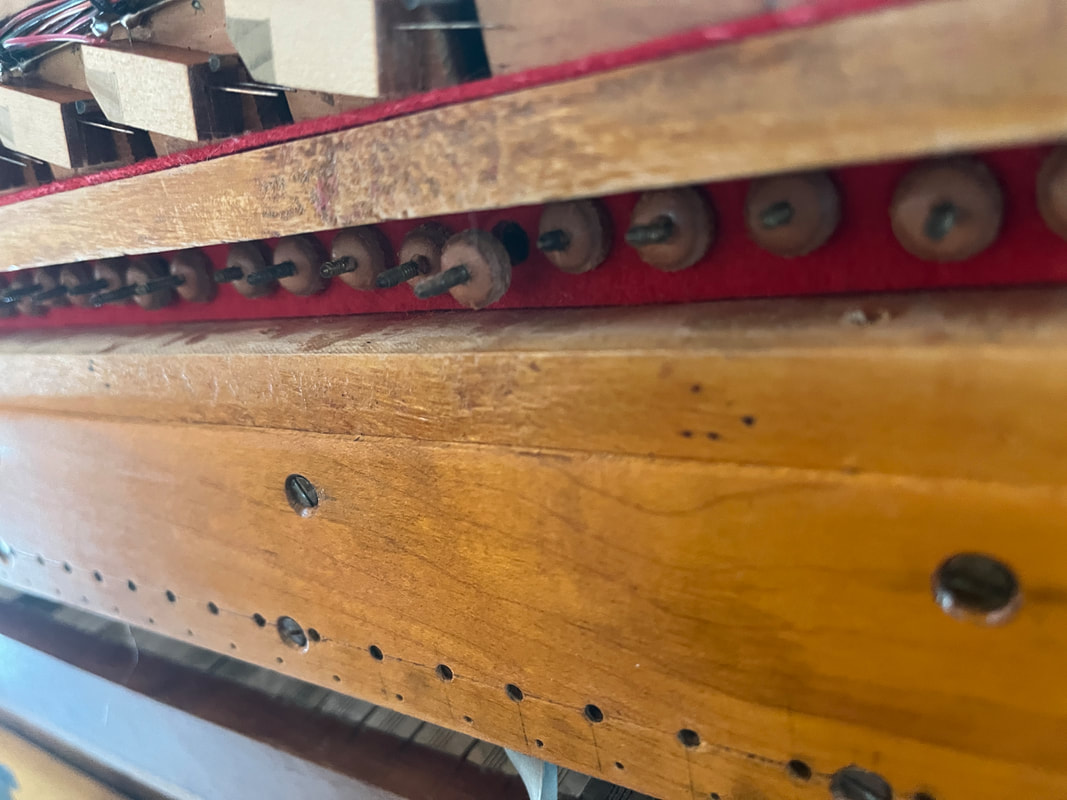
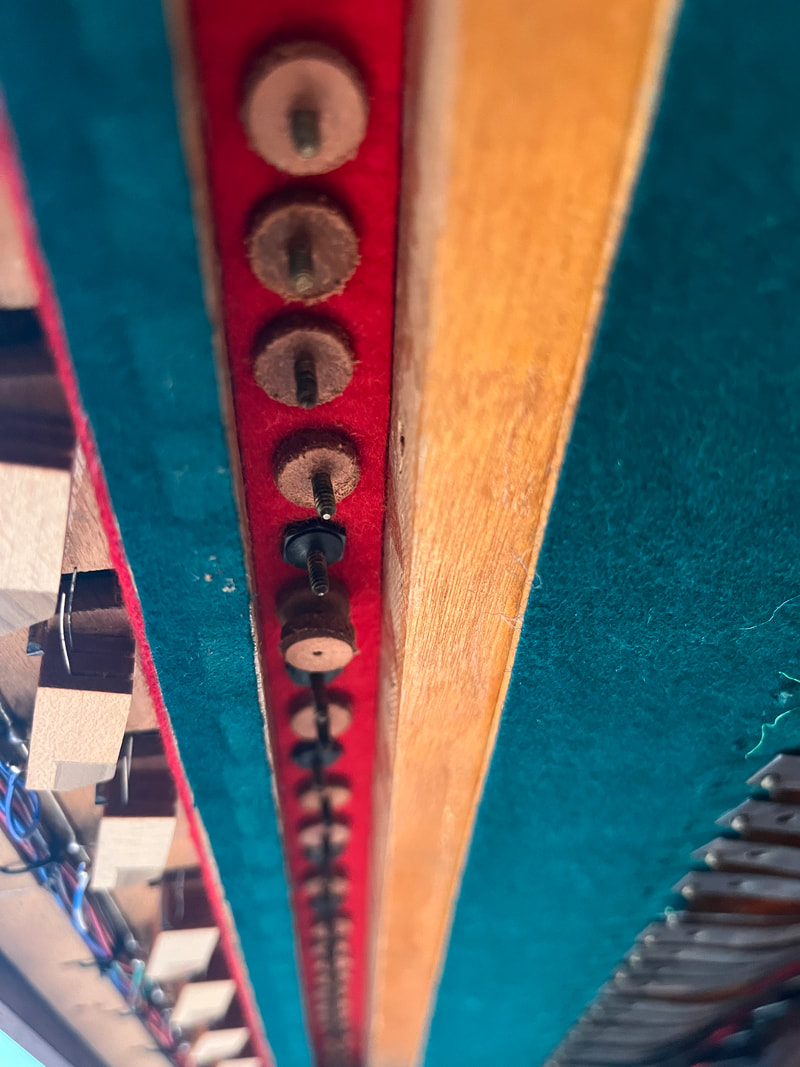
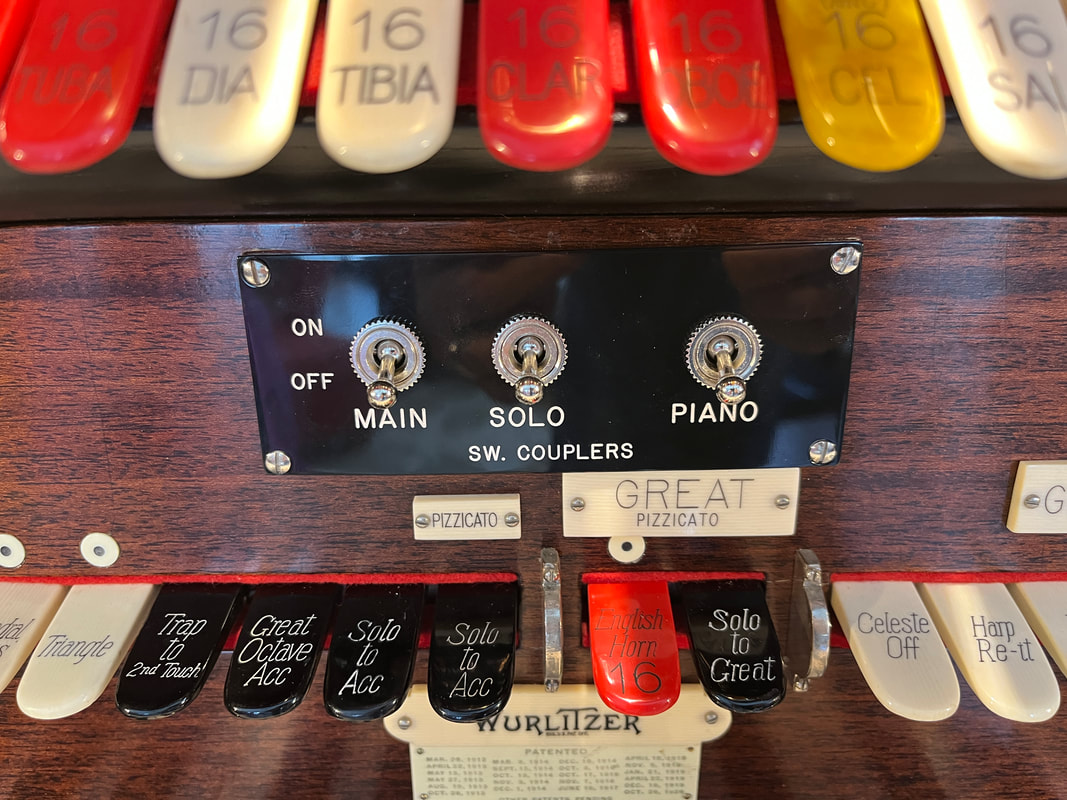
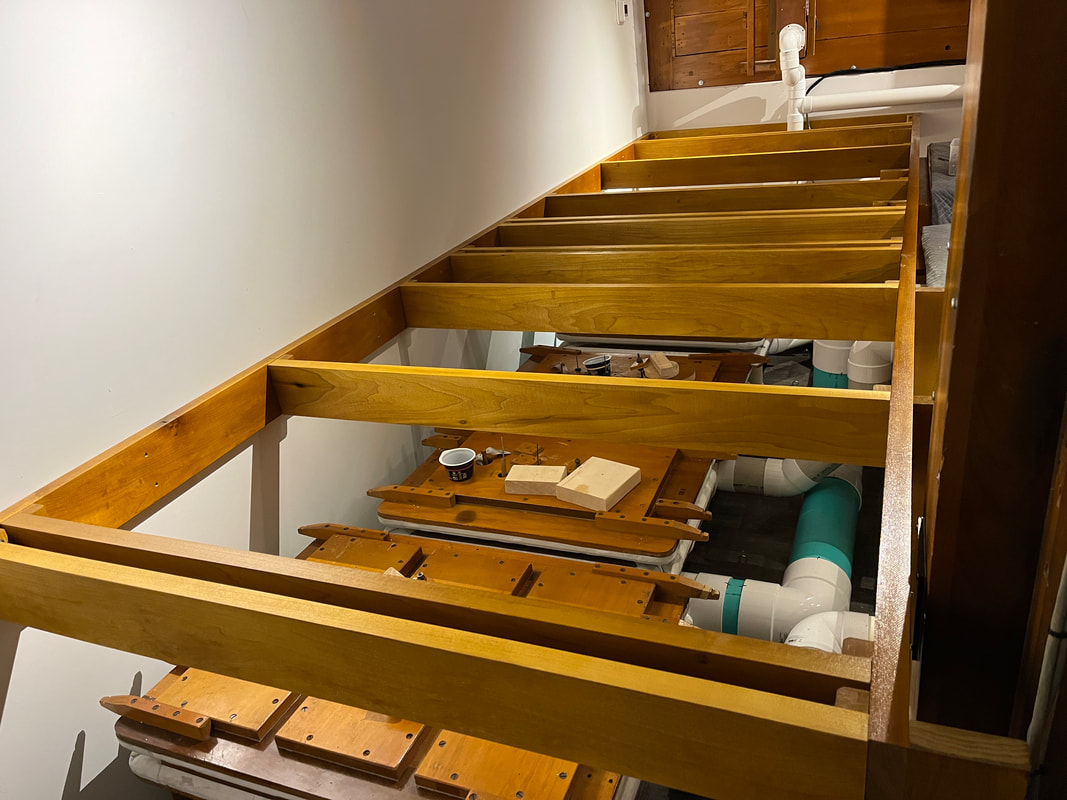
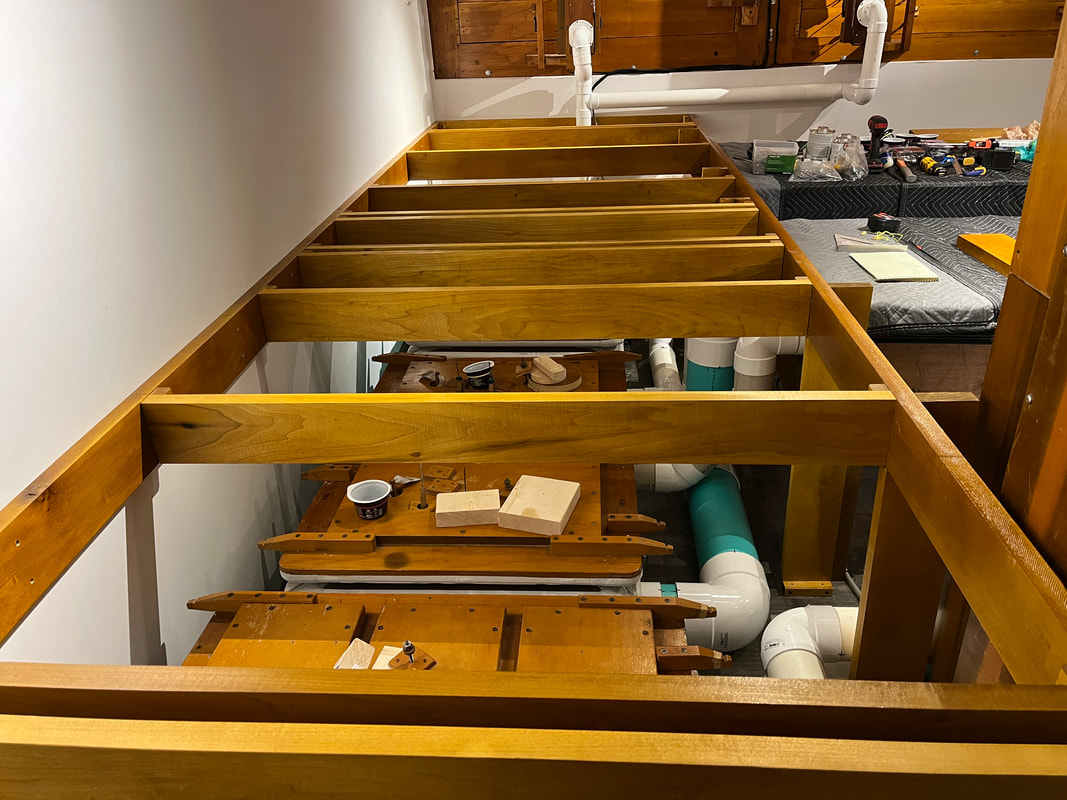
This month a shelf was made for the new curtain valve reservoir in the closet to feed the bottles and future tone chute bourdon, which will be used for a resultant effect (very low notes that simulate a 32’ stop). All trems were placed in the organ minus the post horn trem that needed to be rebuilt. An 18/2 cable was run from the spreader board between the two shade frames and each trem. The Clarinet/Diapason, Strings & Flute, Vox and Tuba trems were all winded. Pin addresses for the trems were programmed into Uniflex so now the organ is starting to come to life when a piston is pushed! After laying out some pipes, it was determined that I was missing a G# in the Tuba Horn. I was also missing some sleigh bells that had been cracked, missing or really out of tune. At the same time, Terry Kleven and Bob Swaney of Century Pipe Organ in Minneapolis had a Uniflex issue in the Heights Theatre up by them. A deal was made for me to fix the Uniflex issue in Minneapolis in exchange for the bells and Tuba pipe I was missing. Word of this got out and add to the mix two chests that needed to come down to the Organ Piper and a bunch of diaphone pipes for John Cornue… now the trip included a 16’ Penske truck that was split three ways! Zach Frame and I hit the road and spent two days moving organ parts and making the Heights organ happy again. Upon unloading at the organ piper, we happened to spot a dirty looking pipe in the corner of the garage. Upon further inspection, it turned out to be… a Wurtlizer Tuba pipe… you guessed it… G#. God has a sense of humor. Another day this month was spent at the organ piper for some pipe swapping. First the post horn. My post horn was not original to the El Capitan organ, but was a newer moeller post horn voiced on 10”. The restaurant post horn was the same thing… except it was mitered to fit under a small ceiling and mine wasn’t mitered at all. Since the restaurant has ceiling height and my basement does not, it was a like for like trade to avoid cutting up a set of pipes to make them fit. Once they were racked and tuned, it was determined that the pipes actually sounded better in the restaurant as the bottom notes actually were able to get out over the rest of the pipes in front of the post horn. Next time you are eating pizza and listening… see if you can tell! The second swap was a few notes of the tuba. Not the reeds/boots, just the resonators, which again, were mitered on the restaurant’s organ whereas mine were not. While the pipes were removed, proper racking for a tuba was installed, whereas the restaurant previously had Style D Trumpet racking holding up the Tuba, which kind of worked, but wasn’t the proper racking for the application. The proper racking fits the tuba much better and looks correct. Finally, with Derek at Organ Piper doing some spring cleaning ahead of a garage remodeling project, spare parts were reviewed. At the end of the day, I was able to get a spare organ ladder, which will be used in the back corner of the chamber to get up onto the percussion shelf/platform. Finally, the organ now has a video system installed so that an image of what is going on in the music room can be displayed on the TV in the living room and basement for overflow seating and so that everyone can see things moving in the chamber. Right now the system only has two cameras, but more will be added later. This month, wiring on the rear toy counter was completed. We can now make the organ sound like a marching band drum section! The Diaphone racking was assembled, which was made from scratch based on engineering diagrams in the Wurlitzer book and measurements taken / verified from other organs. This included the quarter inch steel rods that the pipes hook onto. With that done, the diaphone chest was screwed down, racking installed and pipes planted! The last Bourdon (bottom of the flute) chest went in, along with the flute, diaphone, salicional and VDO/Celeste offset chests. All were wired and a final cable was run for the two treble offsets. With that, the relay wiring is completed! All documentation has been updated, printed out and placed in a binder for reference. The Uniflex relay got a new “Pipes” user added with all pin addresses programmed in, versus calling for Hauptwerk digital ranks. As soon as pipes are planted on chests, this user can be loaded to actually play them. The bottom six notes of the VDO / Celeste and Salicional ranks have been packed in a crate for Andy Meyer to miter them to fit. As you can see by the picture of the strings, we simply ran out of ceiling height. Before the string chests went in, two reservoirs were removed from their trunks so that the proper holes could be made. This proved to be most difficult as the lids were fastened down with cleats, rather than screwed down from above. A couple of hours elapsed on the floor dealing with that challenge. Once removed, flanges and stub pipes were installed so that future connections to chests would be easier given that the VDO offset is conveniently located in front of the reservoir like a wall! While putting PVC pipe together, the Post Horn chest was winded. Finally, the walk board framing between manual chests was installed. A dowel jig was used, along with my newly acquired reproduction fish plates to strengthen the supports. With all of that done, a hopefully “final” order of pvc flanges were ordered to make the rest of the connections. A curtain reservoir was also ordered to run the bottles at 4” of wind pressure. This month, work started on rebuilding the two tremulants that are in bad shape. All of the remaining pieces that needed to be sprayed in the temporary spray booth were completed, including the decking. As soon as the finish dried, all of the puzzle pieces that make up the platform were assembled in place. Aside from two pieces that are screwed down, all other panels are removable for servicing the reservoirs underneath. It is really nice to be able to walk around on top now! Taking advantage of that decking, the 8’ Tibia offset was wired. Moving to the back of the chamber, the Ophicleide chests, racking and pipes were installed. Temporary winding was removed from the glockenspiel (used for the Christmas program). With some newly located fishplates, the glockenspiel was moved forward and secured. Rubber cloth was purchased and with that, the back trap trunk was completed! While it was out, the front trunk also received new rubber cloth as the old material was wearing out and had several leaks. With the back trap trunk secured, a few holes were drilled for wind lines. This trunk is now getting wind fed from the front trunk and feeds the glockenspiel, base/kettle and snare drums. Towards the end of a very productive day, the diapason offset was put in place along with the associated racking and pipes. Finally, track lighting was extended to the back of the platform and along the back of the chamber so that the walkway behind the marimba could be properly lit. This month started out with repairing some Ophicleide pipes (bottom end of the Tuba) that had collapsed under their own weight (high lead content in the resonators). Instead of looking circular at the top, they looked like squished eggs. Thanks to my friend John Cornue, he was able to persuade them to retake their original form. This was a very interesting process to watch and certainly yet another artform. Thanks John! With the rest of the lumber on hand, a temporary spray booth was constructed in the basement out of plastic sheeting and some fans out our future bedroom egress window. With those supplies, some staples and tape, we were able to create a negative pressure enclosure to spray in. The two large pieces of the platform that stay stationary were completed so the 8’ Tibia offset could be installed. Finally some more pipes! The second trap trunk was also constructed, along with racking for the Diaphone and Ophicleide as the originals did not come with the organ. Thanks to Zach for all of the help with these things! His table saw certainly isn’t a stranger to this project… Another few pieces missing were some metal fishplates. Fortunately, there is a metal fabrication shop near us that was able to make copies of an original. Finally, the three remaining buttons that took two months to get and another month to have engraved were delivered and installed in the console drawer. This month’s progress can be summarized by lumber, platform and marimba. During our last large work day in December, we came up with a shopping list for the remaining poplar boards to have milled and plywood needed for the platform. Badger Hardwoods of Walworth came to the rescue again for the milled poplar boards (to match Wurlitzer’s spec) and Alpine Plywood of Milwaukee supplied the one inch-thick aspen sheets. As you may expect, these were heavy, as is everything pipe organ! A full day was spent cutting up the plywood into jigsaw puzzle pieces to cover the platform up. Each panel was made to fit tightly so as to not allow any sound out. With the exception of two panels, all are removable to service the reservoirs underneath. An additional sheet of plywood was cut up for the second trap trunk and another sheet was used for two walkboards. These will now need to be sanded and spray shellacked. Finally, it was decided that the marimba needed to be rebuilt the rest of the way, due to excessive wind leaks. Although some of the marimba was rebuilt before we got the organ, there were many pieces that remained on original leather, surrounded by an abundance of coal dust. The amount of pieces required to strike each marimba bar is simply amazing to me. Since the last update, a full day (until midnight if I recall correctly) was spent winding the remaining percussions and traps. Some additional wiring was needed for the crash cymbal, tap/roll cymbal and tambourine. A last minute “we should do this too” connection was the hi-hat. It was a long day but much was accomplished! After things were alive, a “short list” of things to fix was made with t-minus four days to go before our concert. When the fire gong and wood block pneumatics were re-leathered previously, there wasn’t enough leather put onto the secondaries, so they inflated but didn’t travel far enough to strike either the sheet of brass for the fire gong or the wood block. Releathering those proved very difficult as the wrong type of glue was used. One pneumatic took me over an hour to get the old stuff off and wood prepared for the new leather. With those things working, the next thing I focused on was to make the sleigh bells work better (this is the season for those afterall!). Many needed valve adjustments and just about all needed new armatures (the old ones were very dirty). While I was this far in, all magnet caps were removed, port holes milled (to make them smooth) and all new armatures installed. Finally, reiteration contacts were wired in for the fire gong, castanets and tambourine. Although the sleigh bells have reiteration contacts on the action, I chose to use Uniflex to make these notes reiterate. Through the software, custom reiteration pulse timing can be set per note. Lower notes are pulsed longer, whereas higher notes are pulsed faster. Another plug for Uniflex! On December 9th, we welcomed 67 people for our second annual Christmas concert featuring Zach Frame at the console. Special thanks to Mike Jacklin and our neighbors, the Leep’s, for borrowing us padded folding chairs. To fit that many chairs in, we removed all the furniture in the music room, dining room table and pushed our large couch across the room. We were overwhelmed with the amount of food that was brought. At the end of the night, we were left with an entire island filled with various dishes. Thanks to everyone who brought something! What has become a tradition is the creation of an eCard consisting of a video recording of one of the songs played. Here is a link to this year’s video: https://www.youtube.com/watch?v=wRtnFy4mNck This month, work was done to further regulate the accompaniment manual on the console. Although most keys were about right, there were little differences between them that made things look uneven across the whole manual. To level things out, a piece of aluminum “L” channel was purchased and cut down to fit on the manual. With a straight edge present, it was easy to make very small adjustments up or down to level things out. With that project behind me, the console should be ready for our December program! Downstairs in the chamber, the glockenspiel, xylophone, toy counter and sleigh bells were wired. Although not installed yet, the rear toy counter spreader was made, wired and installed where the counter will be mounted. Both toy counters go to a 66 block (the only one in the whole installation!) for easy punch down patching of things. Two traps on the front toy counter consume a lot of current, and thus need another relay. Those things are the auto horn and enclosed siren. The organ actually has two sirens – one in the chamber and one in the tone chute. Together, it sounds like a full air raid is upon us… our son likes playing with those buttons. He will stand at the drawer, hold them and smile. Perhaps he will be an organist. Perhaps he will take up percussion. Back to the auto horn – this thing uses so much current and creates so much electrical noise, that I installed a separate power supply in the closet, just for it. The power supply has a voltage dial on it so you can dial things up or down to change the sound of the horn. The power supply is plugged into an outlet that was added on switched power (with the rectifiers). Next was the sleigh bell project. About half of the bells were on the wrong straps, so ringing individual notes sounded more like arguments than a single pitch. There was no easy way to fix this problem outside of taking each strap off, removing all the bells and using a tuner to find the pitch of each bell. Once figured out, the proper bells were re-attached to the straps and mounted back on the action. Although there are some bells missing due to being cracked or needing major tuning, there are plenty of bells to make a lot of noise with. Continuing to work our way down from the console to the floor… under deck lighting was installed so that the reservoirs would be lit up in case of future maintenance needs under the decking. LED tape was installed in aluminum housings with plastic diffusers. A toggle switch was installed near the back of the chamber, where you could enter the enclosed area. Finally, the entire chamber was given a good cleaning out and vacuuming. Although at the time of writing this article (11/15), the toy counter and percussions are not yet winded, that is the plan ahead of our December 9th program! Just outside the chamber in the tone chute, the magnet rail was installed on top of the stack for the upright player piano. Together with two 25-pair cables, an extension cord for the vacuum pump and vacuum line for a control panel gauge, a bundle of cable was made to feed that piano. Although the piano still needs some work to play from the organ, this was a good step in the right direction. Along with installing the magnet rail, two conductors were added on a terminal strip to drive the LED light that illuminates the inside “guts” of the piano, which is visible from above through the grills in the music room. This light turns on when the rectifiers are on. Finally, I’d like to thank Andy Meyer for mitering a post horn pipe to fit. Andy continues to do phenomenal work on what is more of an art than a science. More on that in a later update. Today brought us a new instrument to co-exist with the Wurtlizer within the music room. A Seeburg "KT Special" from 1927 (a year before the Wurlitzer was built). I submit this "update" as they are cousin instruments made in the same mechanical music era. Beginning about 1910, reaching a manufacturing peak in the 1920's, and continuing until the early 1930's, the U.S. and some European countries designed and built coin-operated mechanical musical instruments for restaurants, bars, dance halls, and other types of parlors. They were usually built around a piano and one or more instruments such as xylophone, bells, organ pipes, and drums. They were operated by punched paper rolls with multiple tunes. Driven by electric motors, these machines contained large reciprocating pumps circulating air through long lengths of small tubes, through elaborate valves, and into tiny bellows controlling each piano note or other instrument or control. To attract attention, the machines had elaborate leaded glass fronts and fancy colored lighting. These machines were the forerunners of radio, jukeboxes, and other forms of musical entertainment. Besides offering musical enjoyment, they were money making machines for the proprietors gobbling up nickel after nickel. Captivated patrons were delighted to snappy popular tunes of the day and received hours of musical entertainment. Some machines had keyboards similar to upright pianos, but most were simply in large, elaborate cabinets. The Seeburg KT Special was introduced in 1924 and originally sold for $1,500. Marketed as "Ballroom Favorite”, it was designed to serve in places requiring the ultra-supreme in automatic orchestral development. The elimination of a keyboard reduced the instrument to convenient dimensions. The great depression of the 1930's and newer forms of entertainment such as radio and jukeboxes brought a rapid decline to these instruments during the 1930's and 1940's. By the 1950's, most had been cut up for scrap until few were left. As these are fairly rare, especially in this condition, a special thanks goes to my friend Paul Woelbing for making this acquisition possible. We look forward to sharing this machine and the music it makes with all who visit. October brought on many visual changes for the organ chamber. On October 17th, the decking structure was completed, percussion upright legs assembled and installed, along with the Xylophone, front toy counter, Sleigh Bells and Glockenspiel. The main reservoir also received legs to help support the spring tension. Next steps will be to wire and wind those things so they can be ready for Christmas! Finally, more time was spent on the console, where each keyboard was regulated / contacts adjusted. The three swell coupler switches were also swapped out with new switches, as the originals were completely worn out. |
The BlogCheck out this page for project updates! Archives
July 2024
Categories |


 RSS Feed
