|
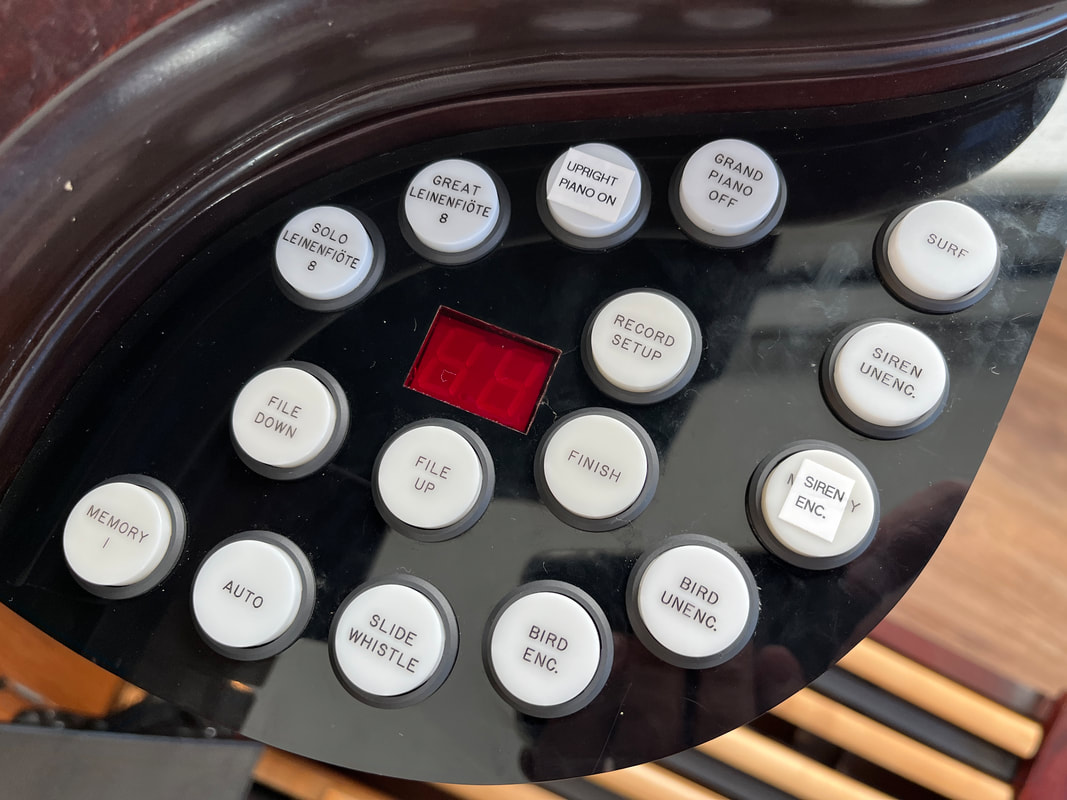
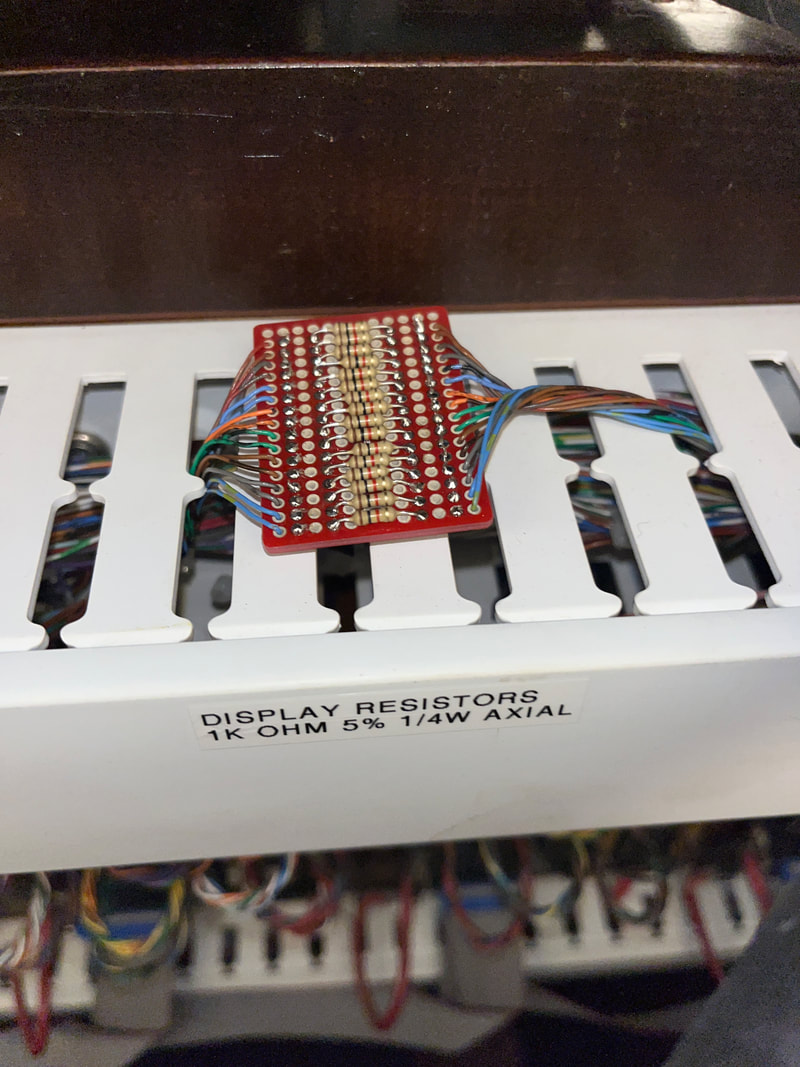
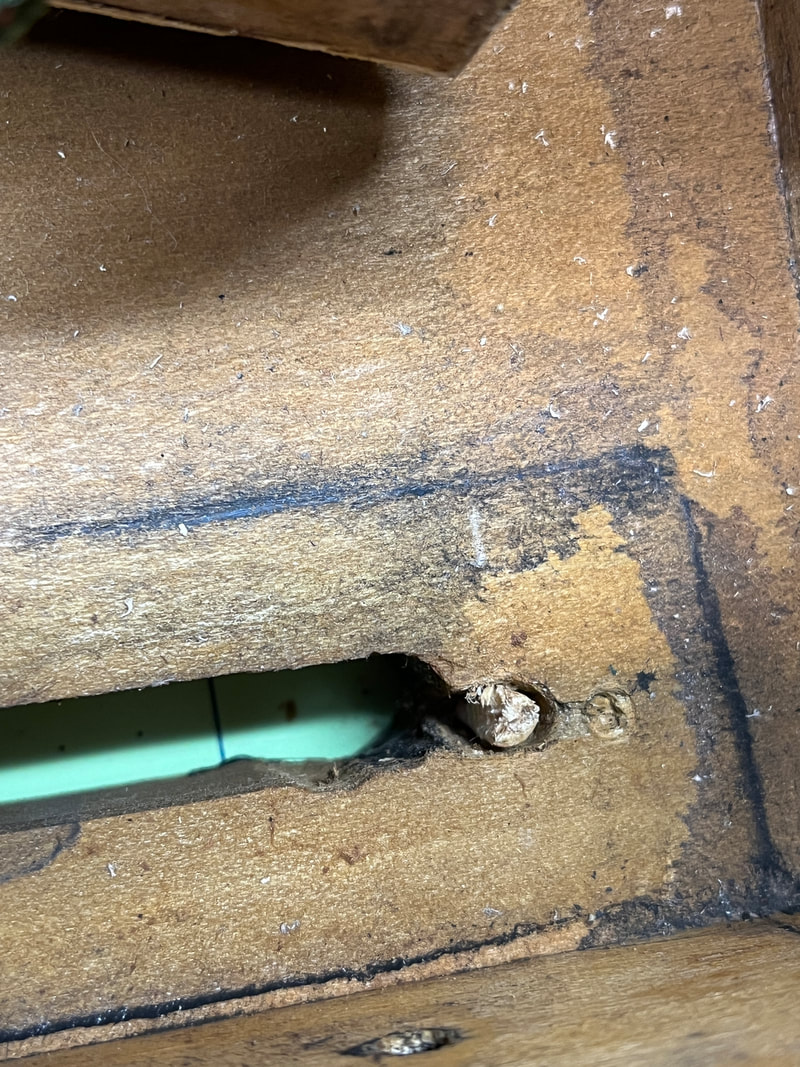
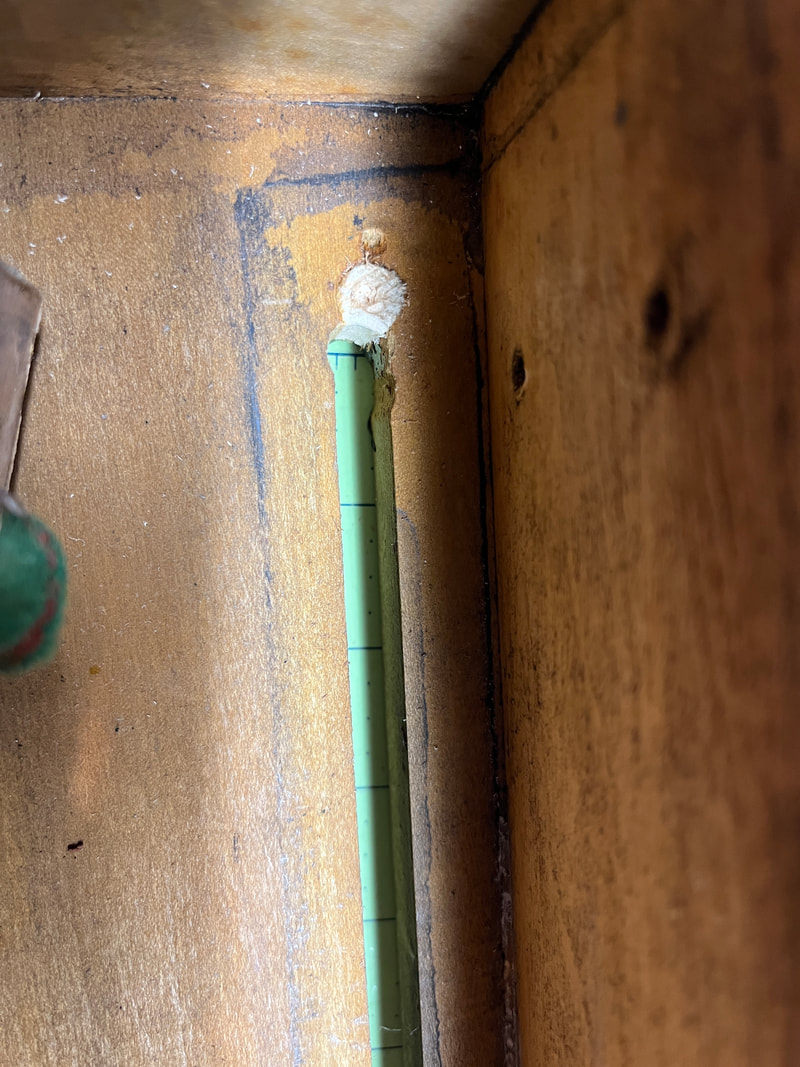
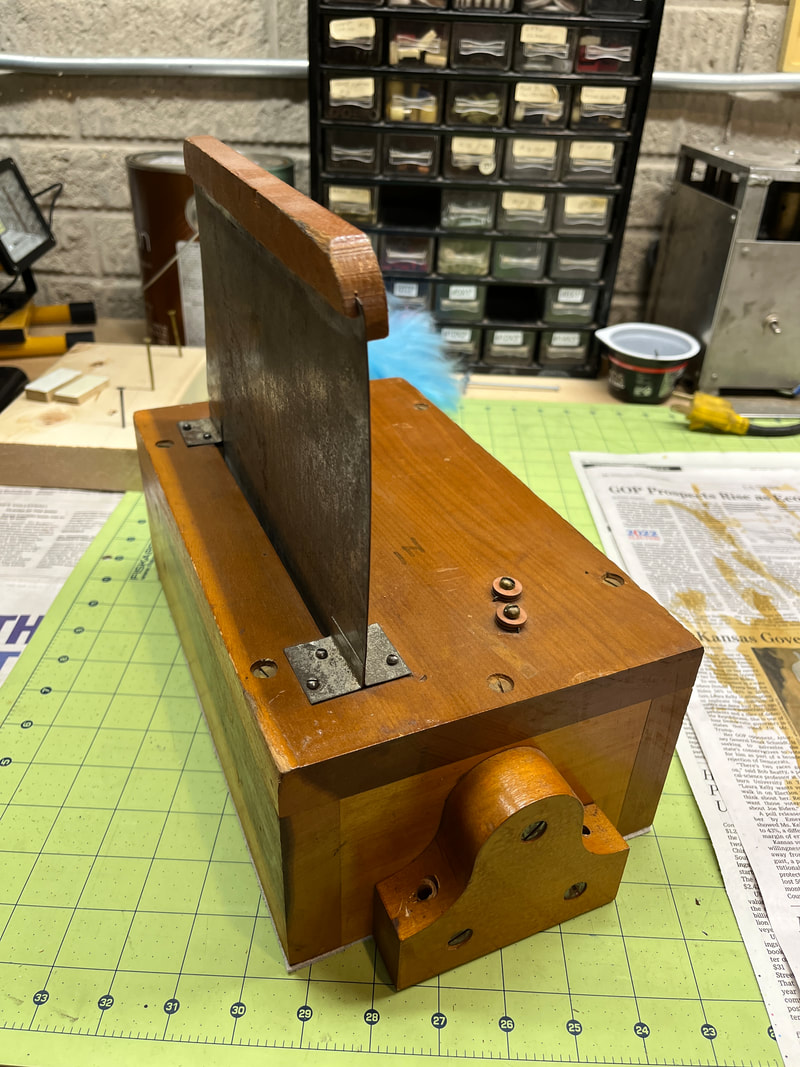
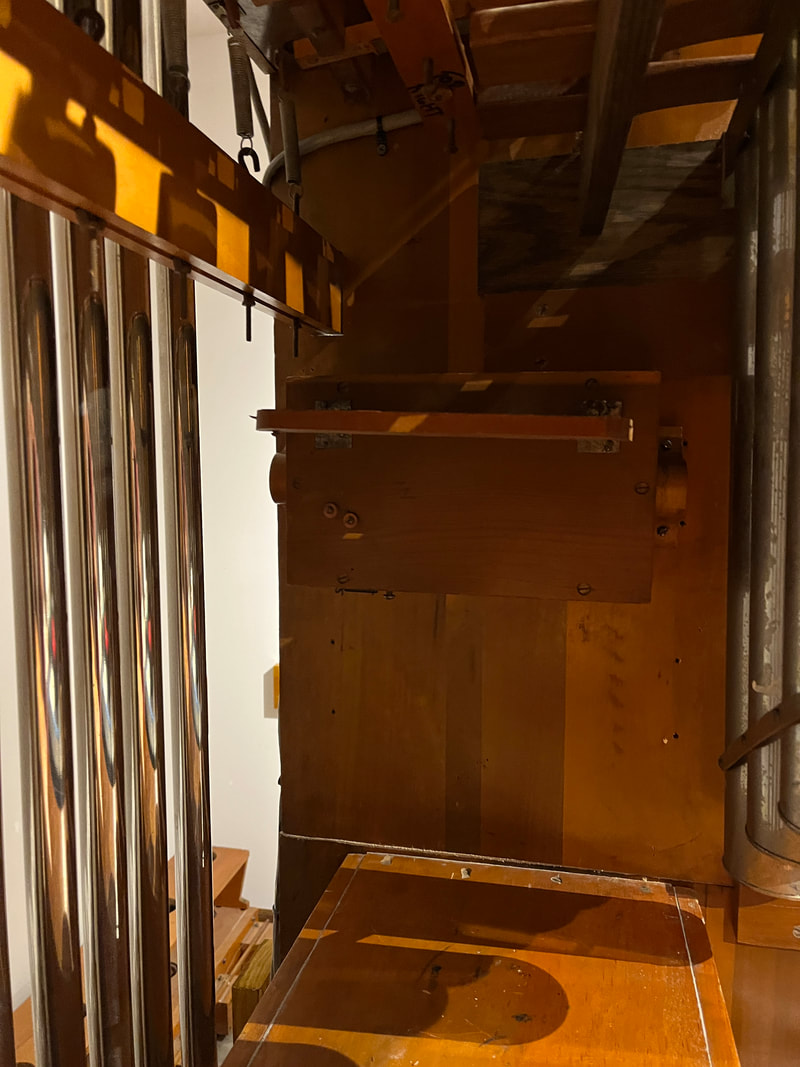
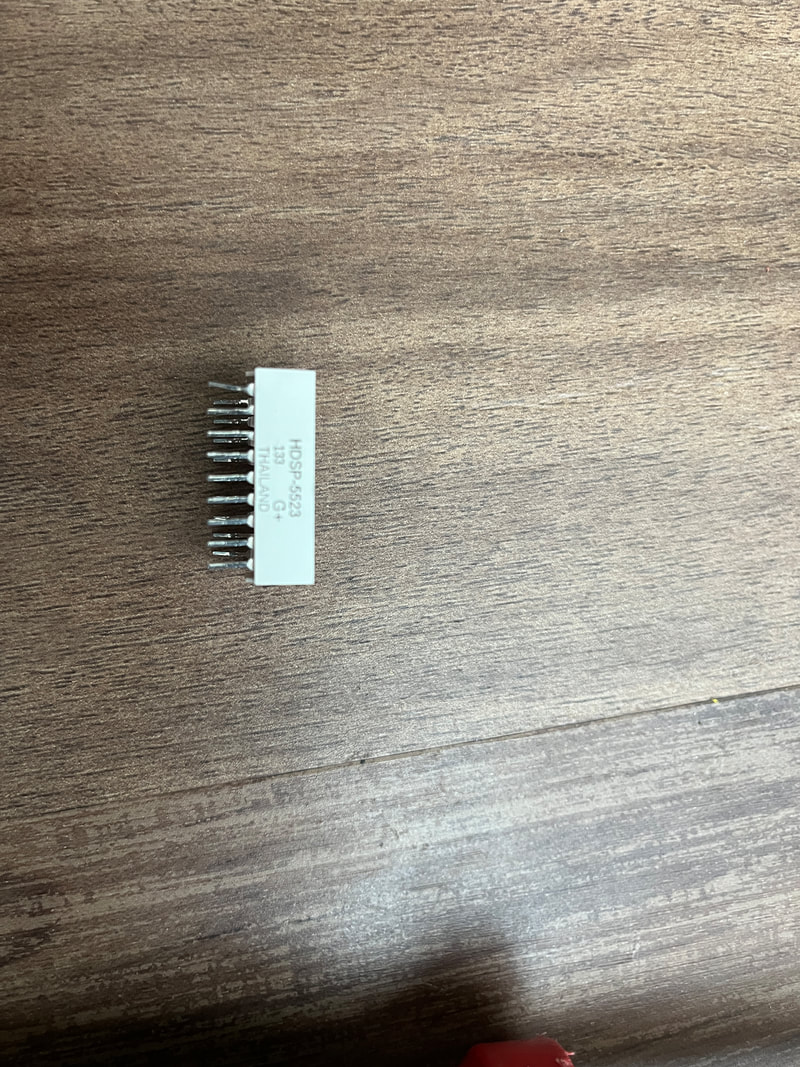
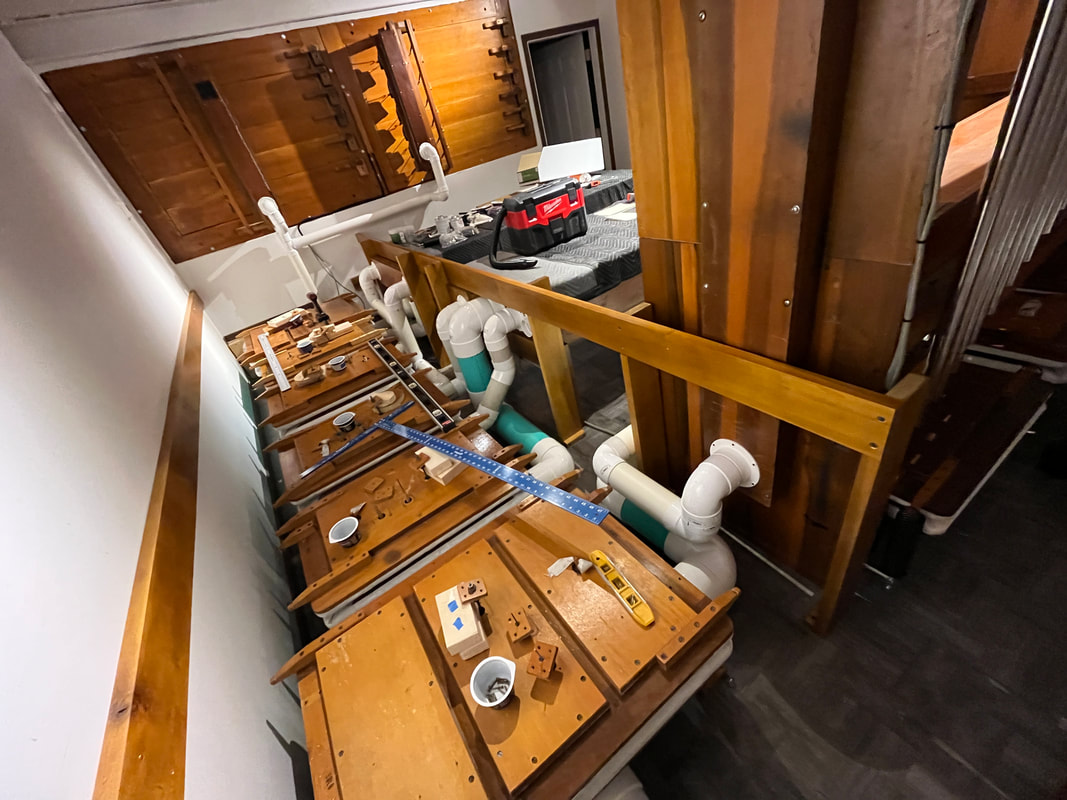
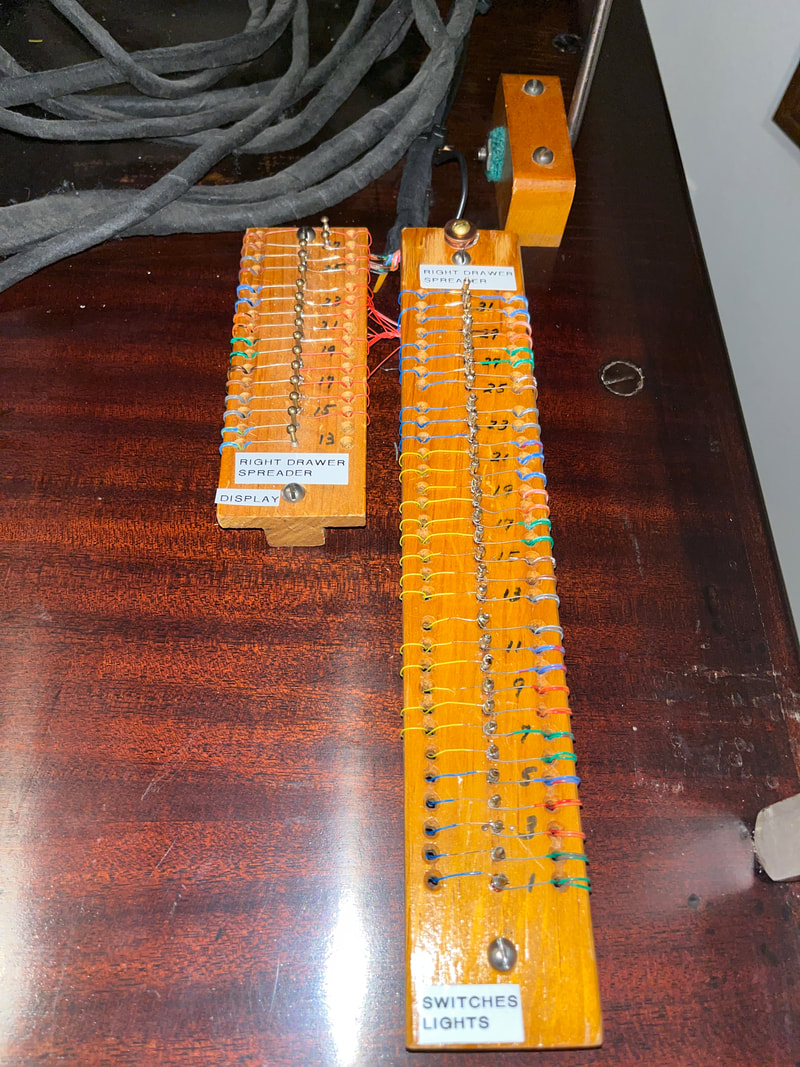
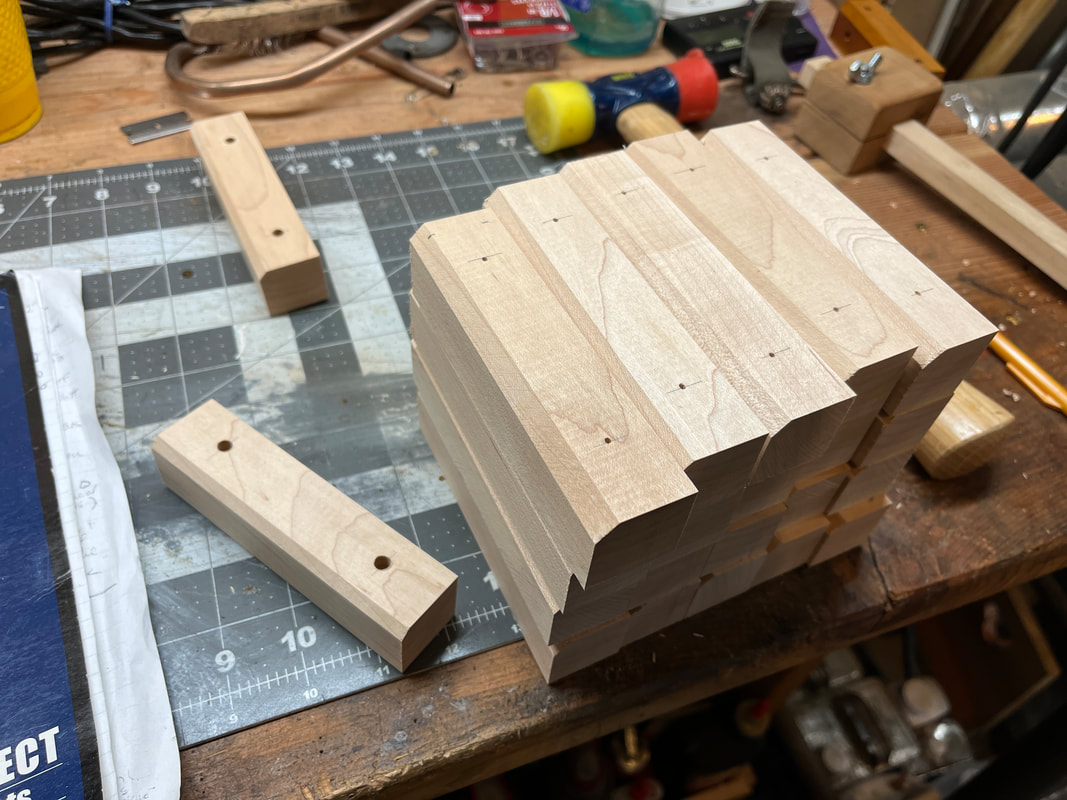
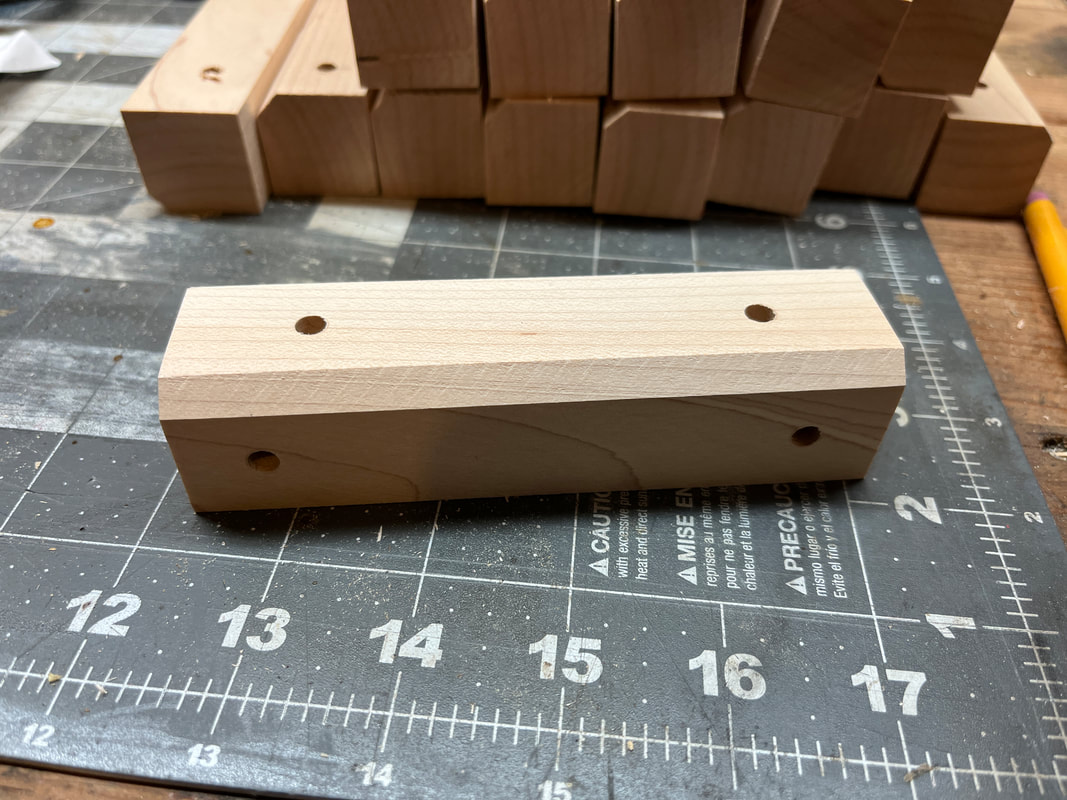
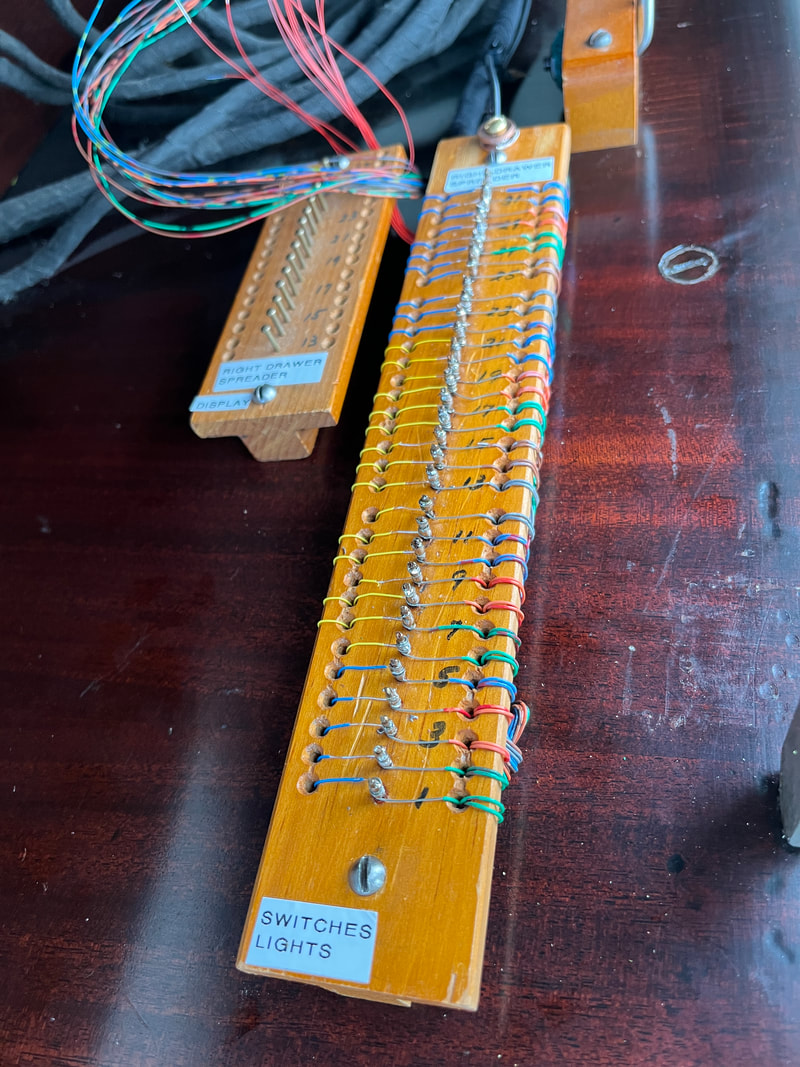
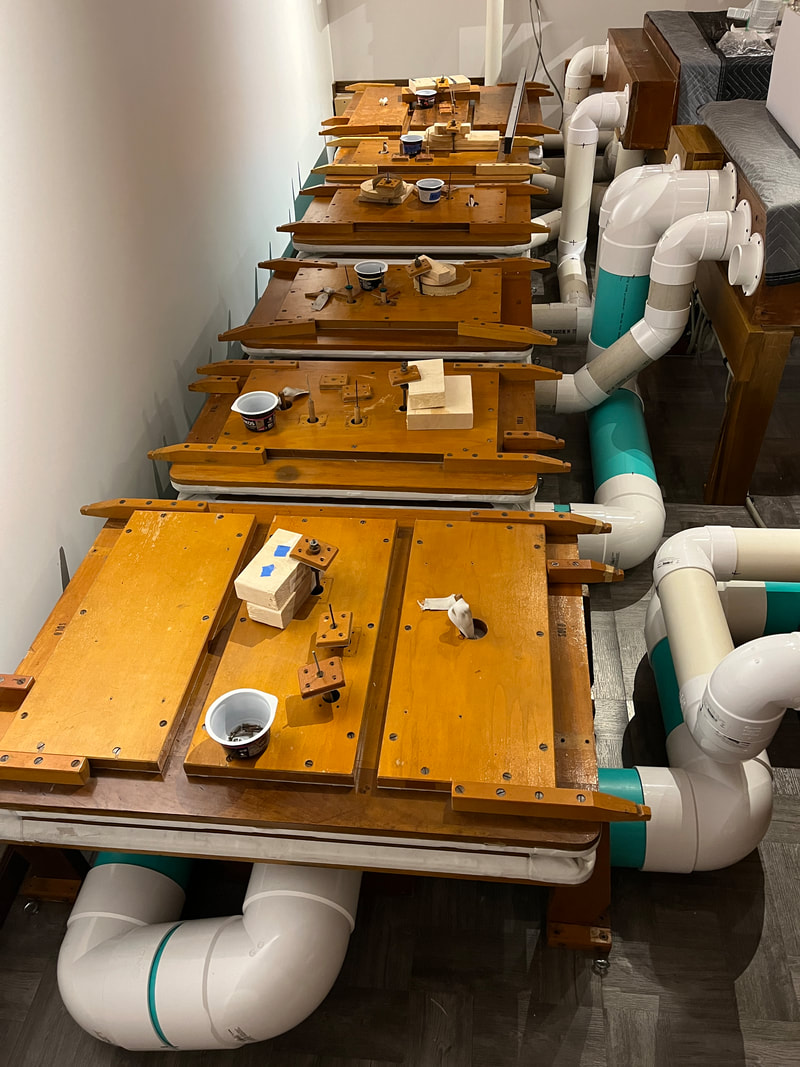
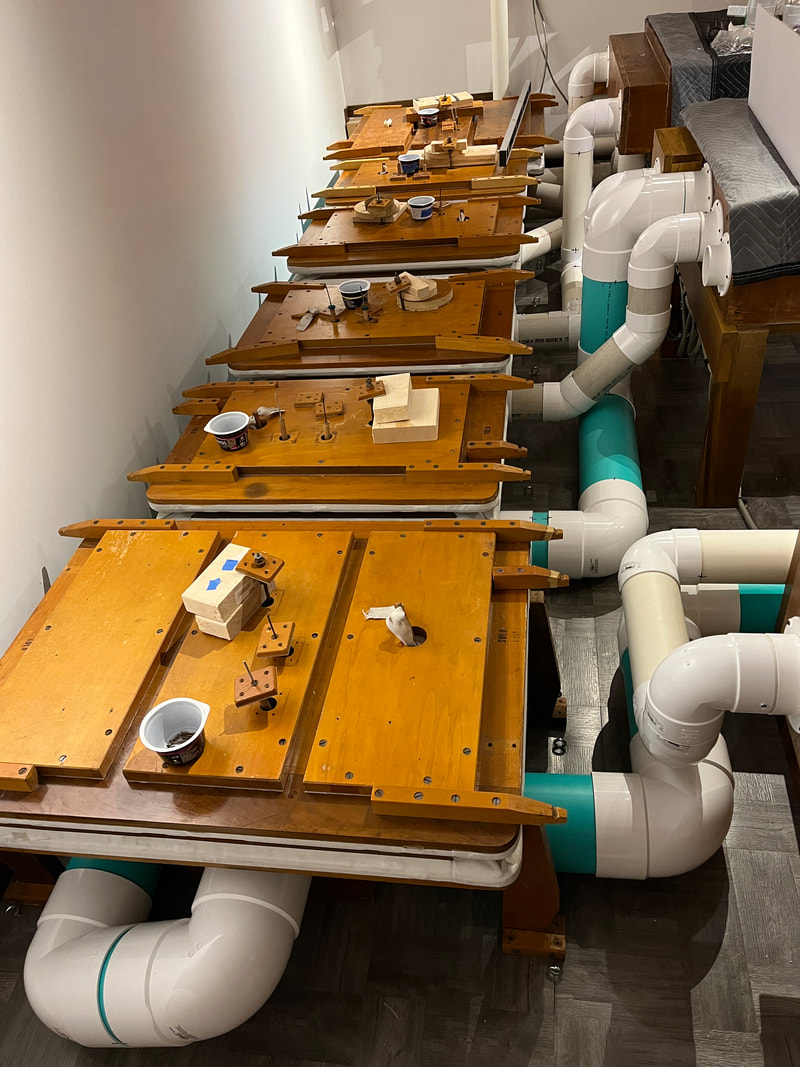
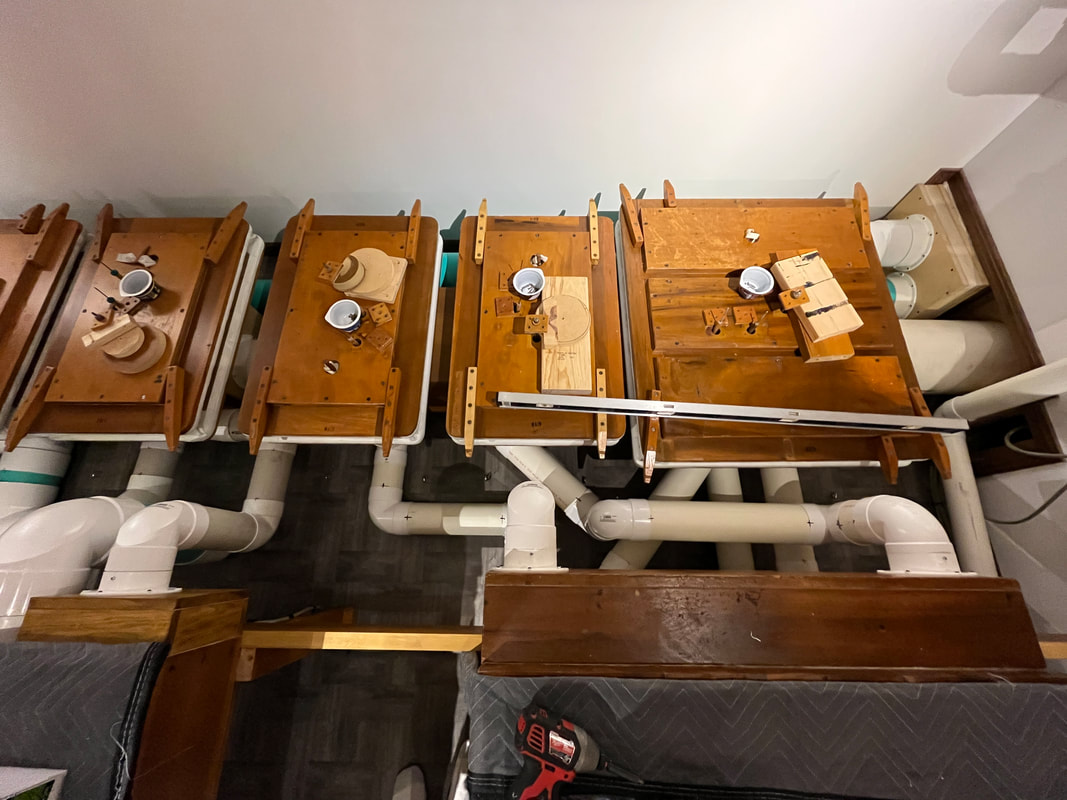
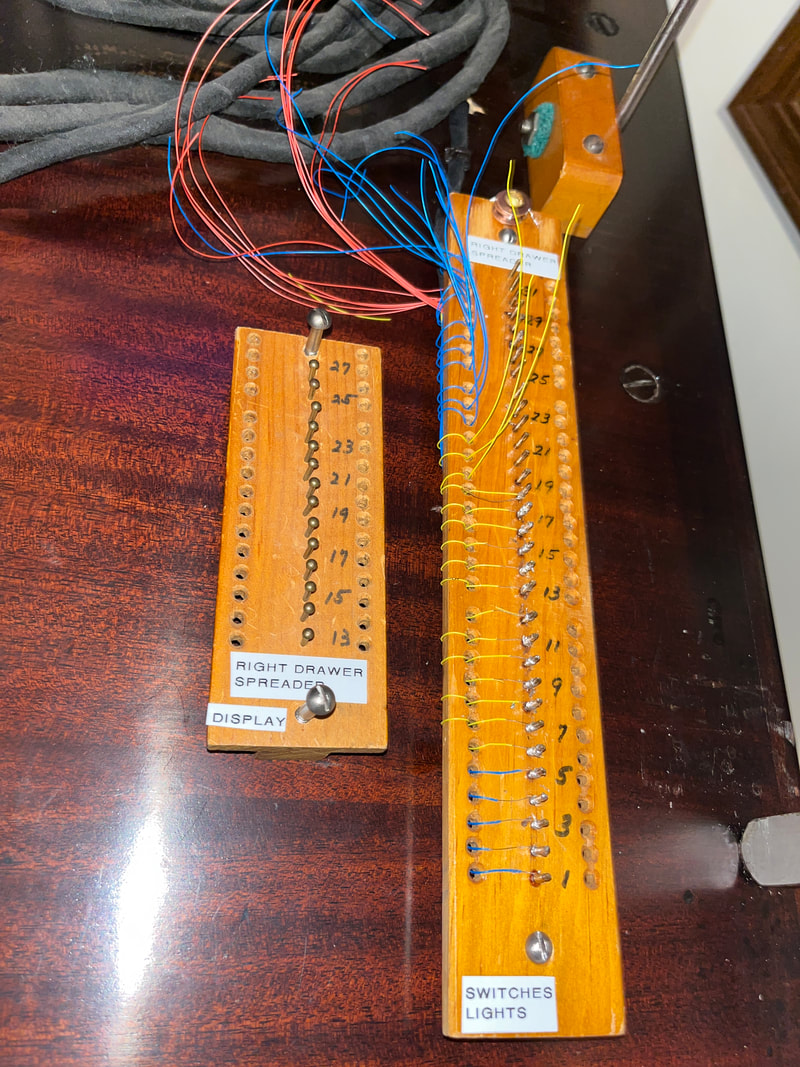
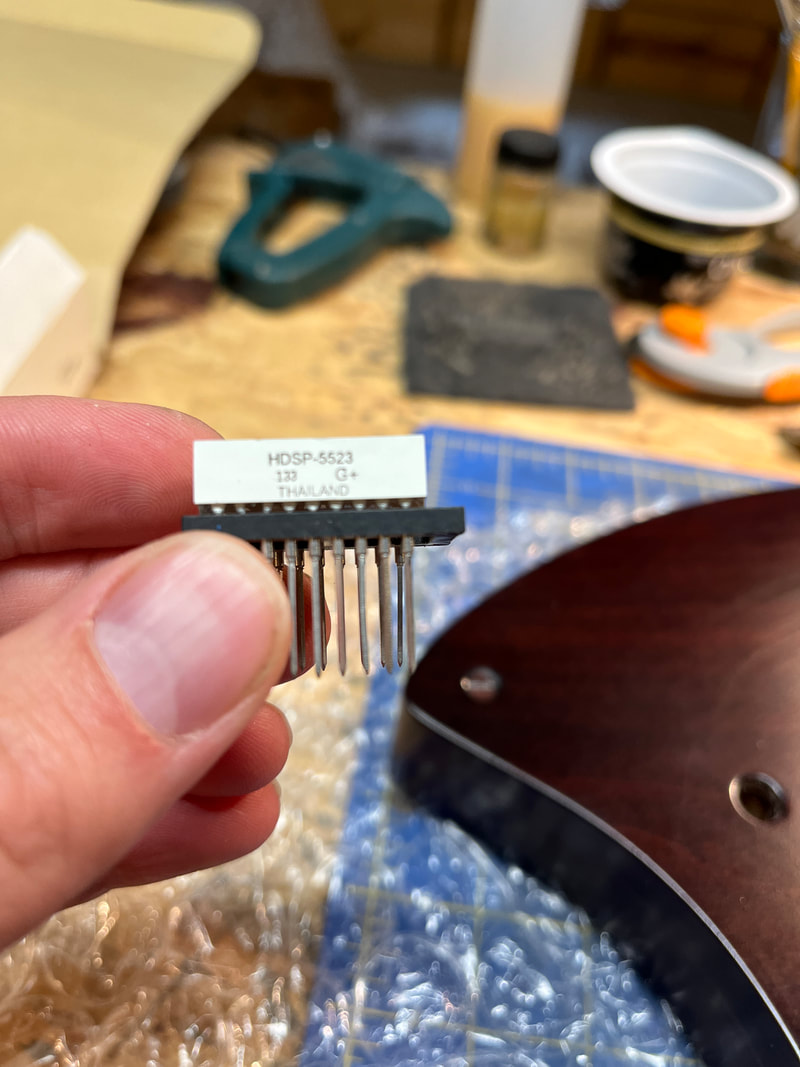
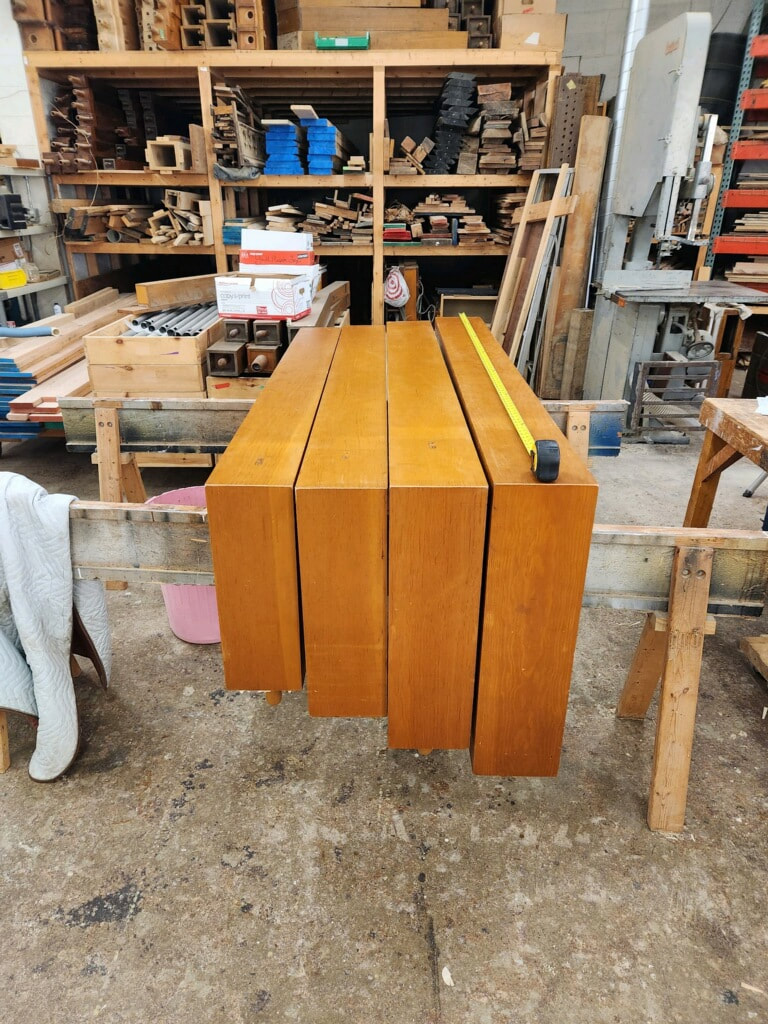
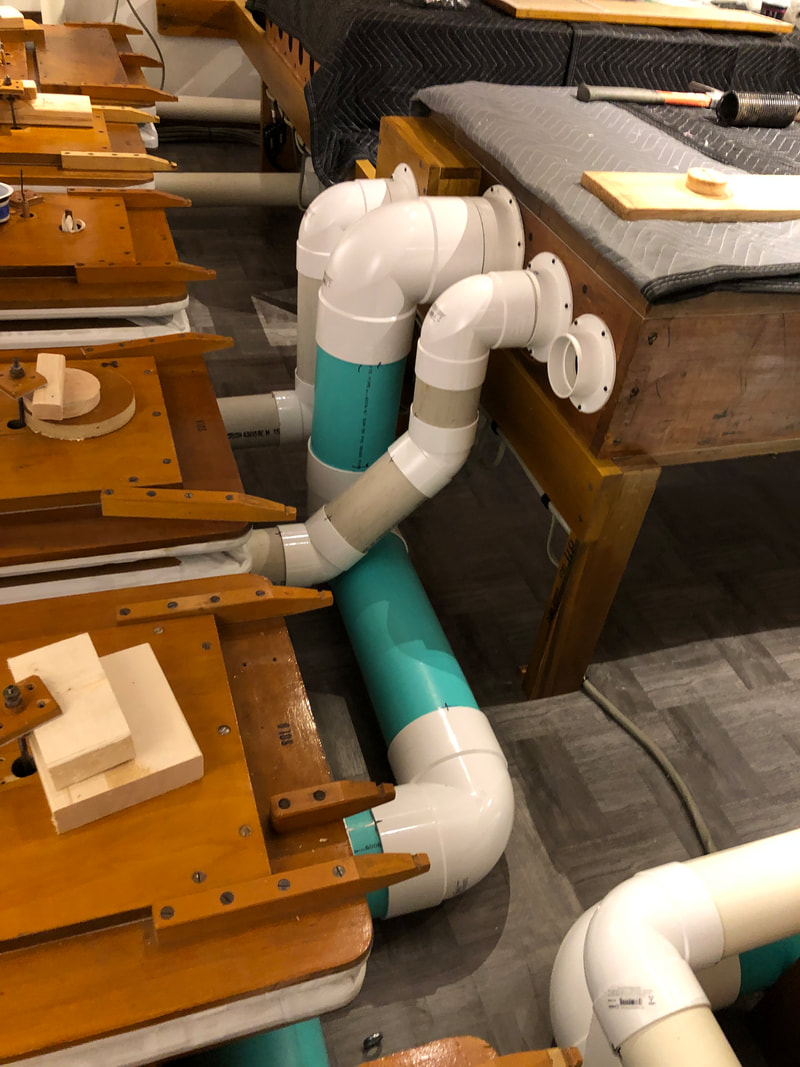
This month, a day was spent planning, measuring and cutting various pieces of lumber to make the decking that will be installed over the reservoirs. While the table saw was in use, cleat stock was also made, which will be put to good use as the construction process continues. As of the time of writing this update, one support and associated legs are standing in place that will support the deck (and everything on top of it). Work was also done to complete wiring the drawer in the console. Spreaders were tucked into the console, taking the 30 gauge wire bundle from the drawer and transitioning it to 24 gauge wire to the Uniflex boards. The two-digit display (with 14 segments) each had to get a resistor wired in series between the output board pin and the individual segment. This was necessary to drop the voltage and current down to an acceptable level for the segments to function properly. Finally, the surf got some attention as when it was originally installed, it leaked wind very badly. After some investigation, it was determined that there was a screw hole that was stripped out, holding the piece of wood tight which covers the slot where the wind comes out when it is operating. The hole was drilled out and a dowel was installed along with some wood glue. After it had dried, the dowel was shaped on one side to match the slot. Then a pilot hole was drilled, screw reinserted and the unit reassembled. Back in its place between the Marimba levels, it no longer leaks and operates properly!
0 Comments
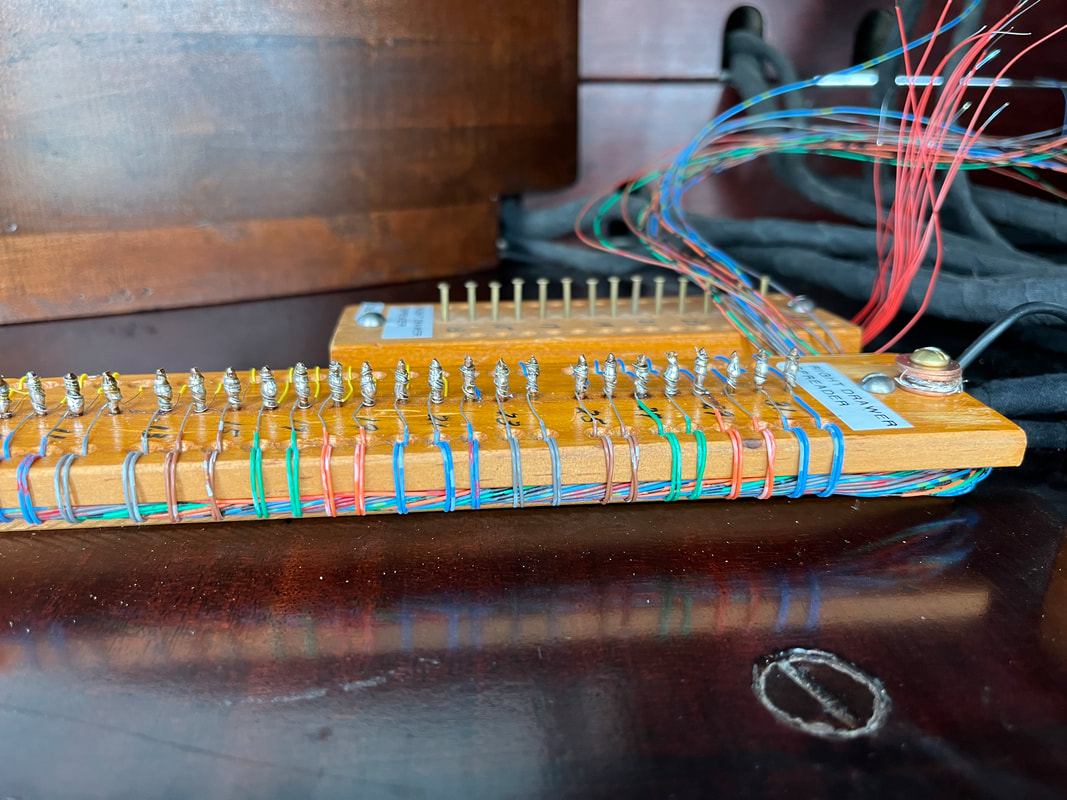
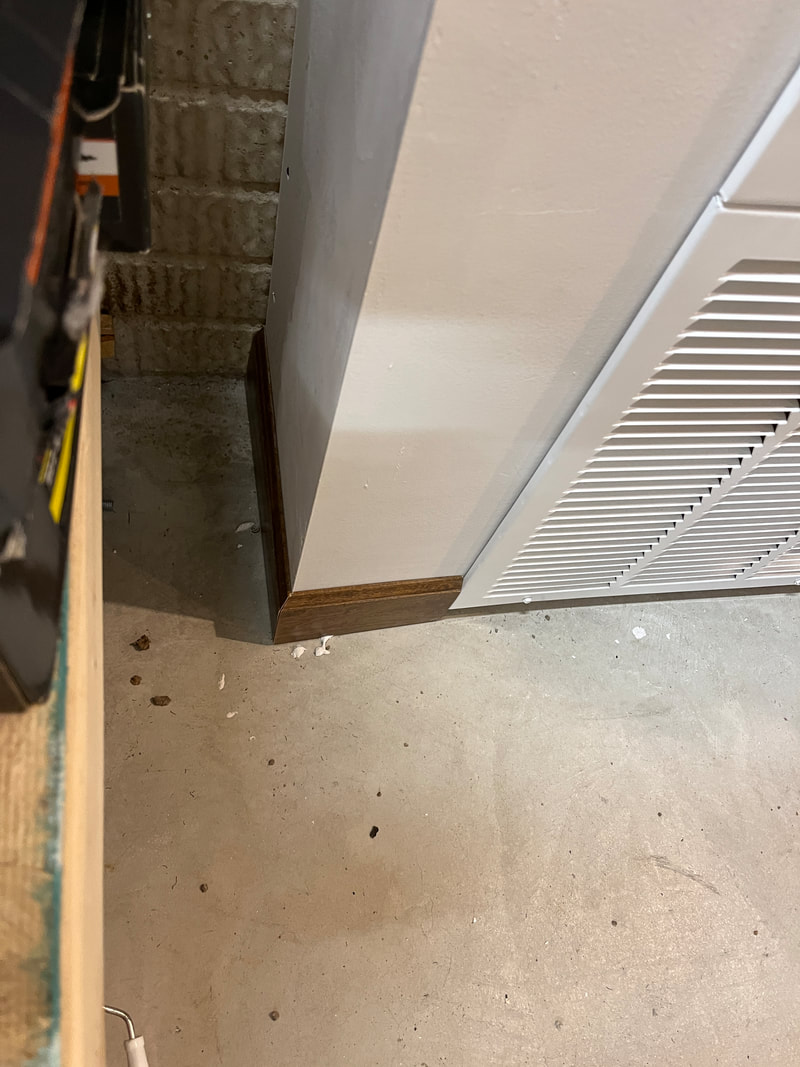
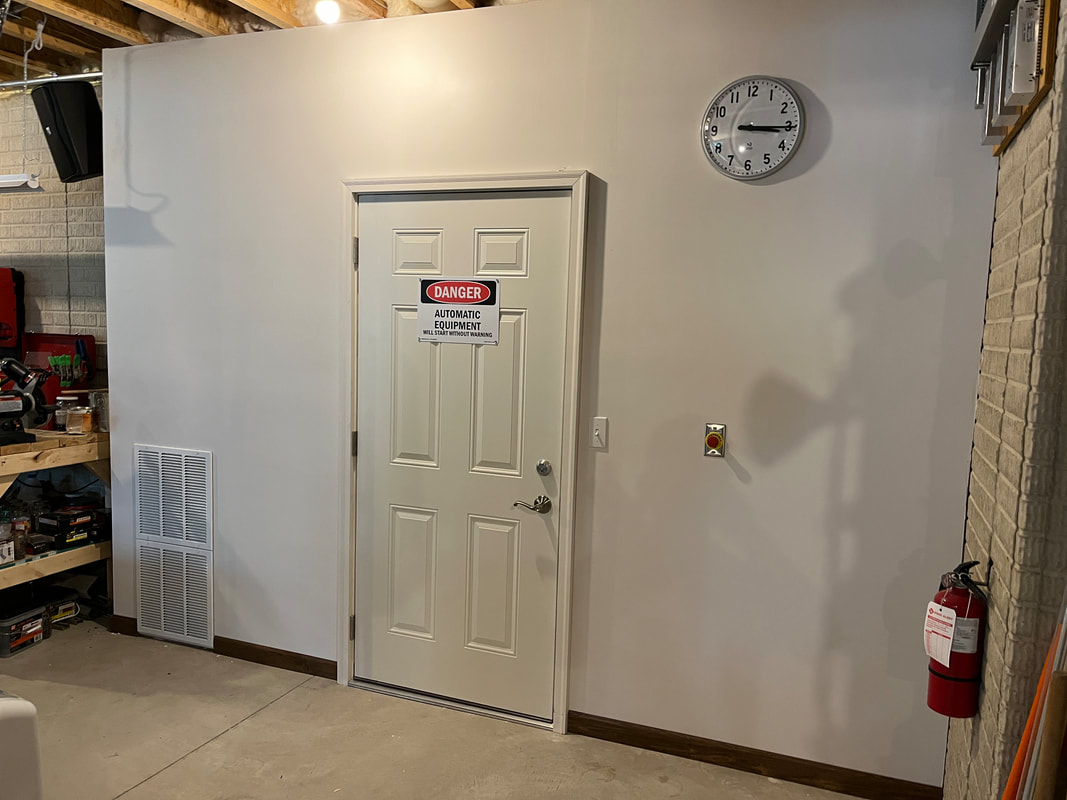
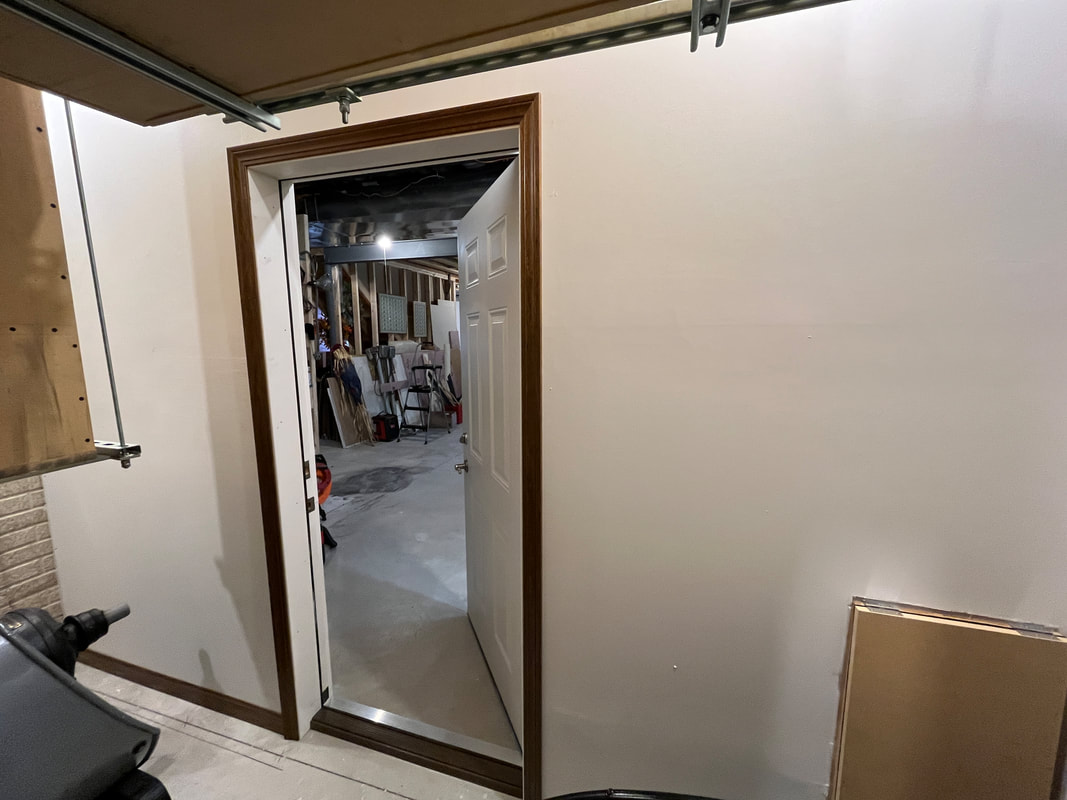
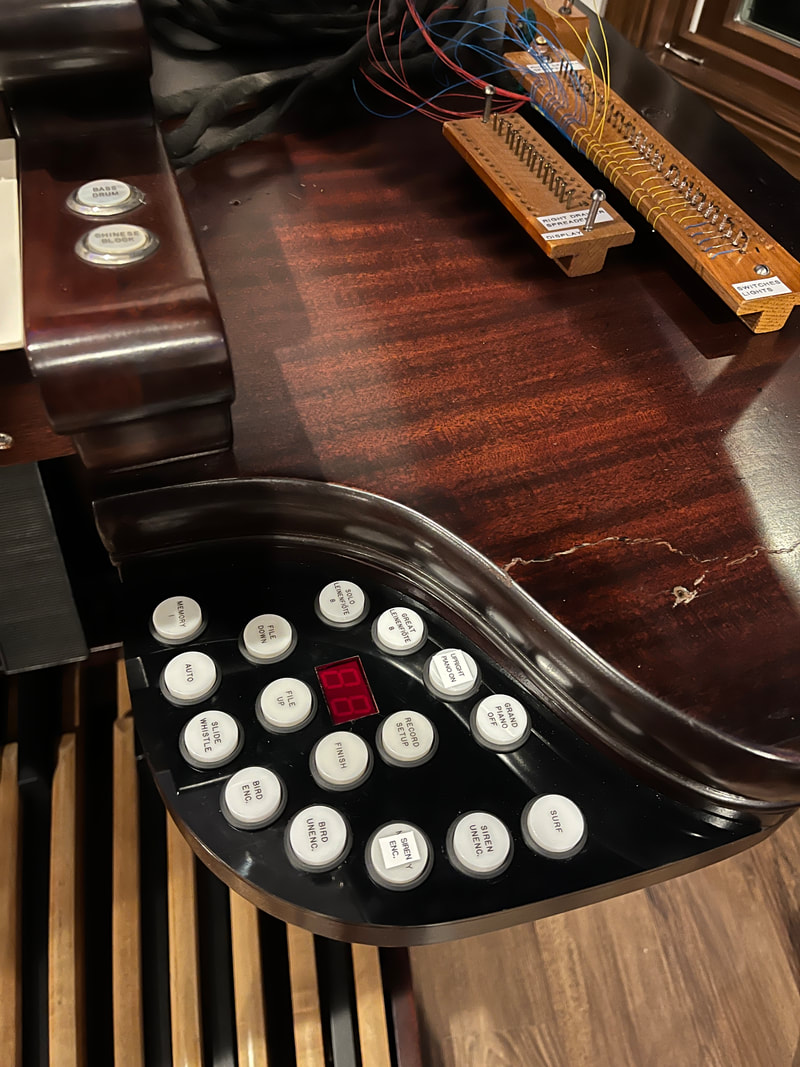
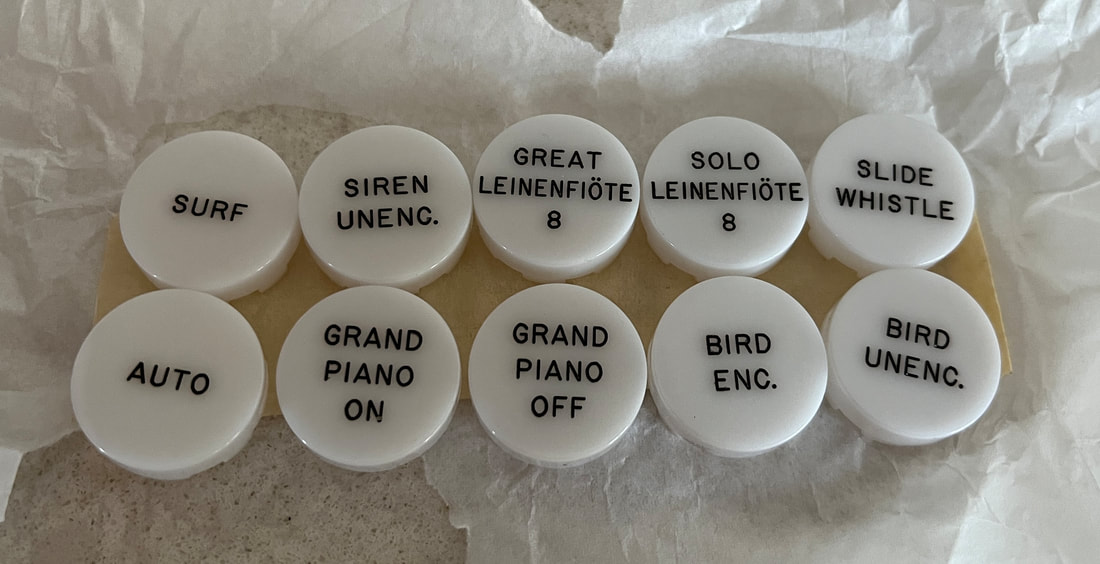
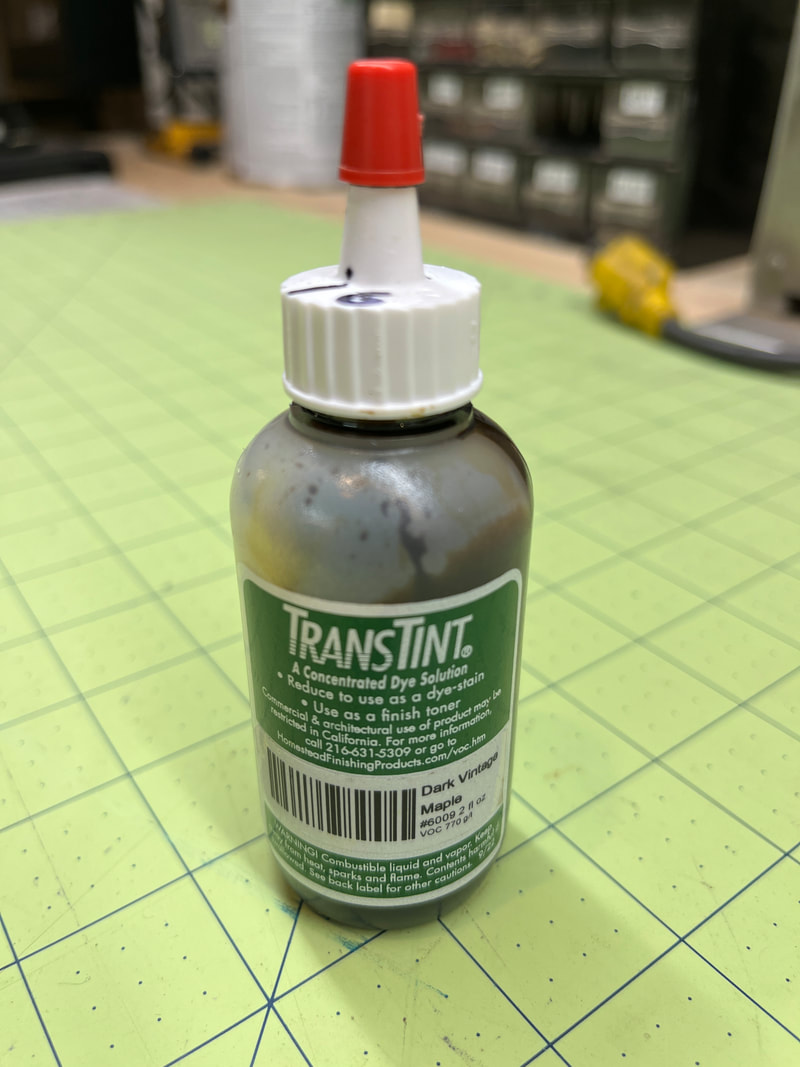
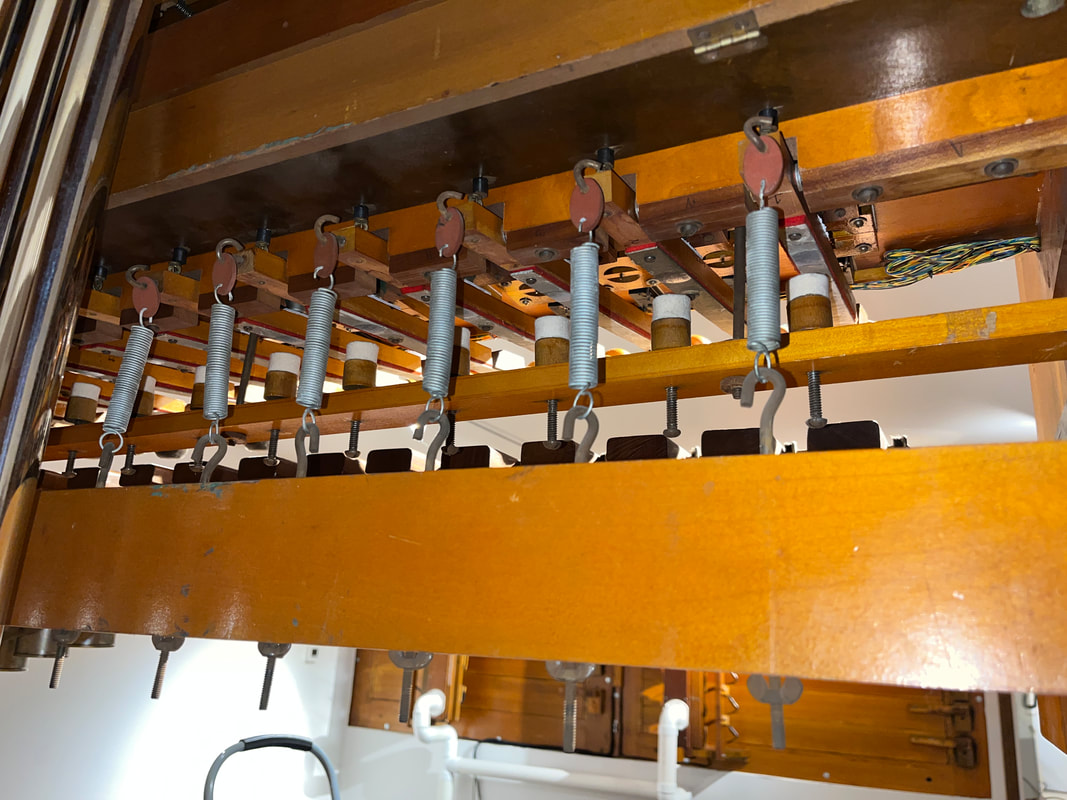
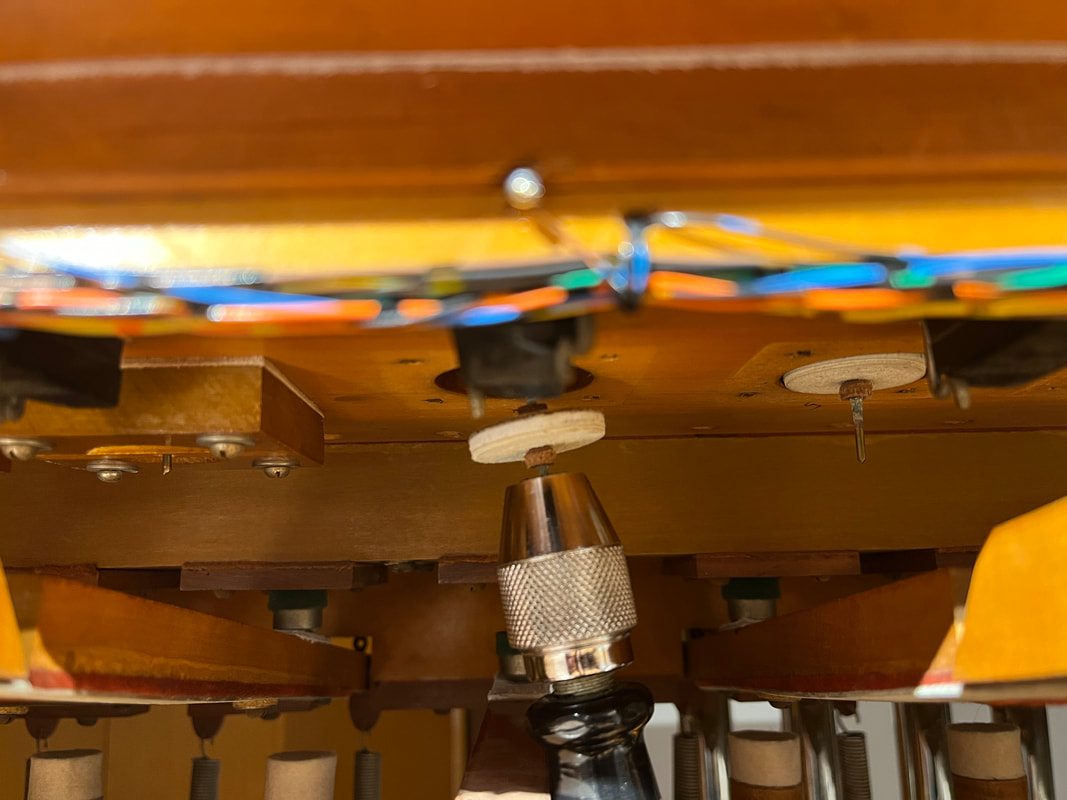
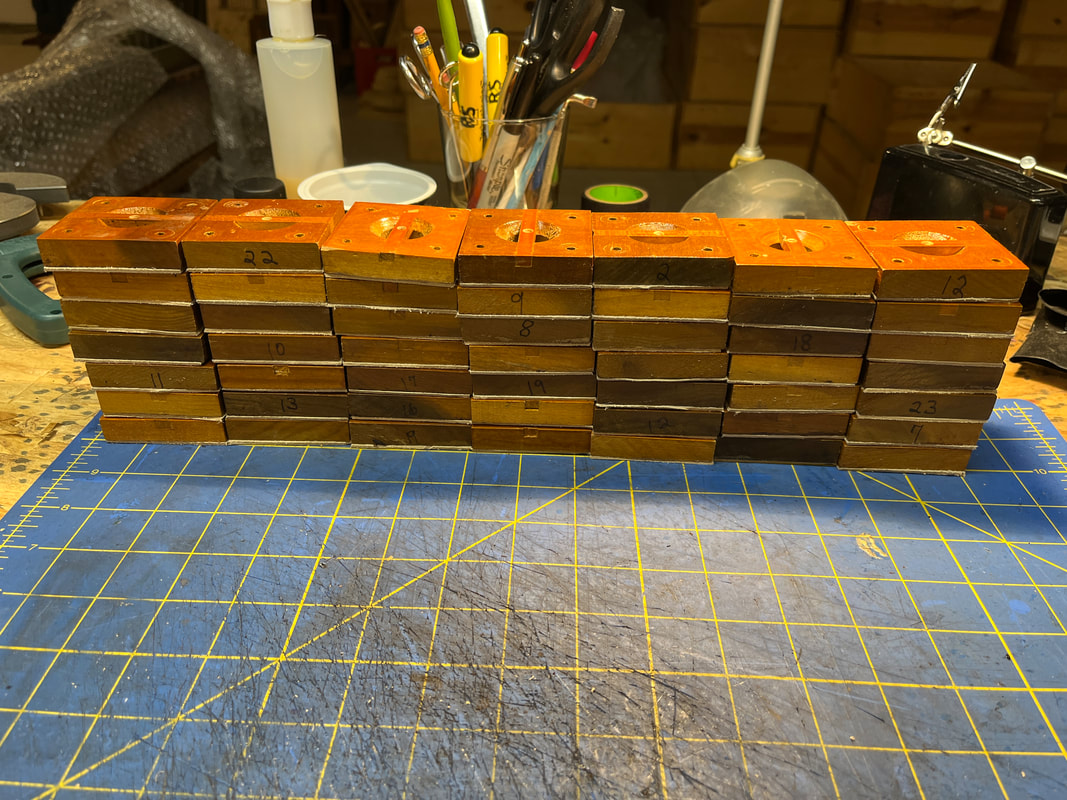
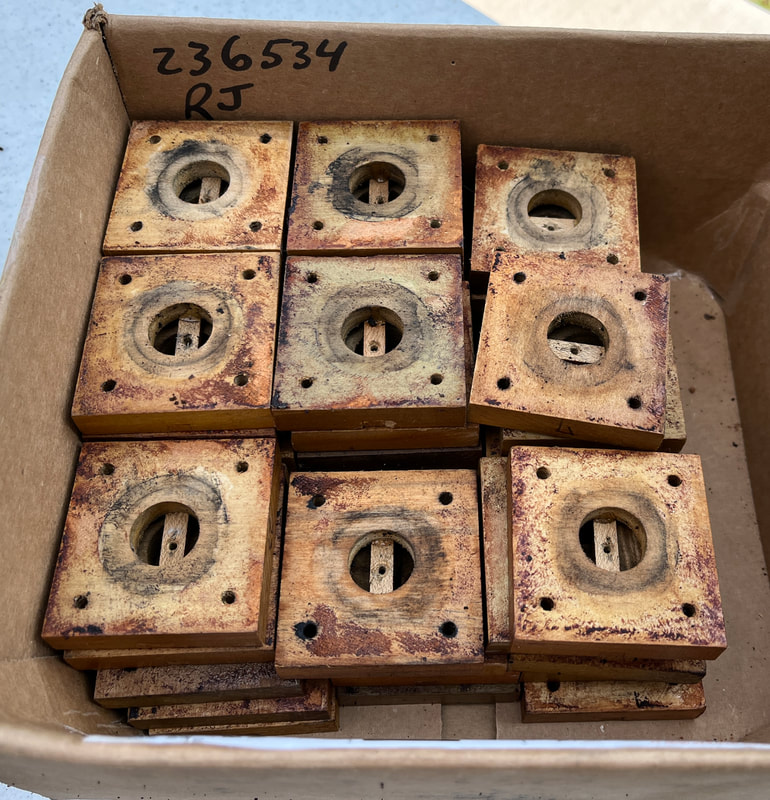
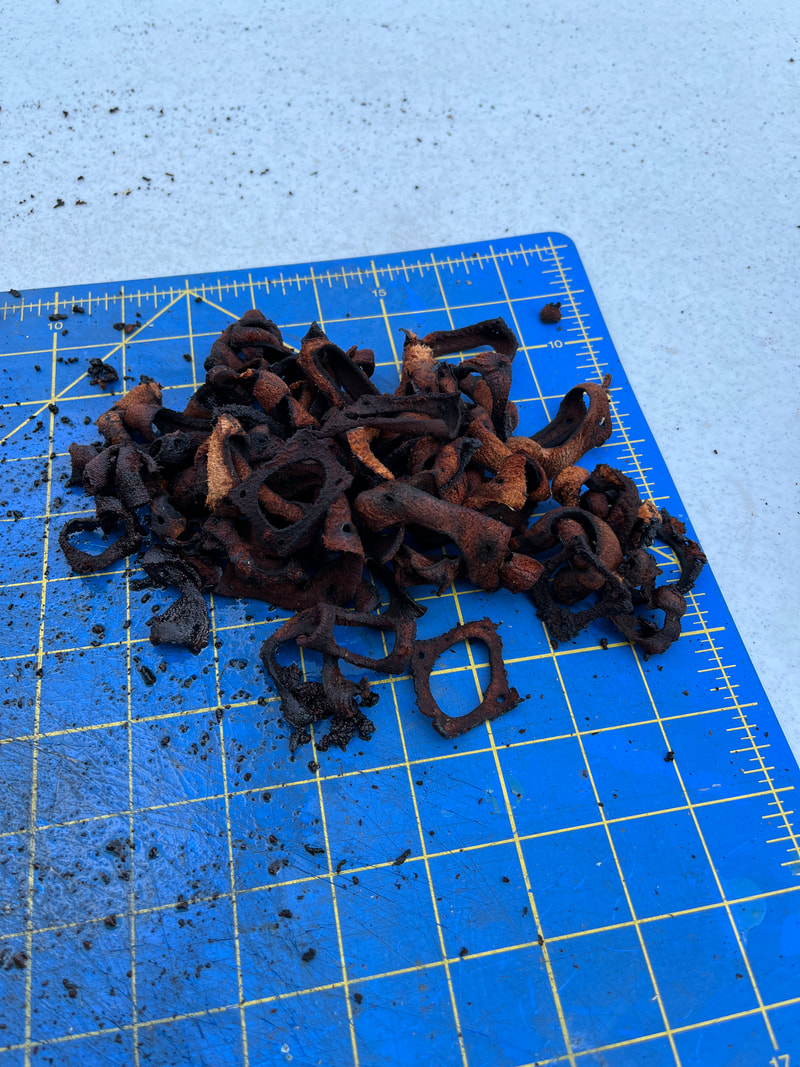
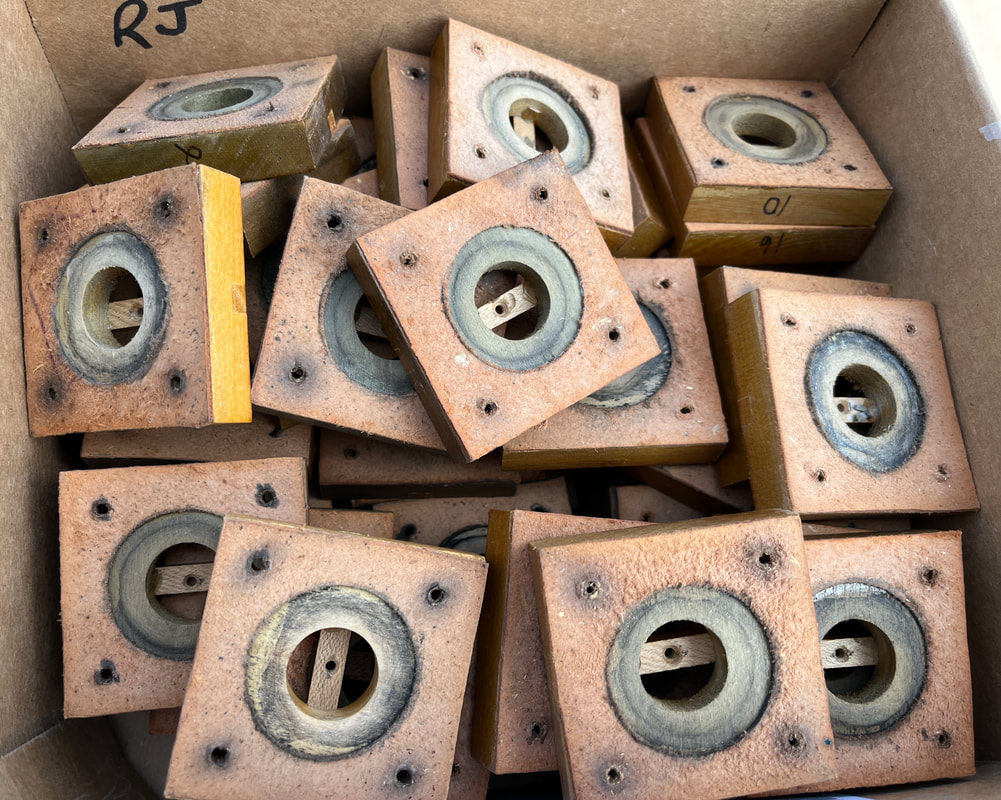
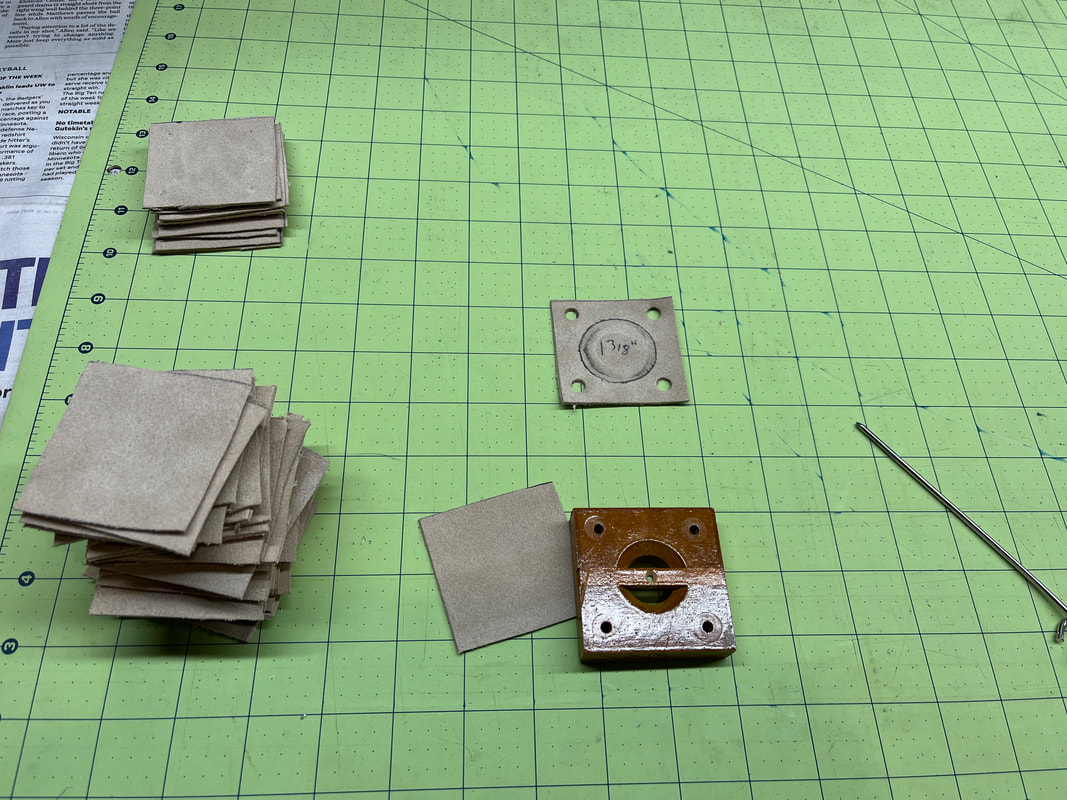
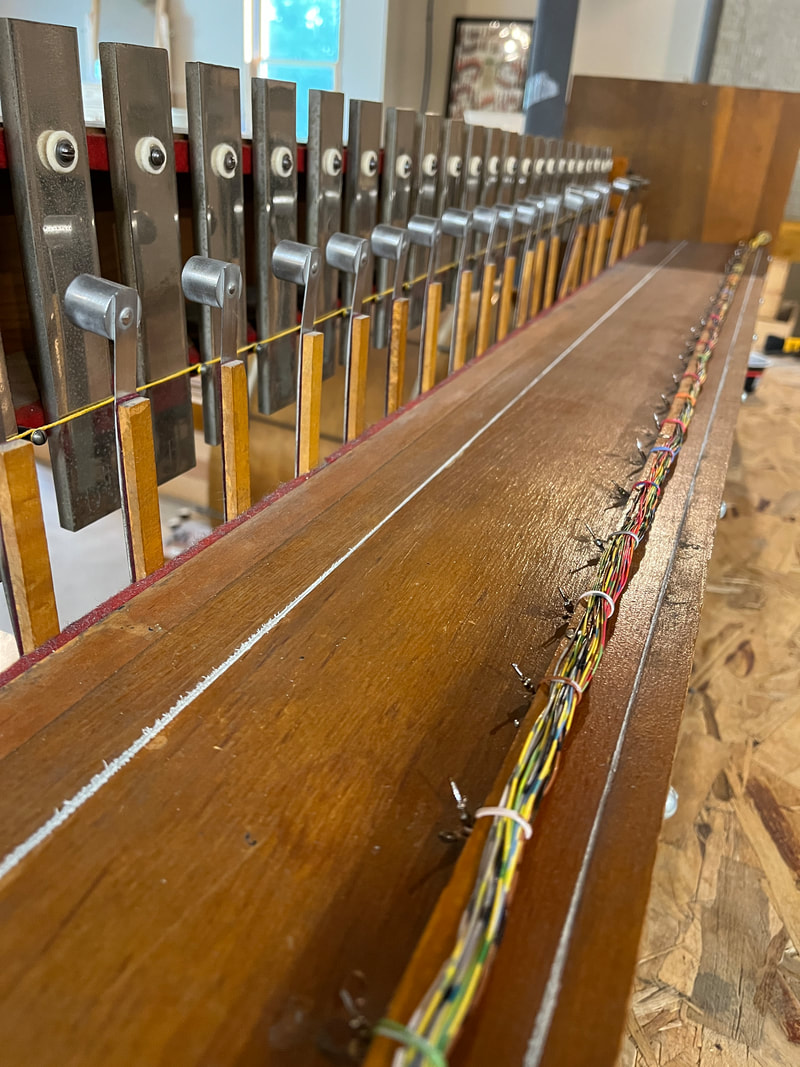
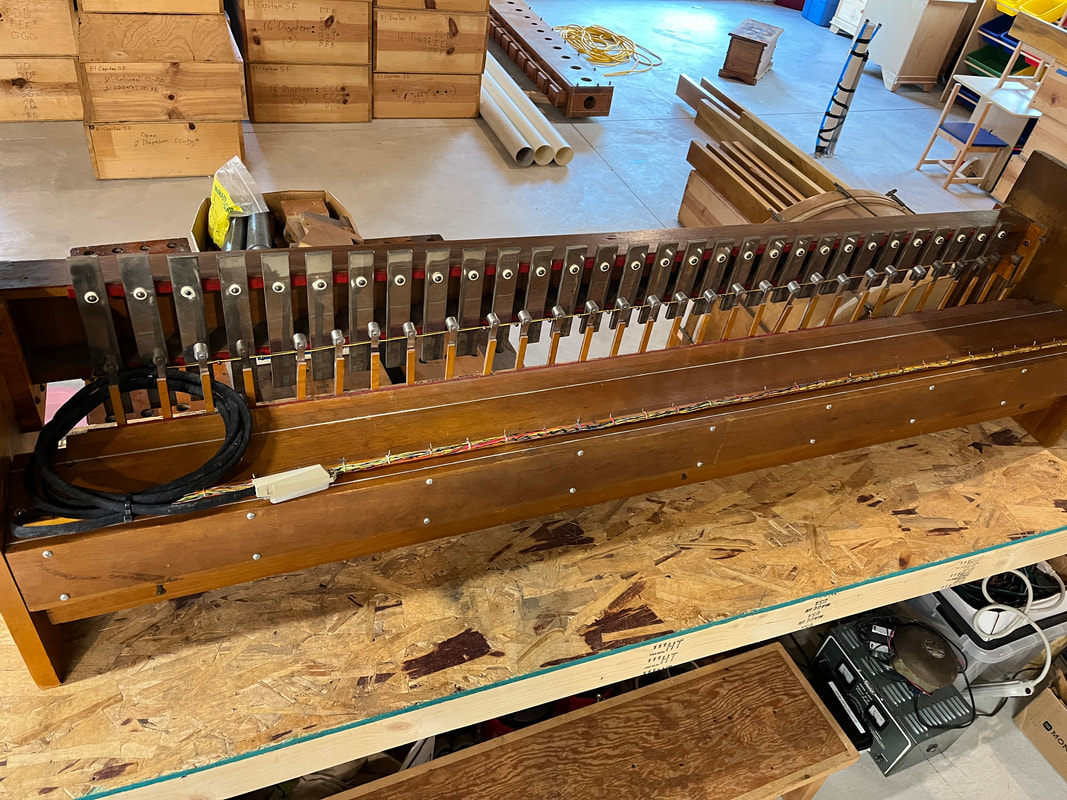
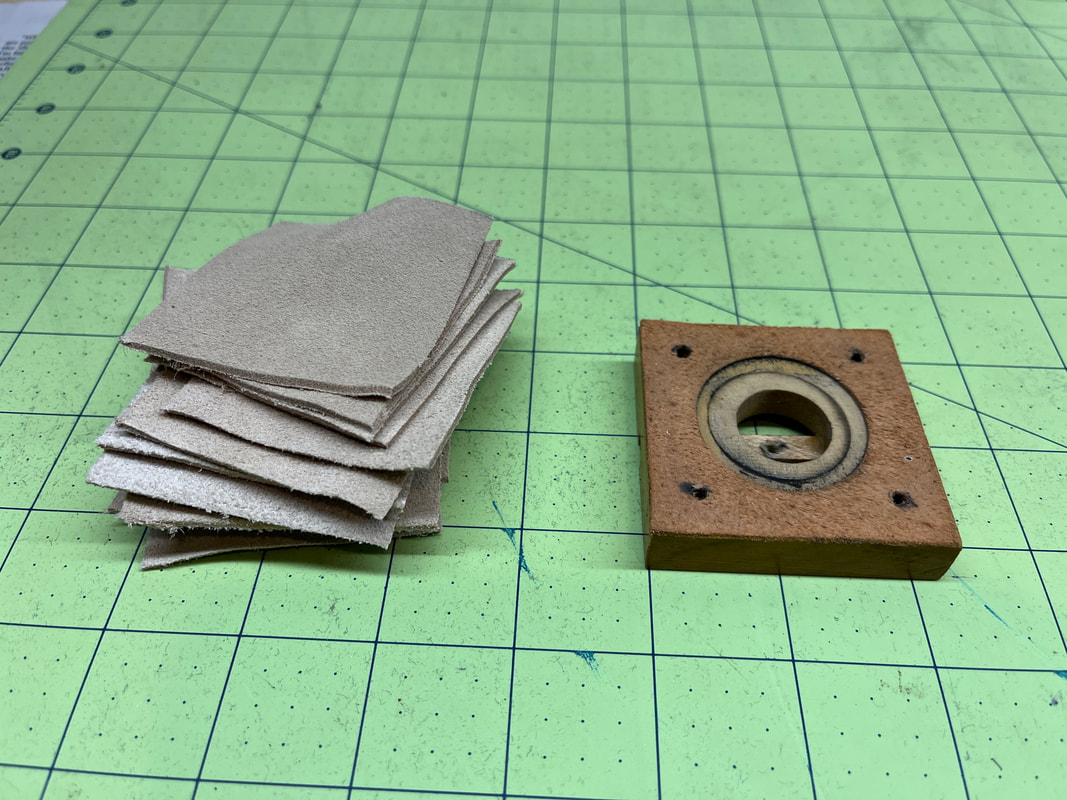
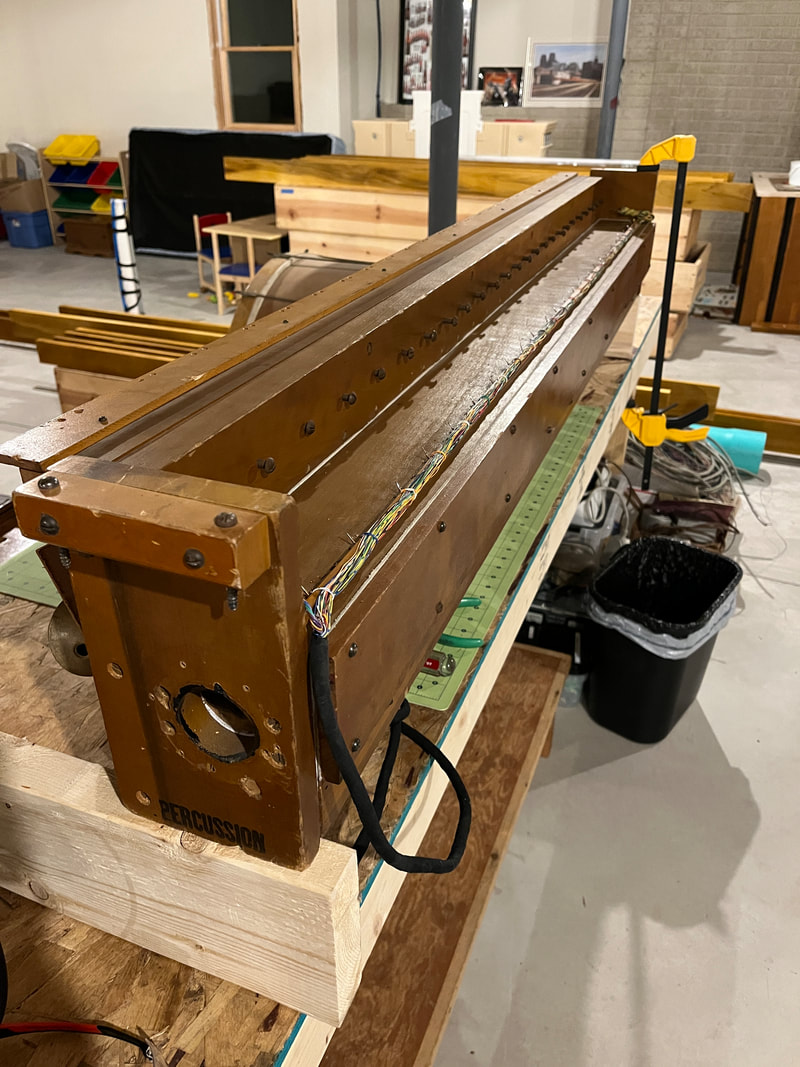
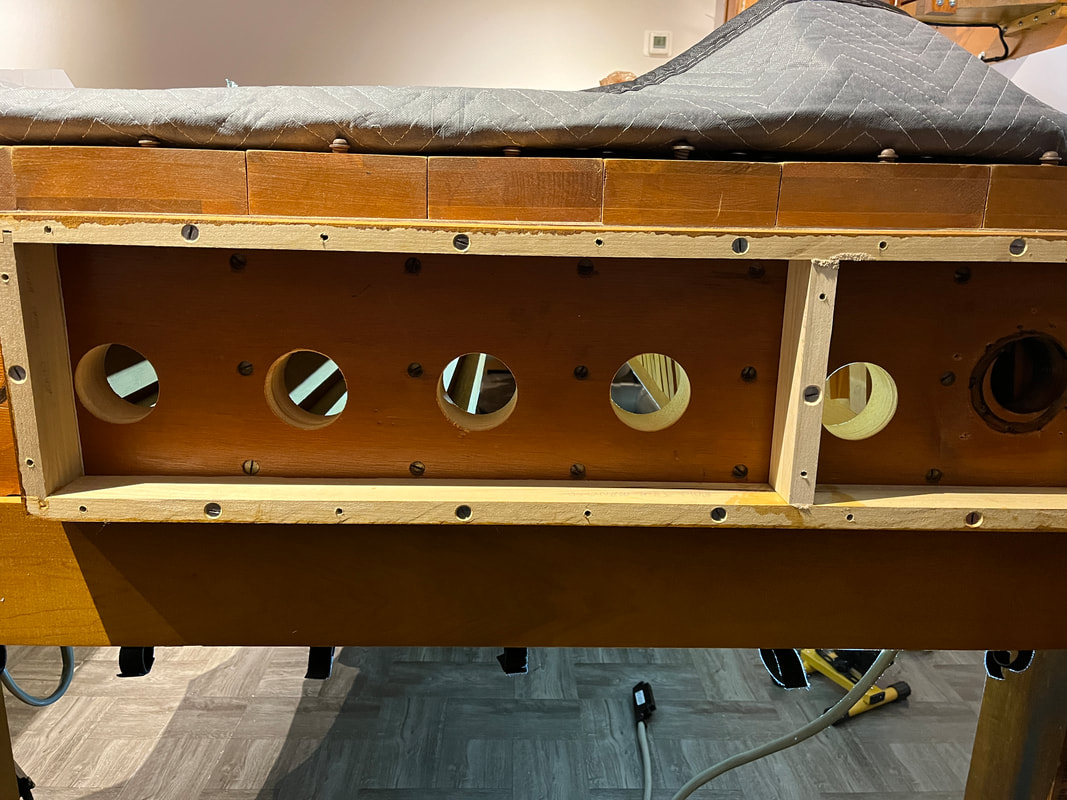
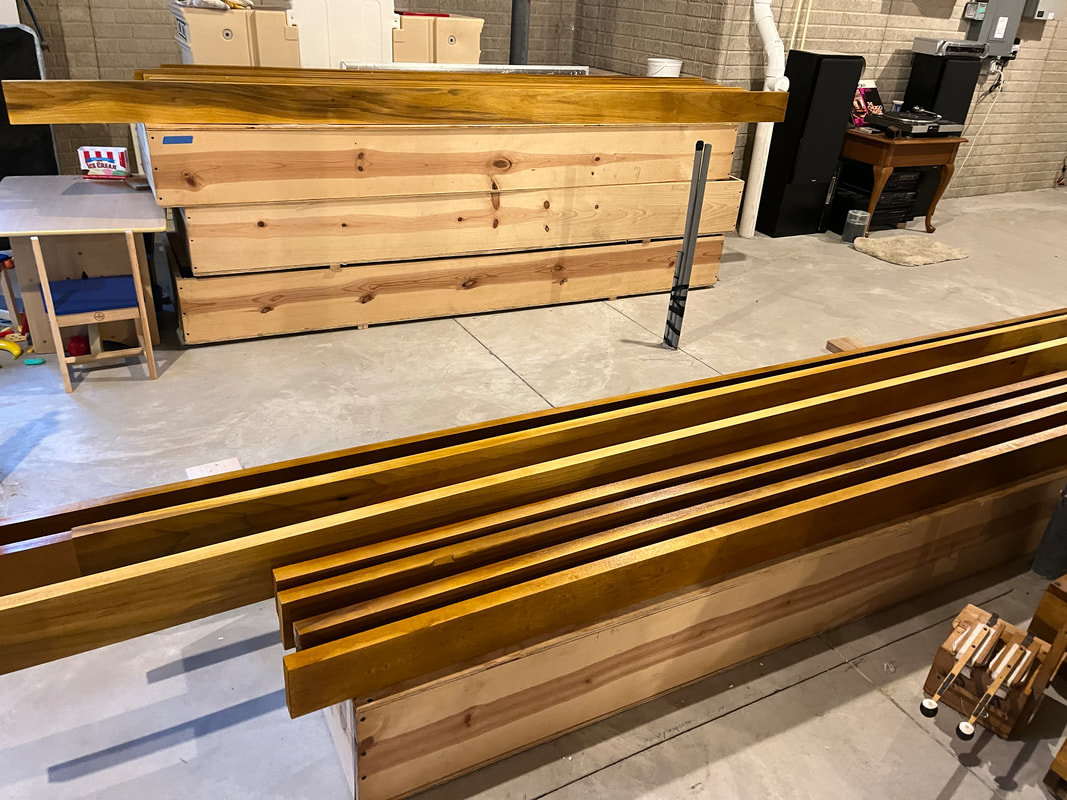
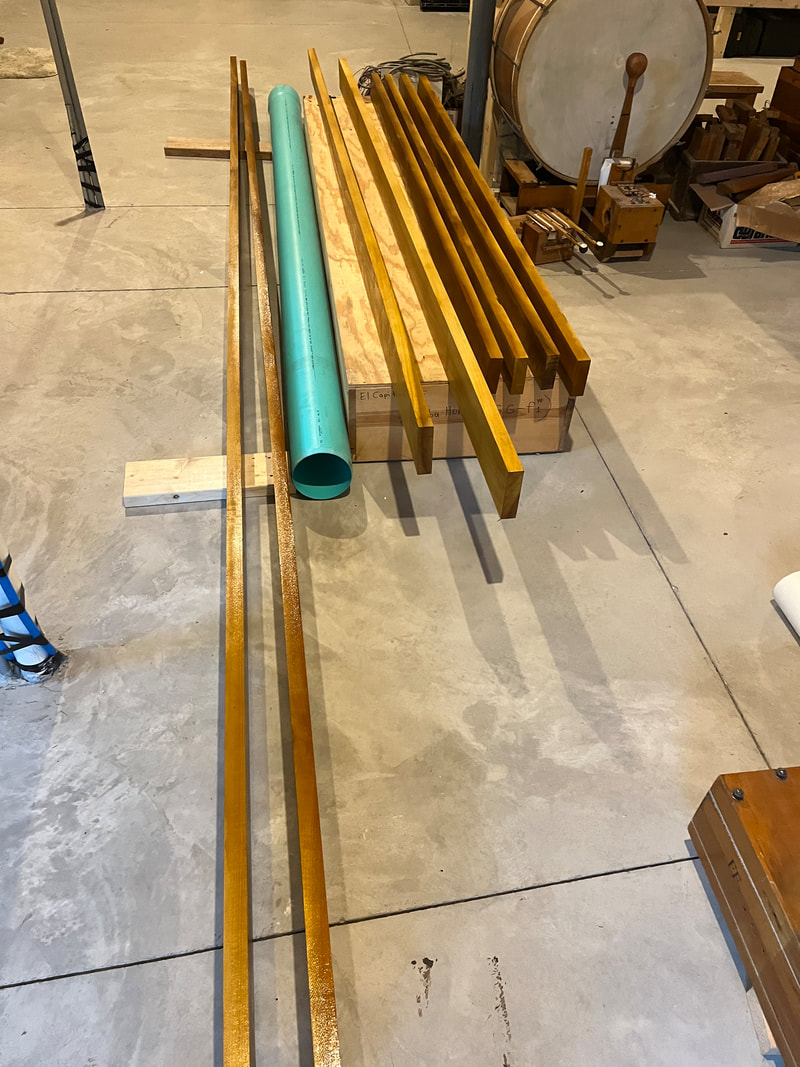
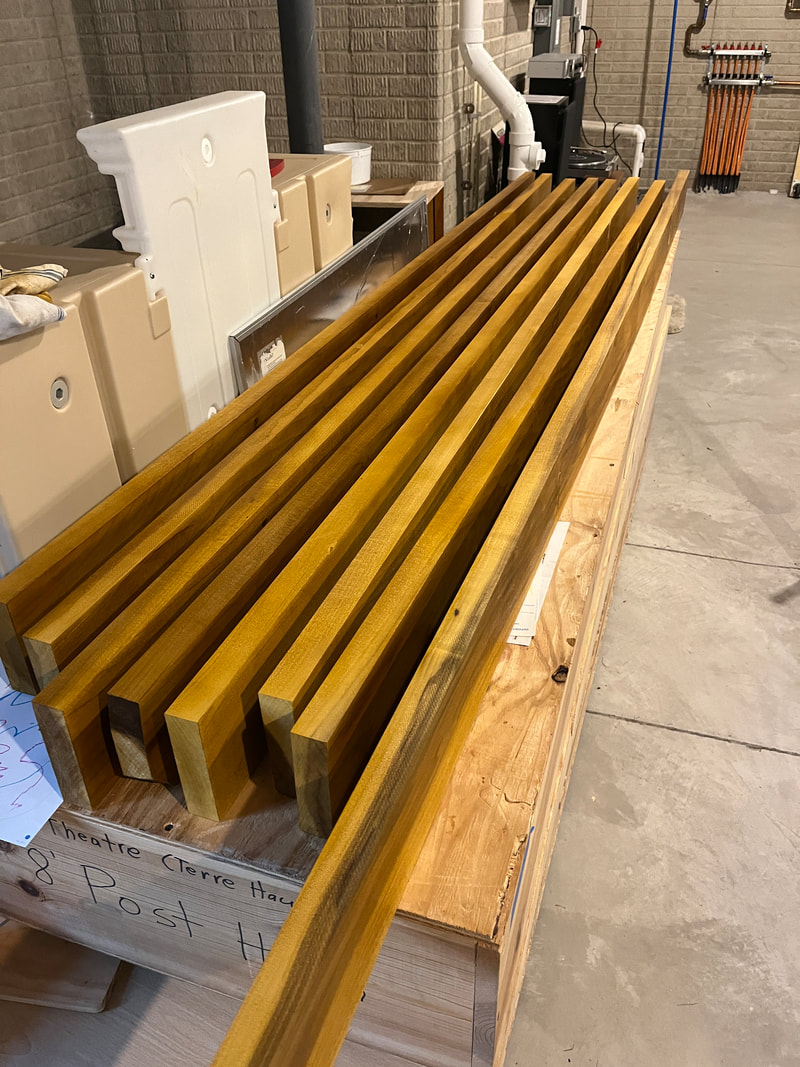
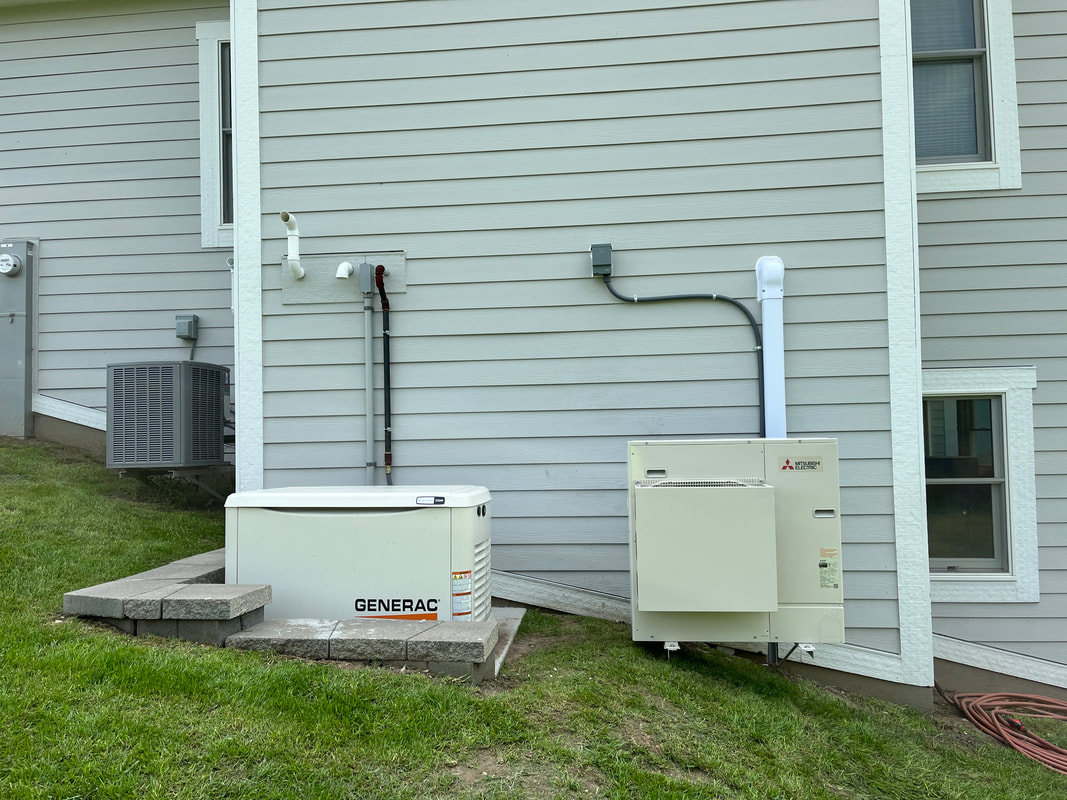
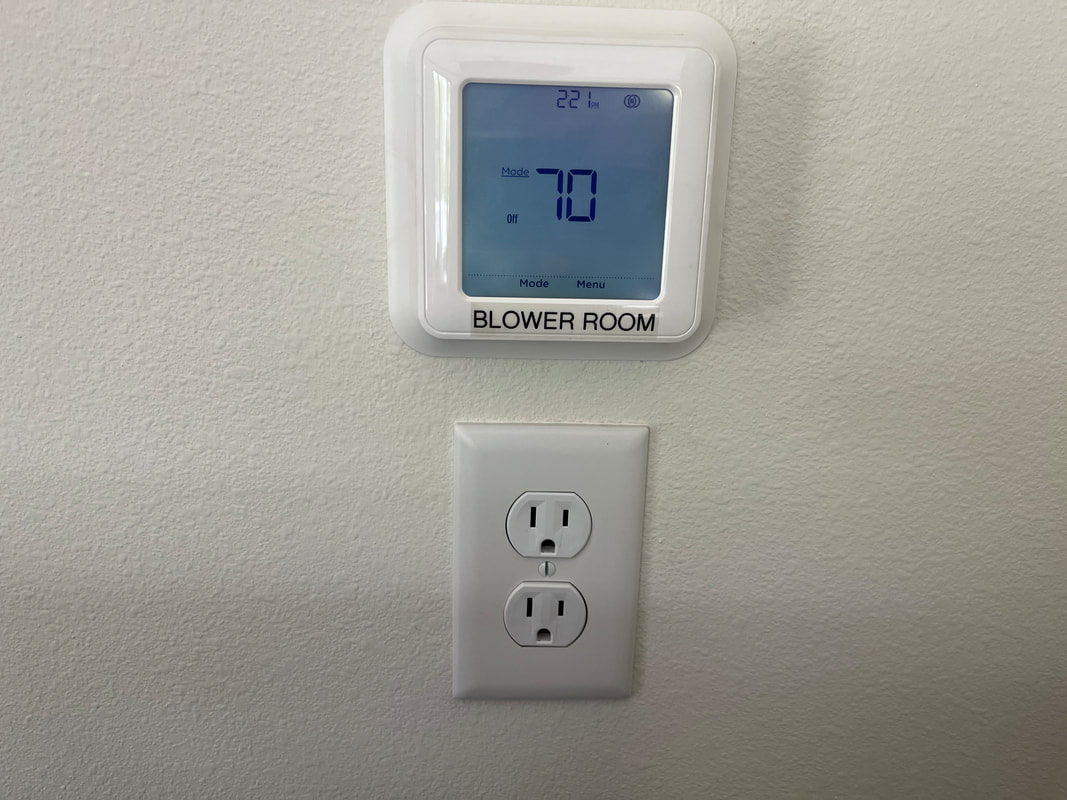
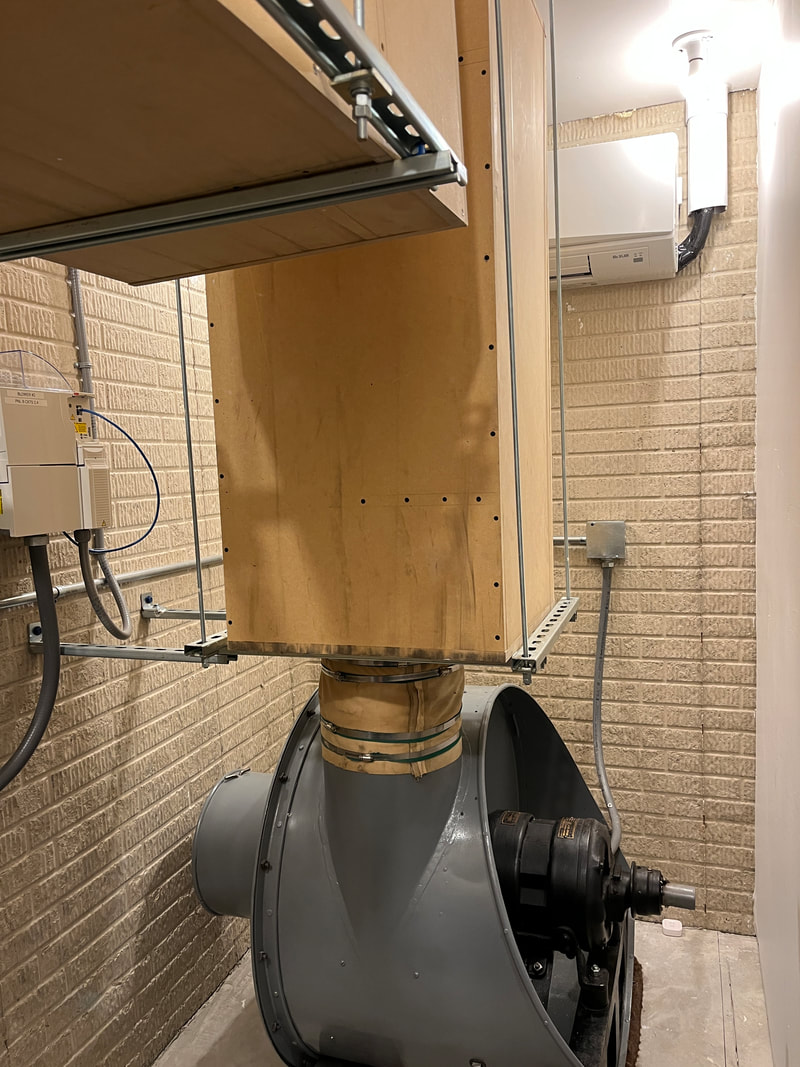
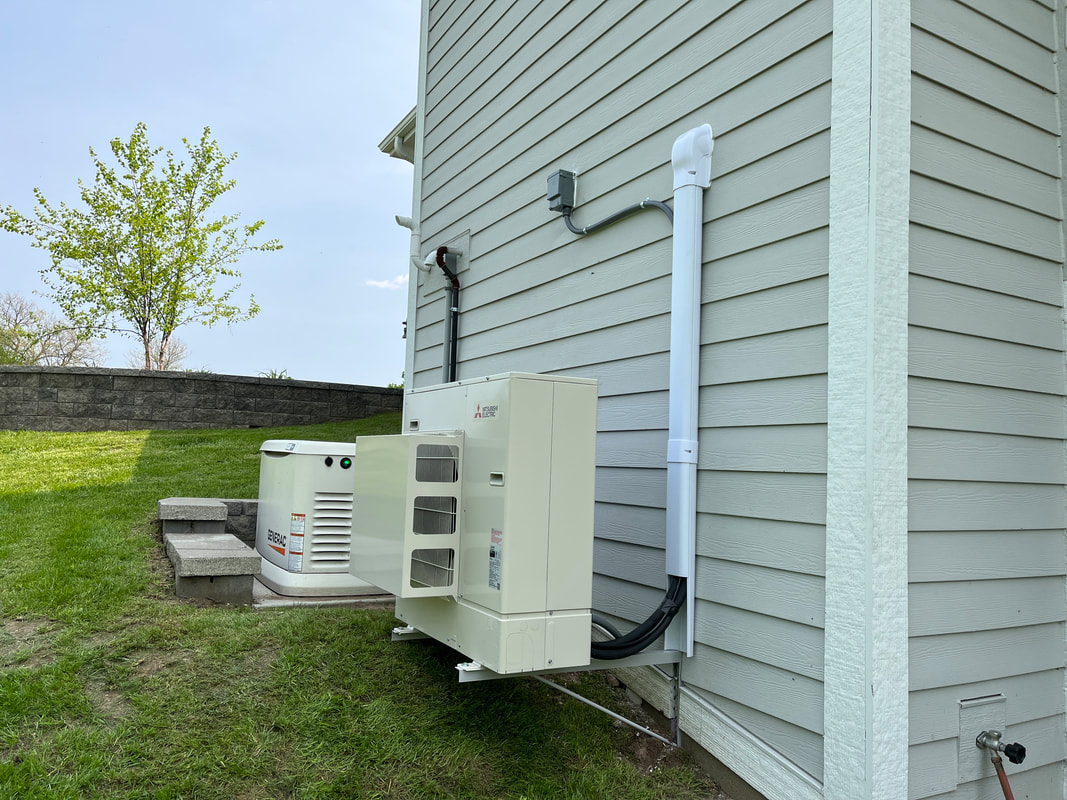
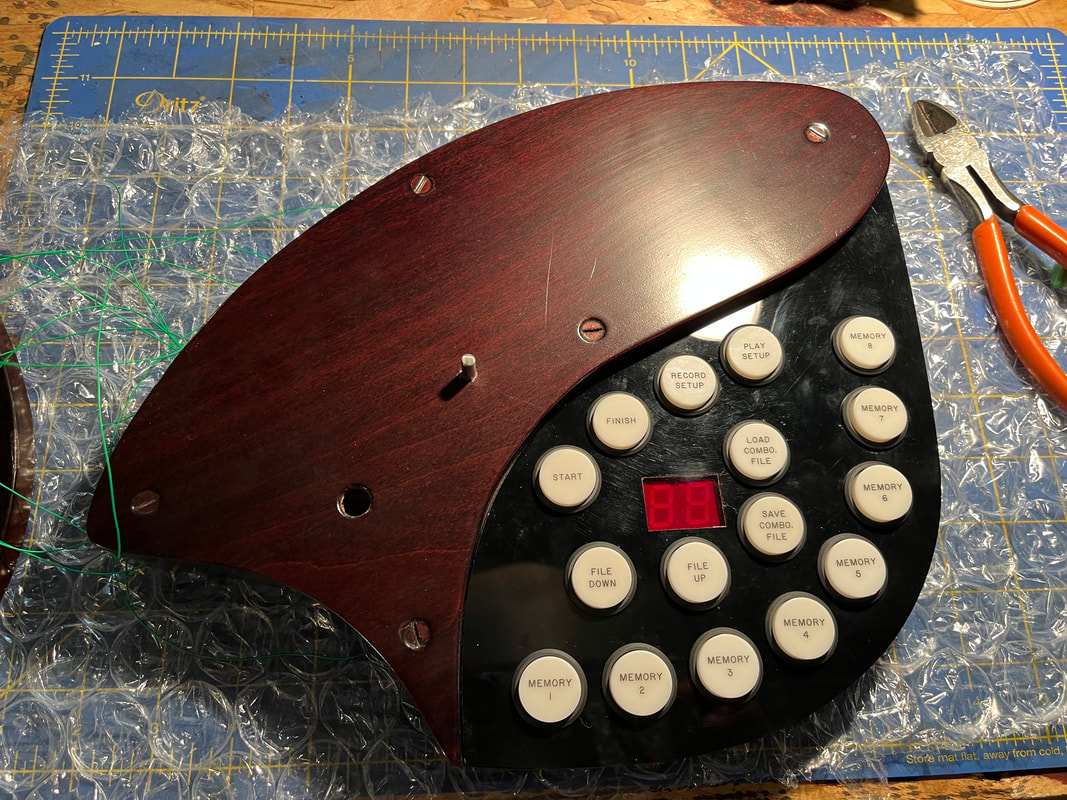
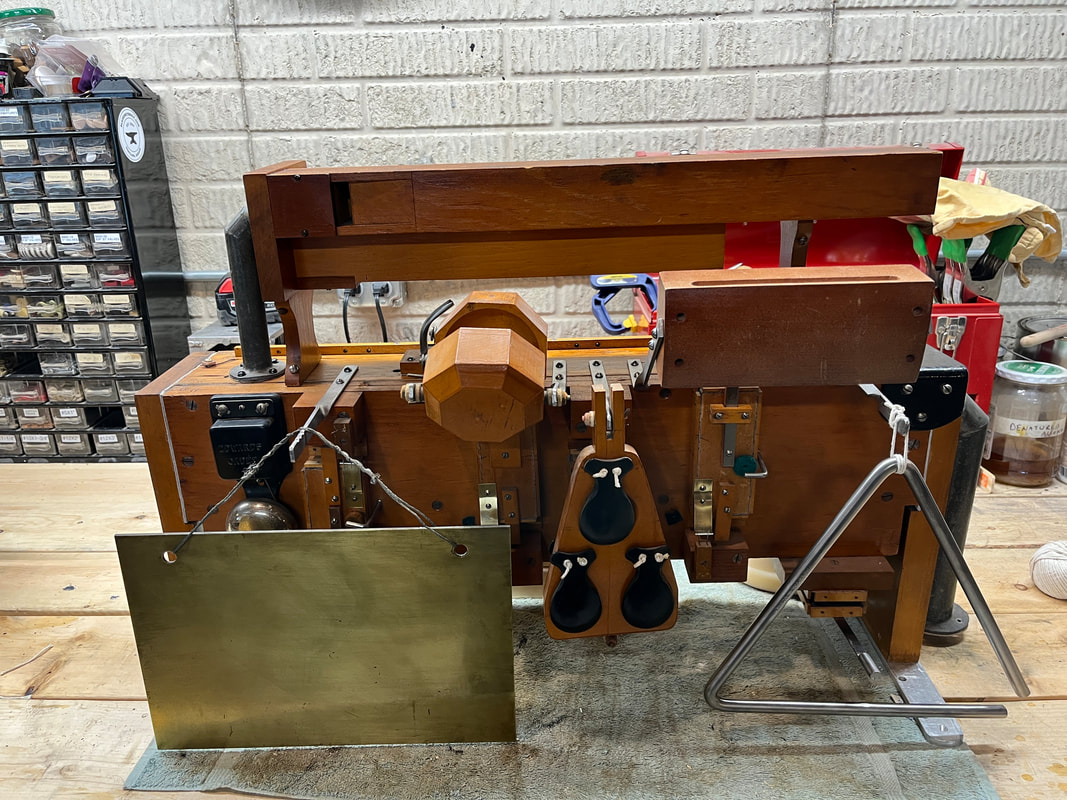
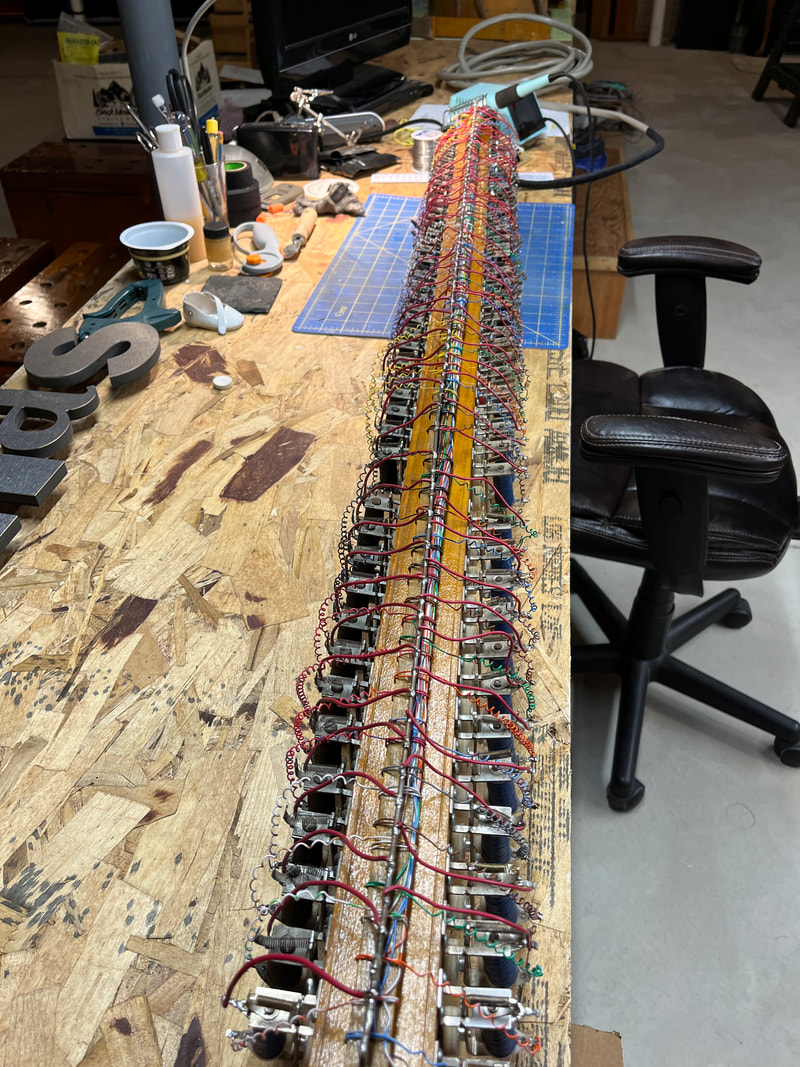
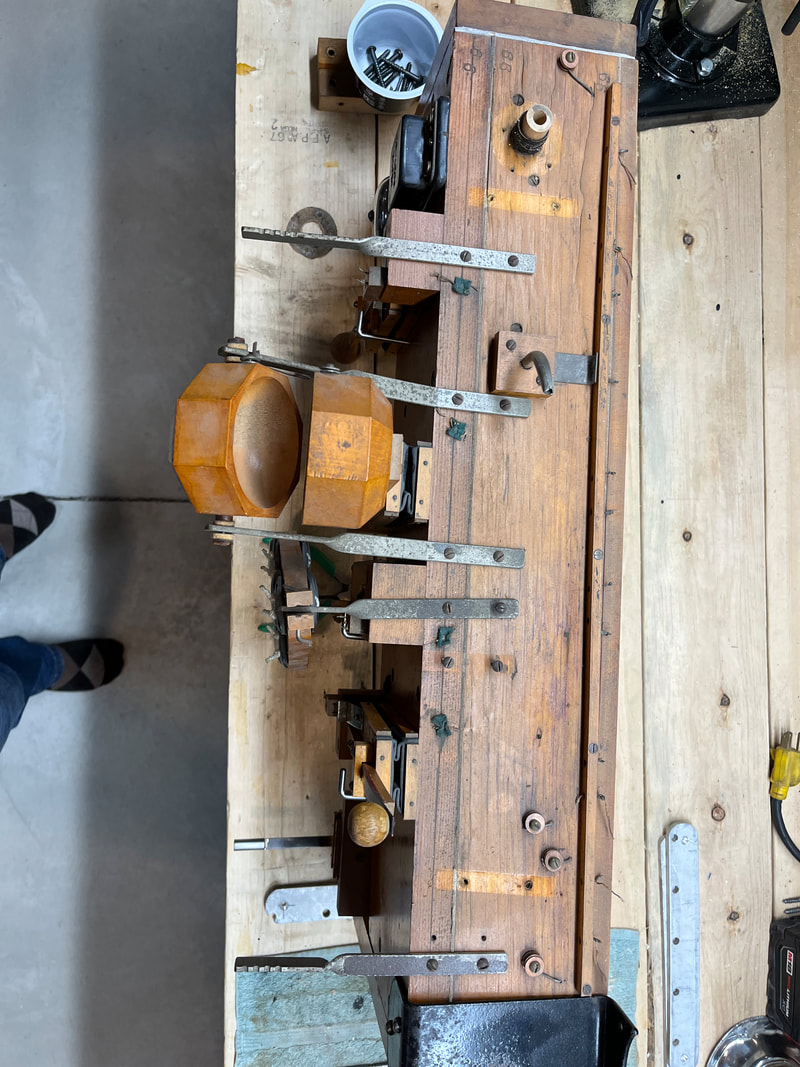
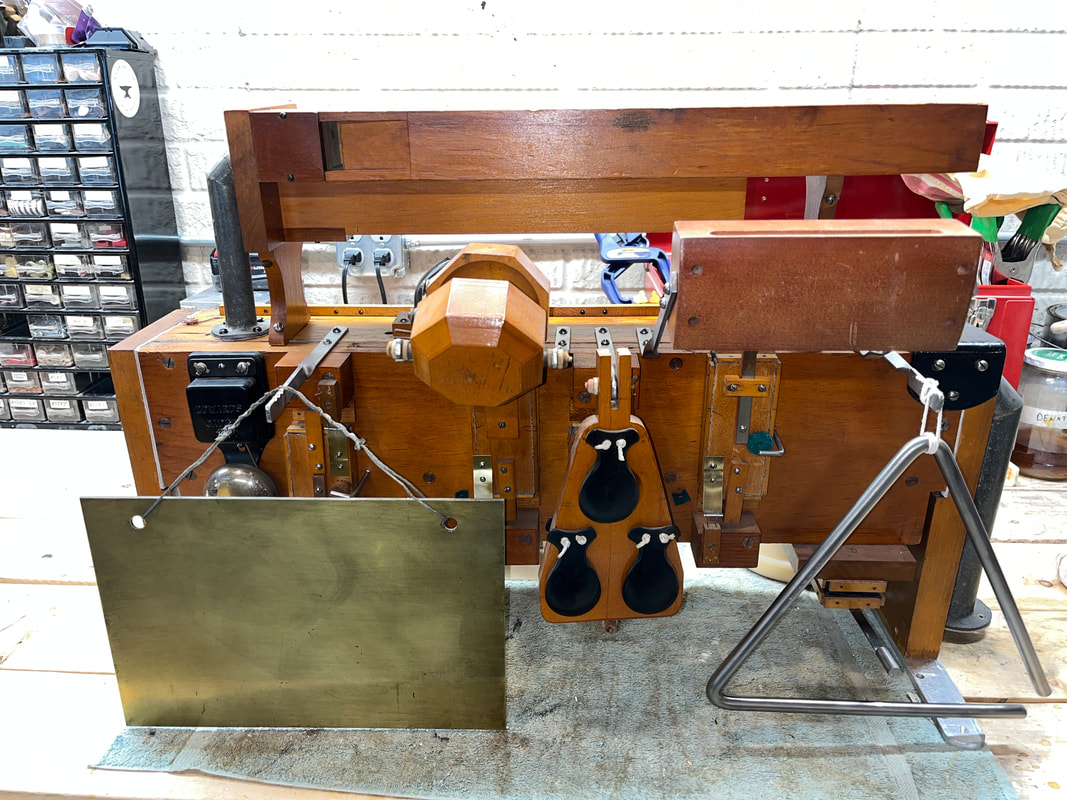
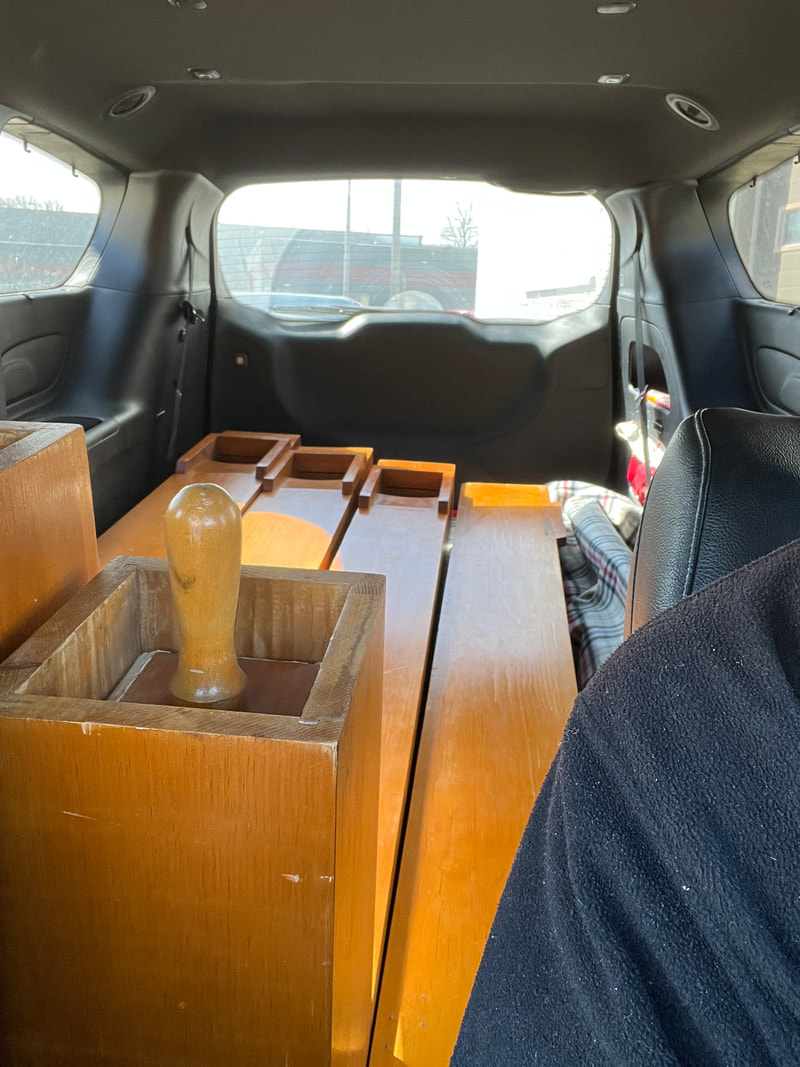
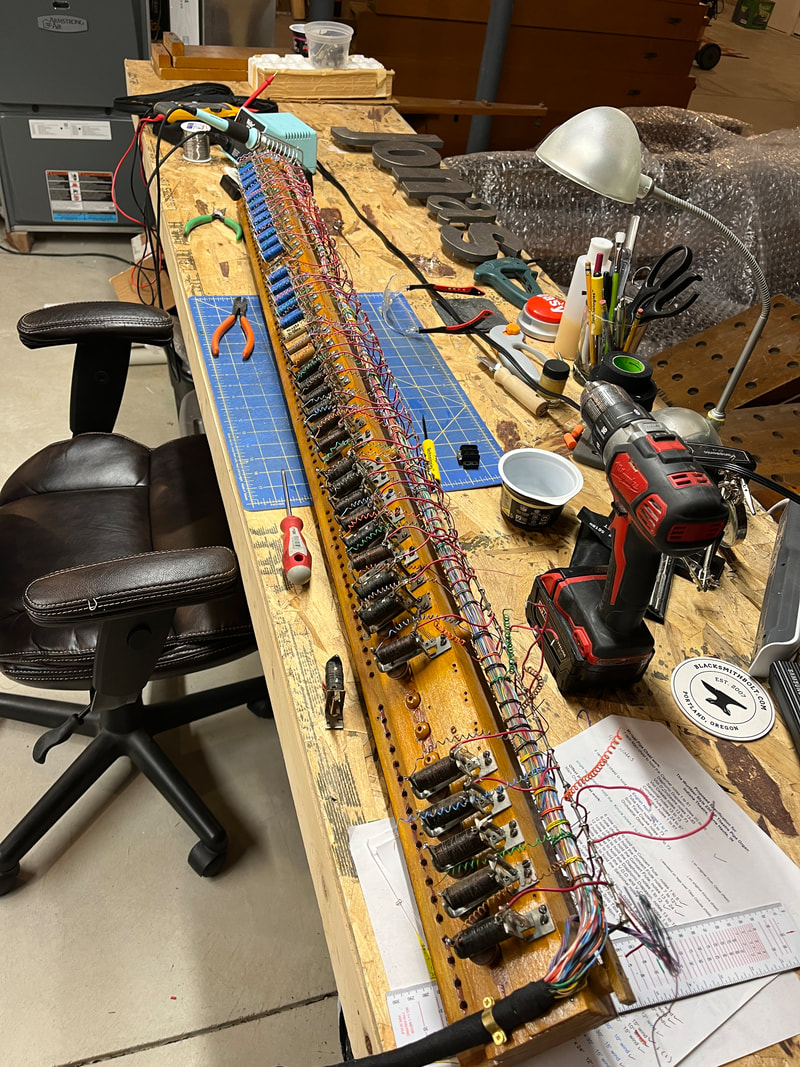
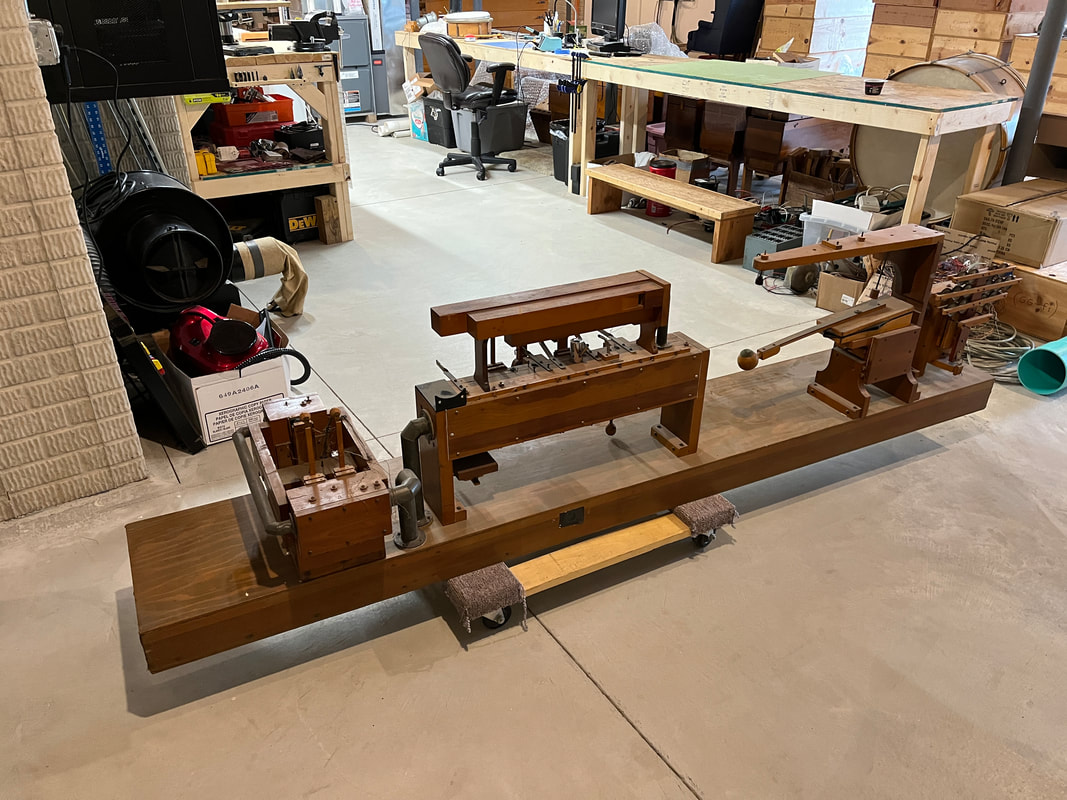
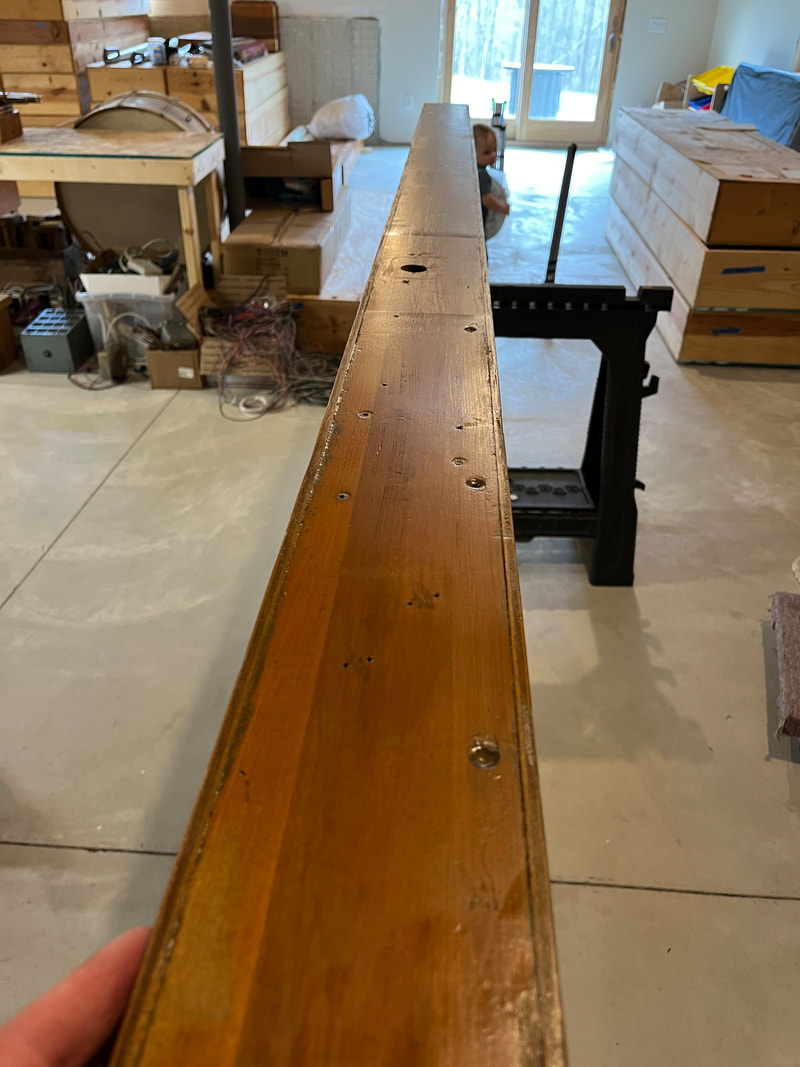
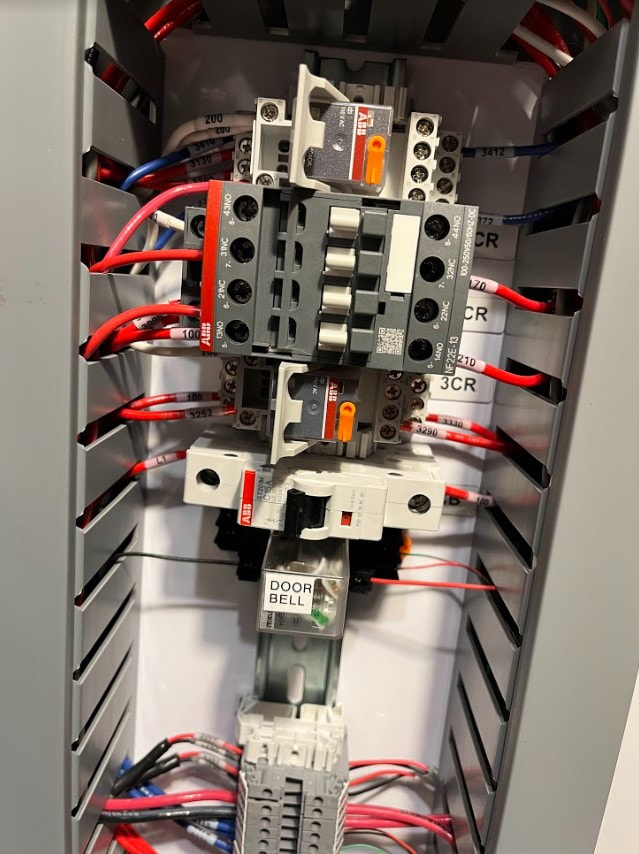
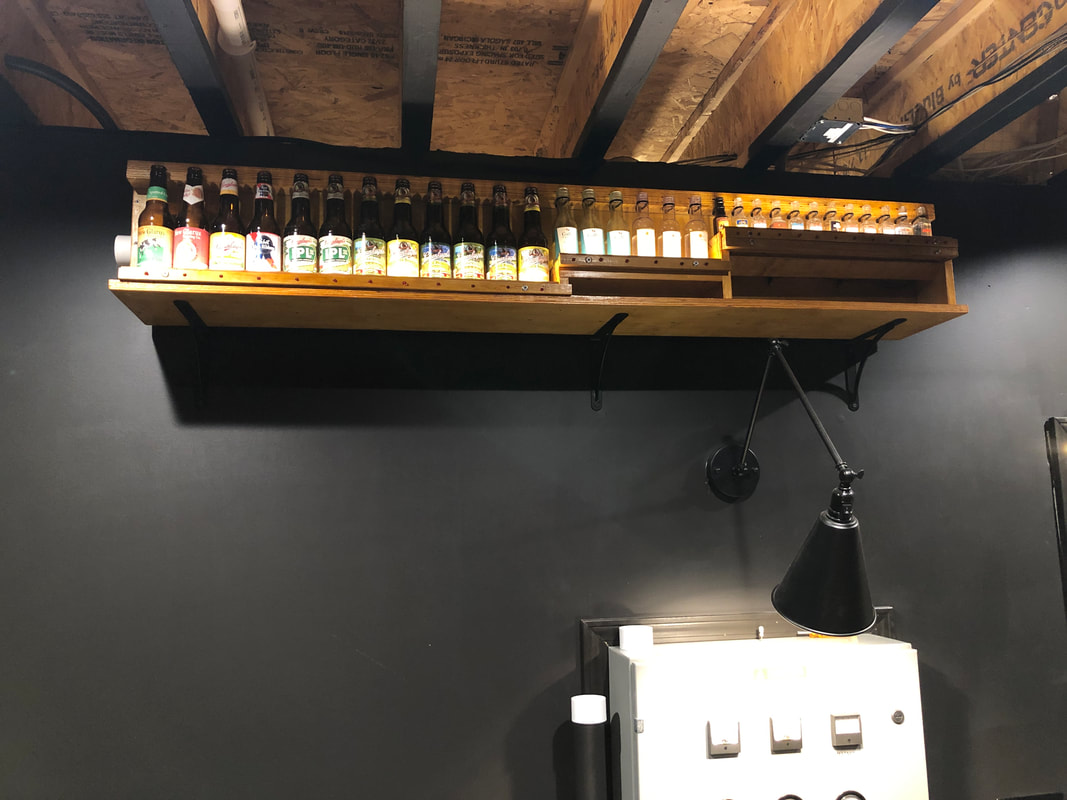
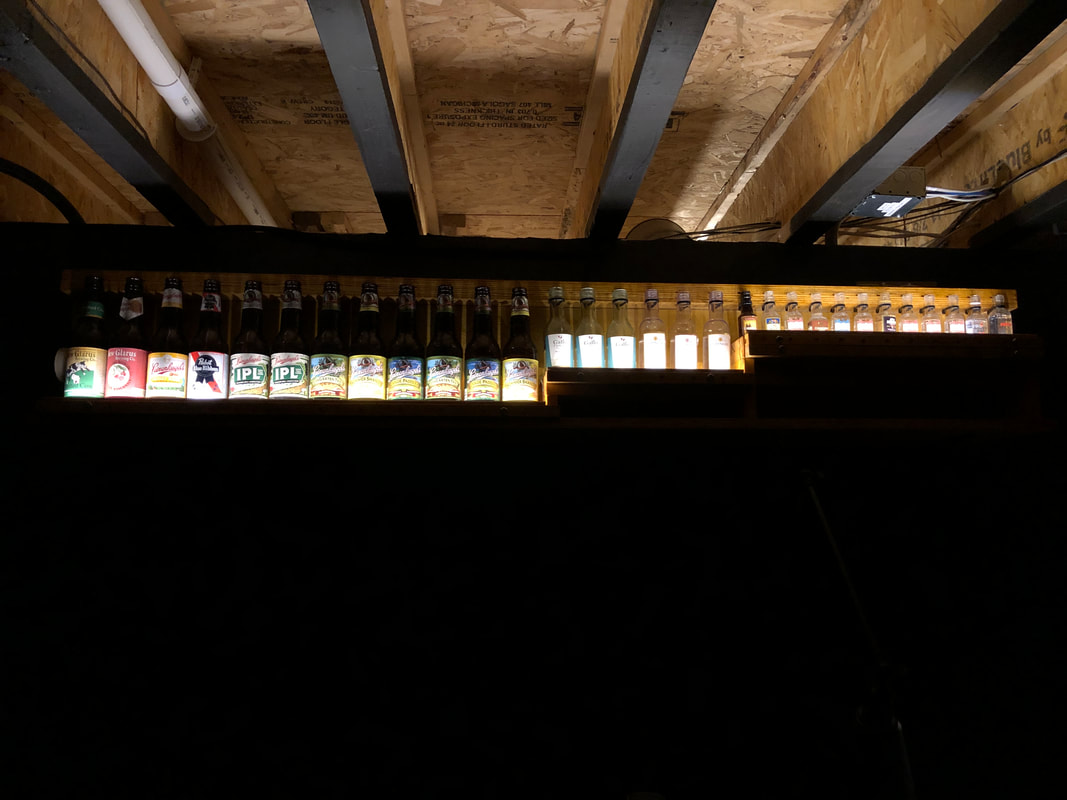
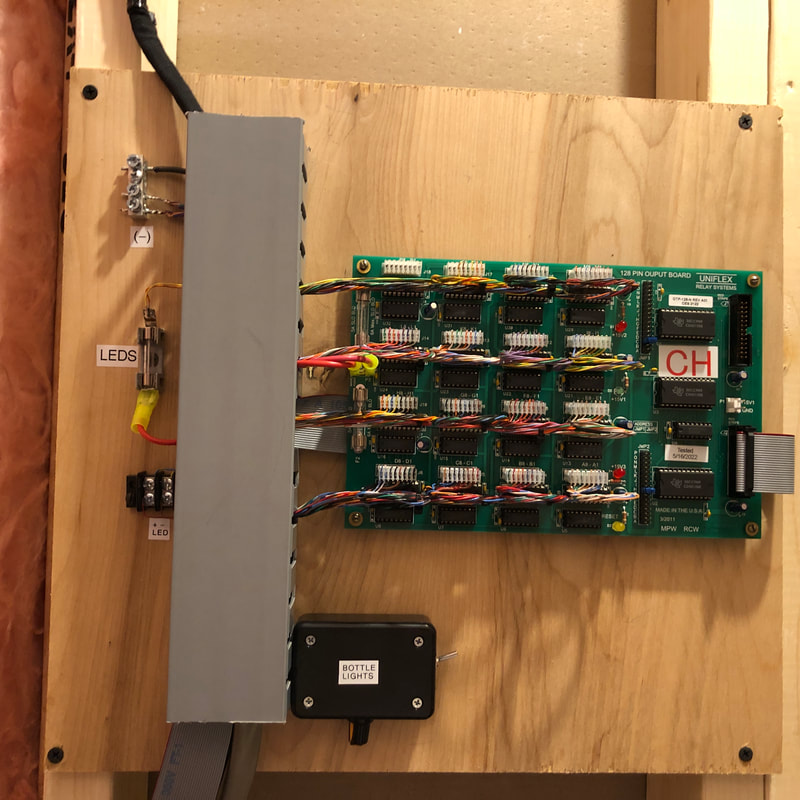
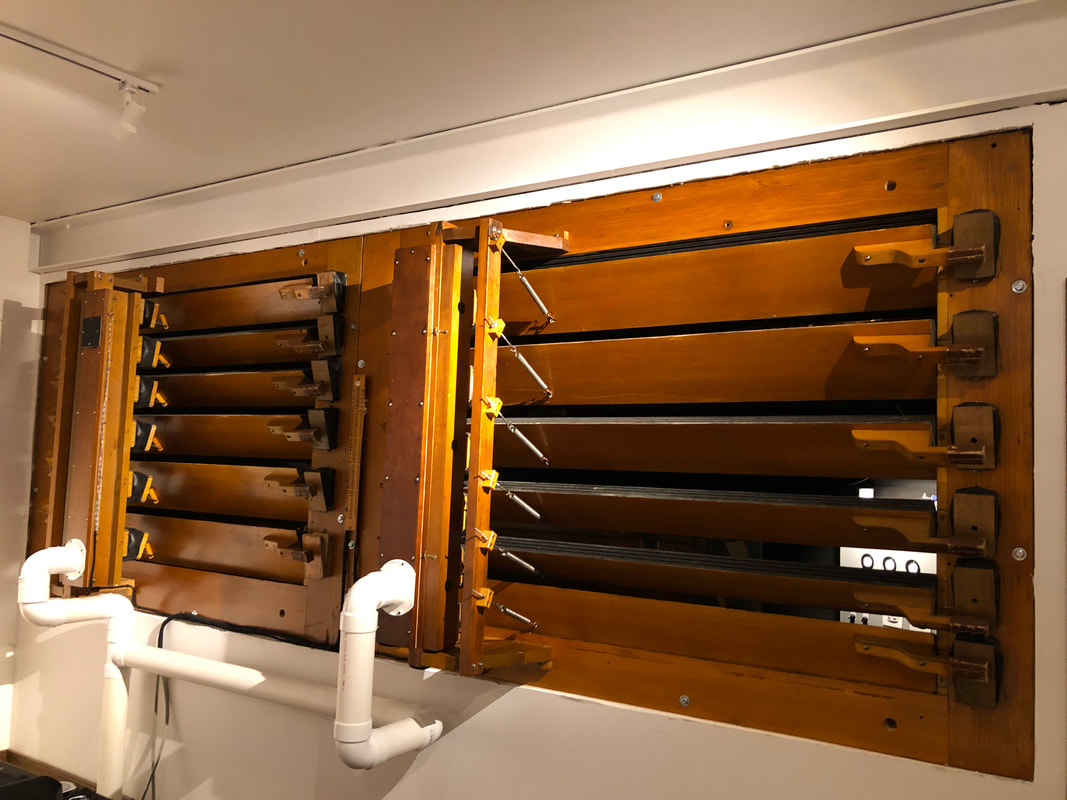
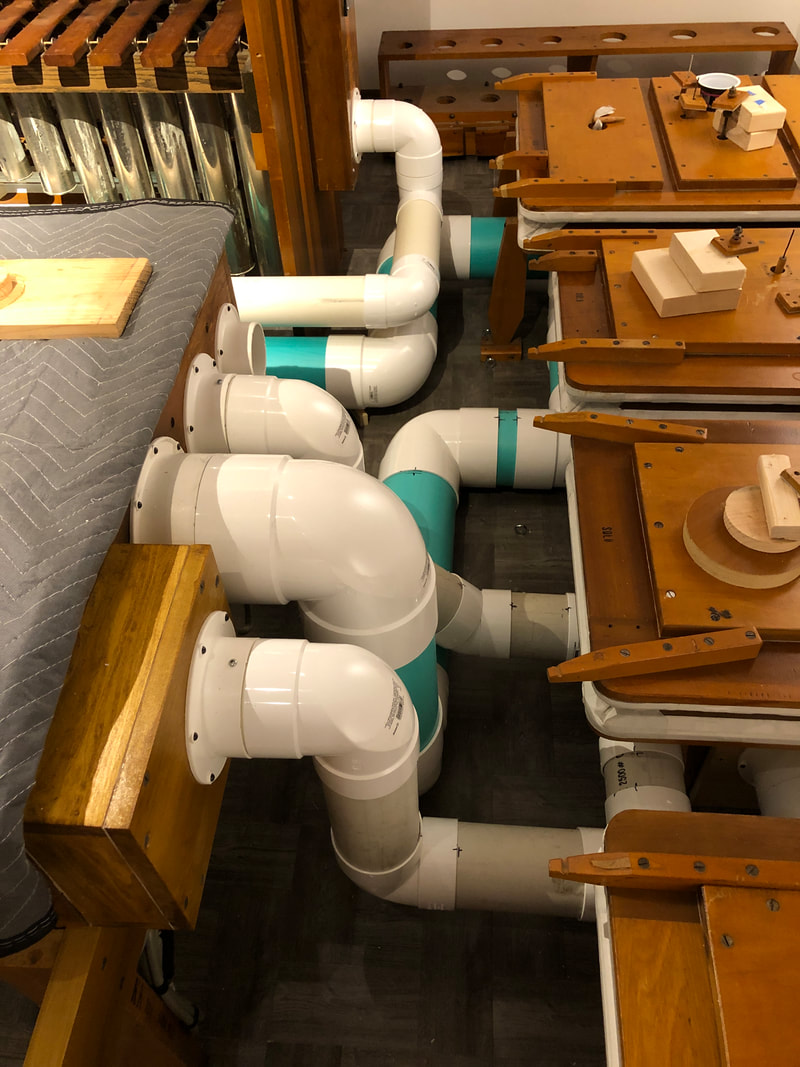
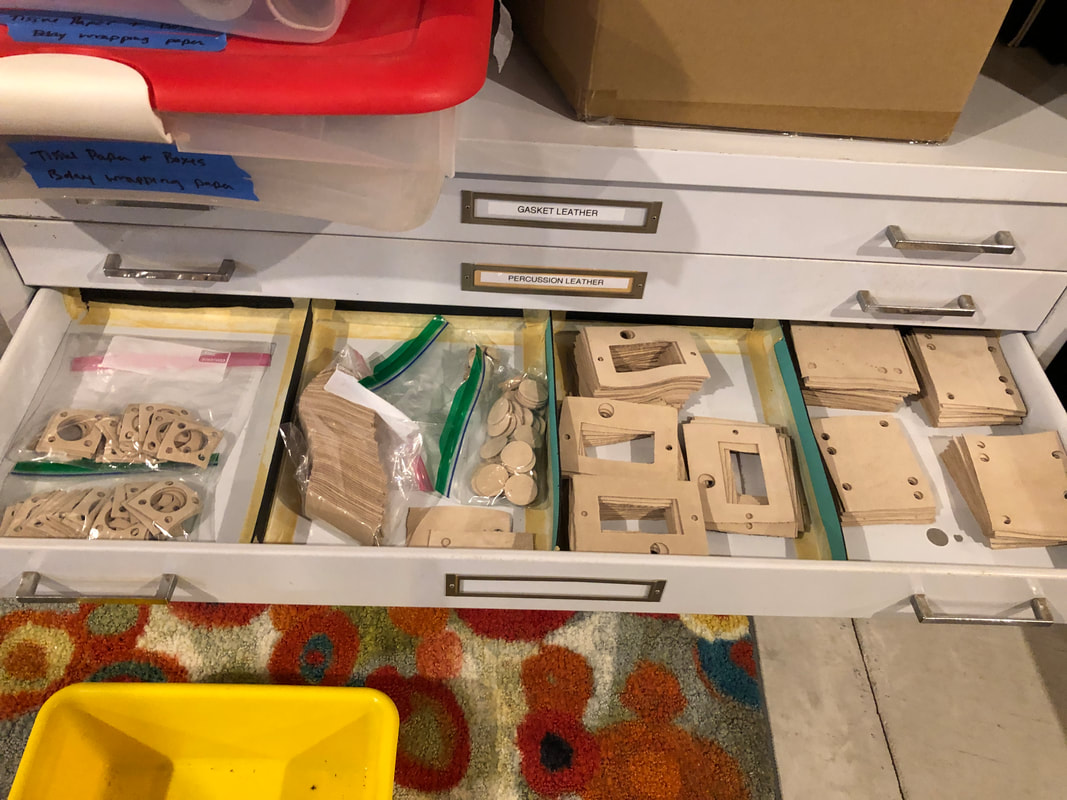
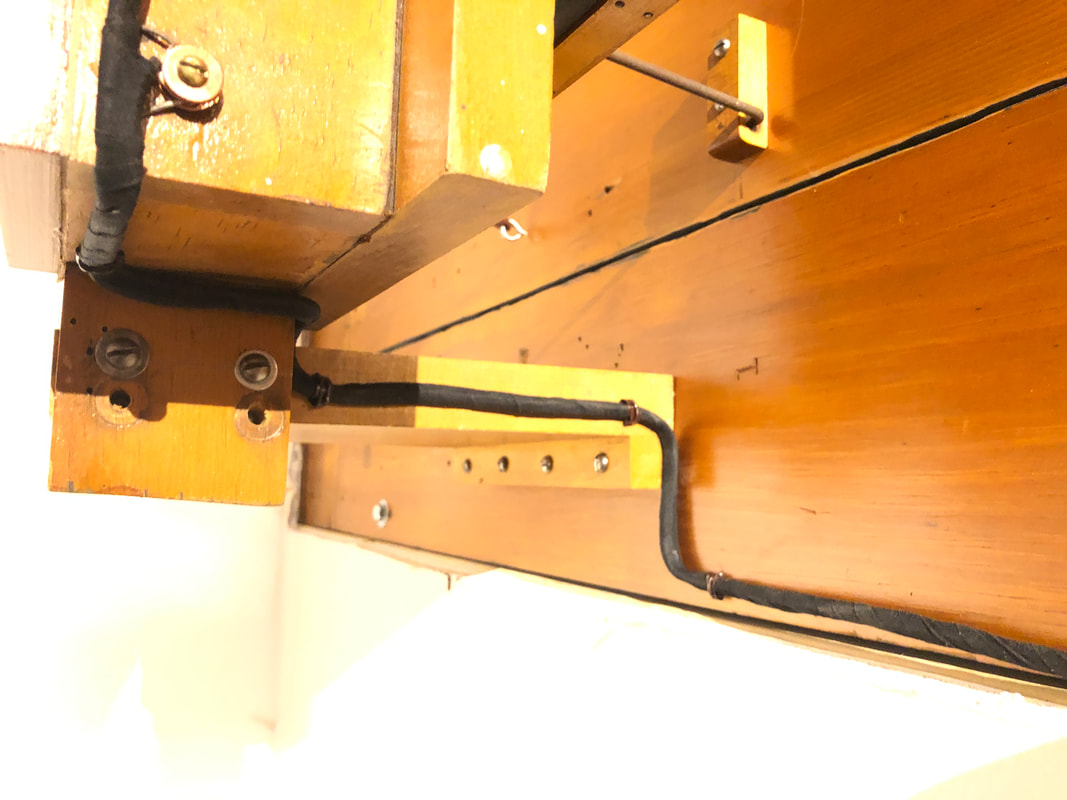
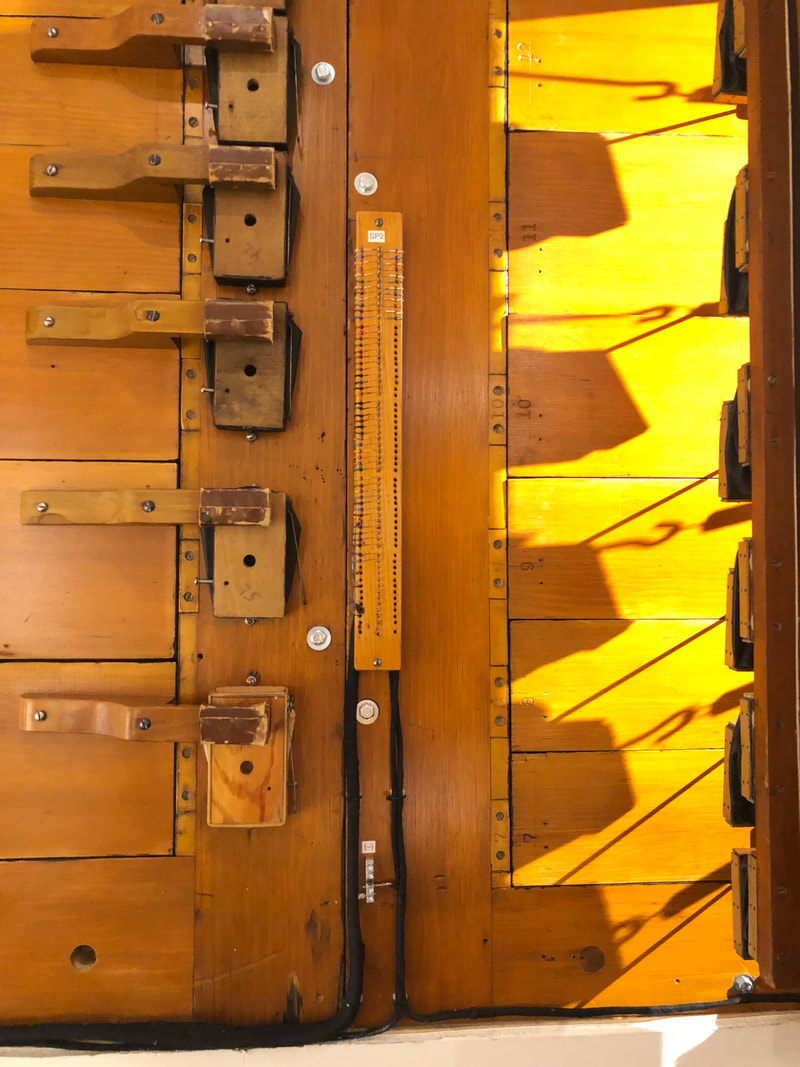
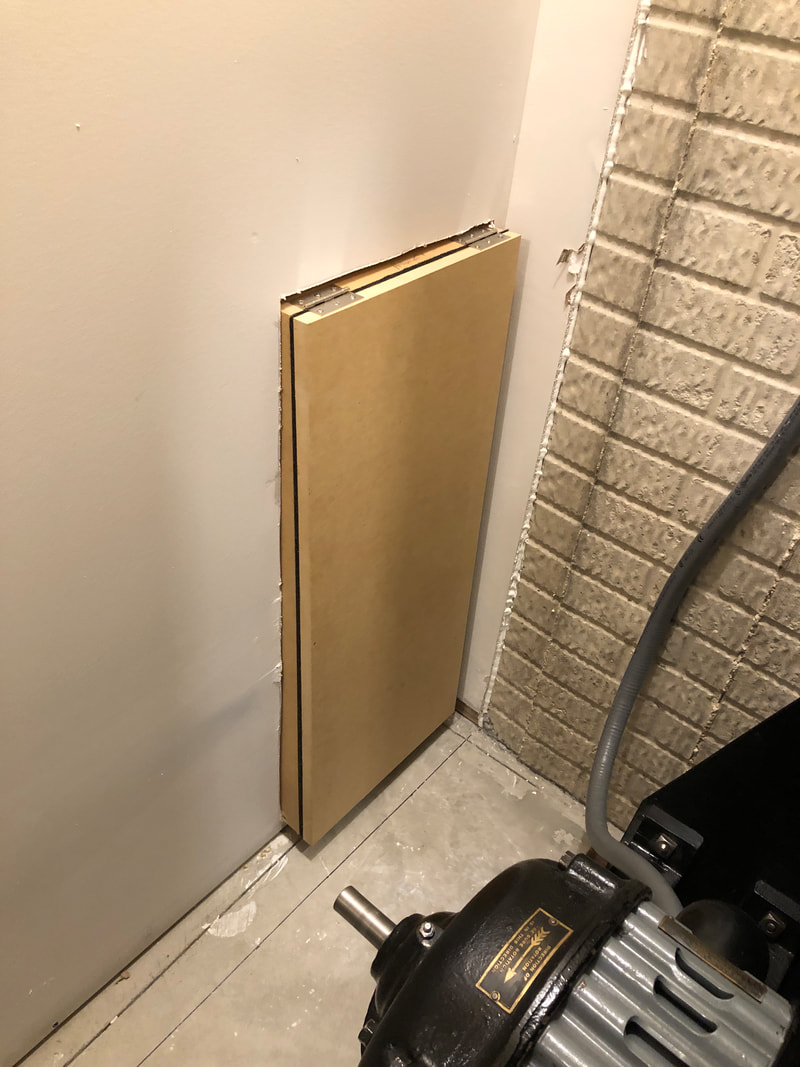
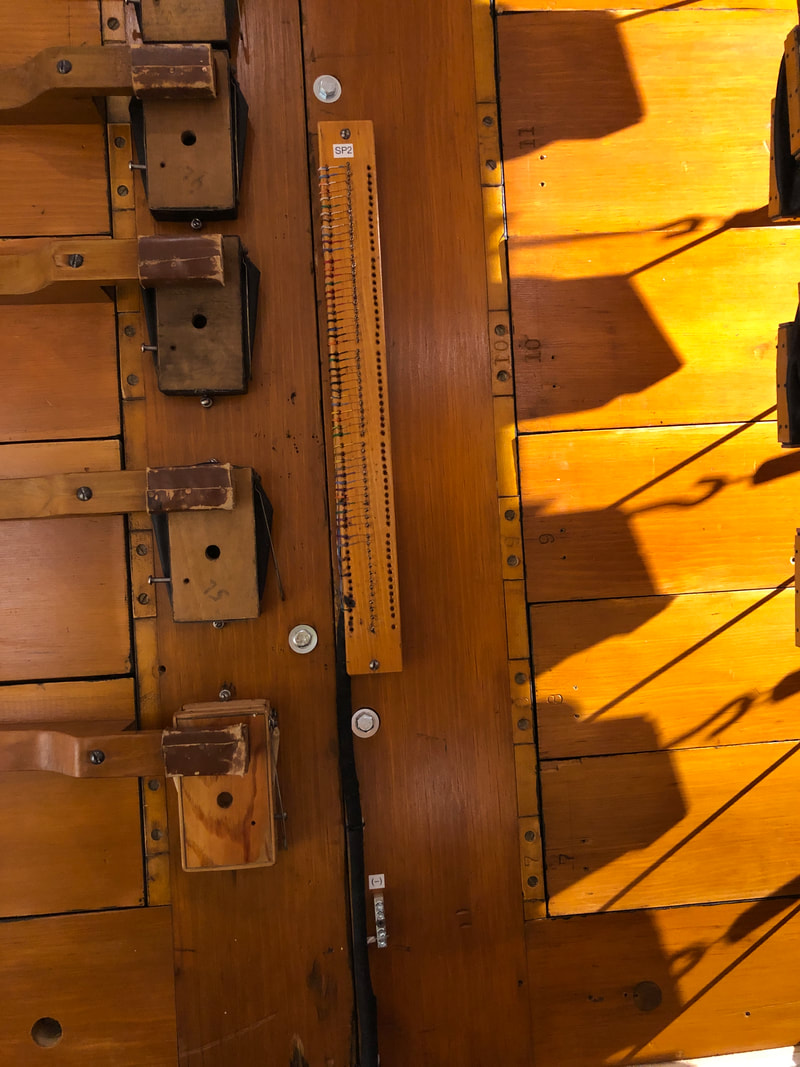
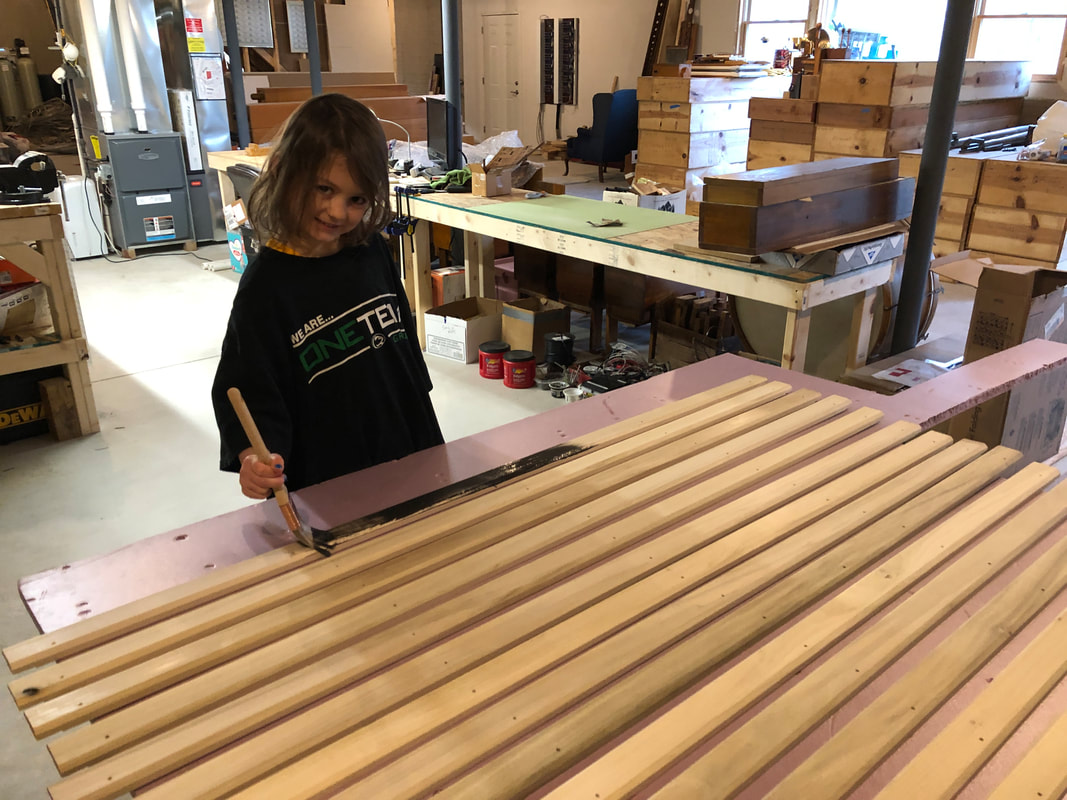
This past month, the remainder of the manual chest winding was completed. Screw eyes were also located and installed under each reservoir so that the springs have something to attach to once ready to go. Perhaps the largest accomplishment was actually upstairs at the console, where the right side drawer was installed! Thanks to Zach Frame for the assistance with this very tricky installation and to Neill Frame for use of his plunge router! The drawer is ultimately attached to the key desk using a long, threaded bolt with some washers. To ensure that the slide out drawer doesn’t travel too far right or left, a pin is inserted into the back side of the drawer that sticks up around ¾”. That pin rides in an arched groove in the bottom of the key desk. Felt was installed in the far extreme corners of the groove so that the drawer may have a soft landing when getting opened or closed. While we were at it, a second groove was cut in on the left side for the future left drawer, containing buttons for more traps (sound effects). We also installed the back box for the swell shoes. No more seeing through the opening and looking at little lights flashing from the console components. Finally, I’d like to thank my Dad for coming over and helping me with squaring up the blower room door and installing some trim! This past month, custom buttons were received from HESCO for the right drawer. These include controls for the second piano and other “important” things like the tuned beer bottles… Speaking of the piano, I have wired in a 12 volt relay in the control cabinet to connect Uniflex to the vacuum pump relay. This pump will sit in and run the upright piano in the tone chute. It isn’t desirable to have the pump run all the time, so a button in the console drawer will activate the pump. Finally, the xylophone was gone through and wired up with a plug. I am now done pre-wiring percussions! This past month, the sleigh bells and glockenspiel were gone through, polished up and wired with plugs. As per all of the bottom boards, I am putting plugs on each piece in case something needs to be removed down the road for maintenance. In preparation for connecting the tremulants to the manual chests, holes were drilled into the chests to exhaust wind into the trem manifolds that were built. One section of the manifold will connect the clarinet and diapason, while the other will connect the flute and three strings. In order to not damage any pneumatics, the bottom boards were dropped and holes started from the inside of the chest, then finished carefully from the outside. A thorough vacuuming finished the job in an attempt to prevent future ciphers. Perhaps the largest accomplishment was going through and regulating the marimba. Up until this point, it was mostly the way it was received when it came off the truck. Much was learned through doing this process. Most mallets came down sluggish, almost presenting a delay when playing it with other things. Some came down so slow that it didn’t actually touch the wood bar at all. Those were resolved by making adjustments to the valves. Another issue that was gone through was some notes that played but made more of a “thud” sound rather than reverberating. There are felt bumpers on set screws that can be adjusted that stop the mallets from traveling. The fix for those thud notes was to raise the stop bumpers so that the mallets stopped just shy of the bar. The spring steel allows for the mallet itself to travel just slightly past “stop”, striking the bar and then springing back so that the bar can reverberate. Another issue was the actions not returning quick enough. For this, there is a spring attached to the back of each hammer and a threaded rod with a wing nut on the bottom. Stretching the threaded rod down and adjusting the wing nut resolves those issues. Finally, and perhaps what makes me most happy… the marimba always sounded like a wind storm with many leaks. Although all of the internal leather components were redone nicely ahead of me getting the instrument, the valve gaskets were original 1928 leather. As soon as I realized that, all of the 49 covers came off and original gaskets were steamed off. New gaskets were cut and punched, then applied with fish glue. Lastly, all of the erecting lumber was spray shellacked with a mixture of amber shellac, die and denatured alcohol (cut about 50%). Eight coats with that mixture were applied to get a finish that is pretty close to some original Wurlitzer finished lumber. Ready for platform construction! This past month, the blower room air conditioning system was installed. This system includes a thermostat that is located upstairs in the music room. The thermostat will display the temperature of the blower room and allow for remote control of the system. Work wrapped up on the toy counter with everything complete minus the snare drum head. Poplar from Badger Hardwoods has been sanded and is ready for shellac. The three remaining cymbals were purchased (splash, crash and ride). Finally, the drawer that came with the console was assembled and wired with Kynar wire. This 30 AWG wire makes it possible to cram a ton of cable in a small space… perfect for a junk drawer. I’d like to thank Carlton Smith for his guidance during this part of the project. Since I wanted to change some of the buttons, he was able to provide me with the part numbers used for the existing buttons. Thankfully, the buttons used (NKK switches) have button faces that are sold separately (and are easily detached). This way, I only had to purchase new faces, versus entire assemblies. Once they arrived, I shipped them out to Hesco to get engraved. A second drawer for sound effects will be added at a later date. Until then, basic relay functions will be covered, including memory level (up/down) and a two-digit display to show memory level information. Perhaps the most important button is the “SOLO LEINENFlÖTE 8” or in other words… the beer bottles! Since getting the six bourdon pipes back from Nolte’s, it was decided that installing them in the chamber was the best move given the large amount of space they consume in the basement when not installed. They fit perfectly and it feels quite good to finally get the first six pipes installed!! Only 882 to go. The organ has two pianos - the baby grand in the music room and an upright in the tone chute. Both produce dramatically different sounds, especially with the mandolin attachment on the upright. This piano operates on vacuum with an action that came with it and a rail of direct-electric magnets that can be connected to Uniflex. That rail was completely rewired and several bad magnets replaced. The next large project is to construct the platform that will cover and enclose the reservoirs. For this, a trip to Badger Hardwoods of Wisconsin was in order. The owner, Bob, was able to get me the two 16’ boards needed, along with a dozen or so more to complete the task. Along with getting nice lumber, Bob will also mill things down to spec, which he did for me, to match Wurlitzer’s specifications (can’t buy that at Home Depot!). With the lumber procured, the toy counter has been dismantled to be lightly rebuilt. Although the primaries and many gaskets were done prior to me getting the instrument, many contacts and gaskets weren’t gone through. In addition to cleaning those things up, everything is getting a coat of shellac to bring the finish back to life. Since the swell shutters are now in operation, our kids like to watch them move. This requires someone to go downstairs and turn the light on. Ella raised the idea that it would be easier if we could turn the lights on from upstairs. Good point. A relay, some wire, a dimmer switch and some track lighting were procured and installed. Now, the tone chute automatically lights up when the organ is on! Speaking of controlling things, the relay that controlled the two rectifiers was failing due to the upgrade of the magnet rectifier (larger). Although still under the rated capacity, the contacts would sometimes stick on. The other component that was giving me trouble was the circuit breaker for the control panel. Although properly rated for the load, it didn’t like the inrush current that the rectifiers took on startup. Thanks to a new breaker and contactor to replace the relay, those issues have been resolved. Now the panel makes a nice “ca-chunk” sound when turned on. That was worth the price of admission. Turning my attention back to winding things, the main chest feed manifold has been installed on the chest. A cover was made to seal up with the original rectangular hole for the “J” trunk that would have gone to the reservoir underneath the chest. Since my chamber layout is different, two 4-inch holes were cut in the cover and flanges were installed. Another slight modification to the manifold was the addition of a piece of wood to allow the clarinet and diapason to be winded separately from the strings and flute (musically desirable change). If someone down the road wants to push the undo button on that change, it will be easy to do so. Next up, four of the largest pipes in the organ in the Bourdon (bottom octave of the concert flute) were mitered by Nolte’s in West Allis. Conveniently located across the street from Grebe’s Bakery!! These should now fit nicely in the chamber (would have hit the ceiling unmitered). Given the finished dimensions provided, they should fit in our minivan. We shall see tomorrow… Finally, we welcomed the youngest addition to our family, Liesl Ruth Jonas (think sound of music). We look forward to starting her piano lessons shortly. This past month, the remainder of the reservoirs were put together and winded. The last one being a 20 x 30 that feeds the swell shutters, percussions and traps. With that last one in place, the shutters have been winded, defined in the relay and brought online! It is amazing how well they do their job. Work was also completed to wind the solo chest. Initial measurements were taken to develop a design and material list for building a platform that will enclose the reservoirs. This will aid in sound deadening (Wurlitzer reservoirs are very noisy), as well as provide more space for two toy counters, an offset chest and some percussions! The final relay board was installed in the tone chute closet, which will feed the tuned bottles and the upright piano. Since the bottles have LED tape on them, I installed a light switch and dimmer to control those lights from the closet. Thanks to my friend Steve Southworth for the dimmer! Finally, the “flapper door” that allows air into the blower room was installed. When the wind system is pressurized without anything playing, the door is closed. When wind is consumed somewhere in the organ, the door opens slightly to allow air into the room. This cuts down on the blower noise outside of the blower room. In fact, our furnace is louder than the two 5 h.p. blowers running only a few feet away! This month has seen a lot of behind the scenes preparation work. More pipe and fittings were purchased for the next winding session. Now there are piles of pipe and fittings by size for easier assembly. I also worked on restoring a spreader and wiring it in between the shade frames. This spreader will connect the swell shades and tremulants. Finally, the largest project of the month was to make and install batten strips for the swell shades. By design, the shades have small cracks between the individual shades. In a theatre, this isn’t a big issue. In a house, every little bit of sound deadening helps. The strips are made from poplar and have a channel cut in them that was inlaid with felt. The strips are fastened to the edge of each blade with the felt portion covering the cracks. Thanks to Zach Frame for letting me burn through a router table bit of his and to my assistant Ella for sanding/painting and Charlotte for holding up the other end of each strip, which made mounting them that much easier! Enjoy this recording of "Carol of the Bells" as performed by organist, Zach Frame. More on Zach here: https://www.c-2productions.com/ |
The BlogCheck out this page for project updates! Archives
July 2024
Categories |


 RSS Feed
